Add a shadow to a UIView with Swift


Shadows are quite a popular design element, so in this tutorial we will learn how to add a shadow to a UIView using Swift. Adding a shadow is easy, but there are a couple caveats when it comes to rendering performance when using shadows.
Before we get started with code, I want to define each of the shadow properties.
shadowColor: this will allow us to set the color of our shadow.shadowColoris aCGColor.shadowOffset: this will allow us to offset the shadow from the layer.shadowOffsetis aCGRectwhere the width will move the shadow left and right and the height will move the shadow up and down.shadowRadius: the radius allows us to control how blurred the shadow is.shadowRadiusis aCGFloat. The bigger the radius the more blurry the shadow is.shadowOpacity: this will allow us to set the opacity of the shadow.shadowOpacityis aFloatthat accepts values between 0 and 1. 0 will make the shadow completely transparent and 1 will make the shadow opaque.shadowPath: The path will allow us to set any path we want, if this is not set the layer will use the standard shadow shape. If we set a path, the shadow will be in the shape of the path that we have provided.shadowPathis aCGPath. TheshadowPathcan have performance benefits.
Step 1: Create your view
You can either create your view using Interface builder or you can create the view using code. For this example I am going to be creating the view using code.
This is the code for my view controller:
class ViewController: UIViewController {
    override func viewDidLoad() {
        super.viewDidLoad()
        // Do any additional setup after loading the view.
    }
}
This is a straight forward view controller. What I will do now is create a new method that will return a view.
To do this, add the following newView method below the viewDidLoad method:
private func newView() -> UIView {
    let view = UIView(frame: CGRect(x: 100,
                                    y: 100,
                                    width: 100,
                                    height: 100))
    view.backgroundColor = .blue

    return view
}
With this method we simply instantiate a new UIView and pass through a frame so that the view is big enough to see, but we also set the x and y coordinates so that it is not in the top left corner when we it as a subview.
After we set instantiate the UIView we set the background color of it. If we don't set the background color, it will be nil by default, and we will not be able to see it.
We can now add this as a subview in our viewDidLoad, update the viewDidLoad to look like this:
override func viewDidLoad() {
super.viewDidLoad()
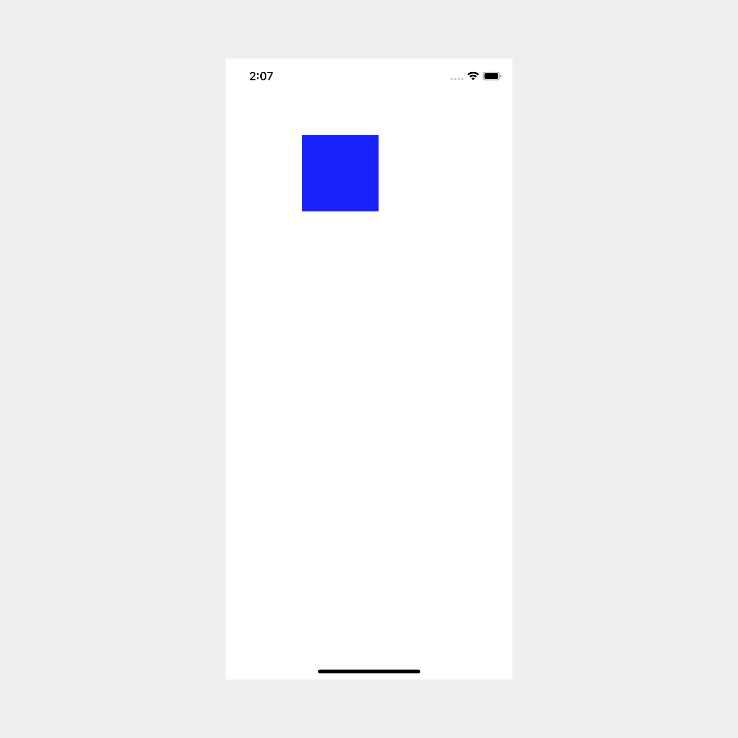
self.view.addSubview(self.newView())
}If you build and run the app it will look like this:
Step 2: Add the shadow
As I mentioned in the intro, adding the shadow is very easy. To add a shadow to our new view, we need to add the following lines of code to our newView() method just below the view.backgroundColor = .blue:
view.layer.shadowOffset = CGSize(width: 10,
height: 10)
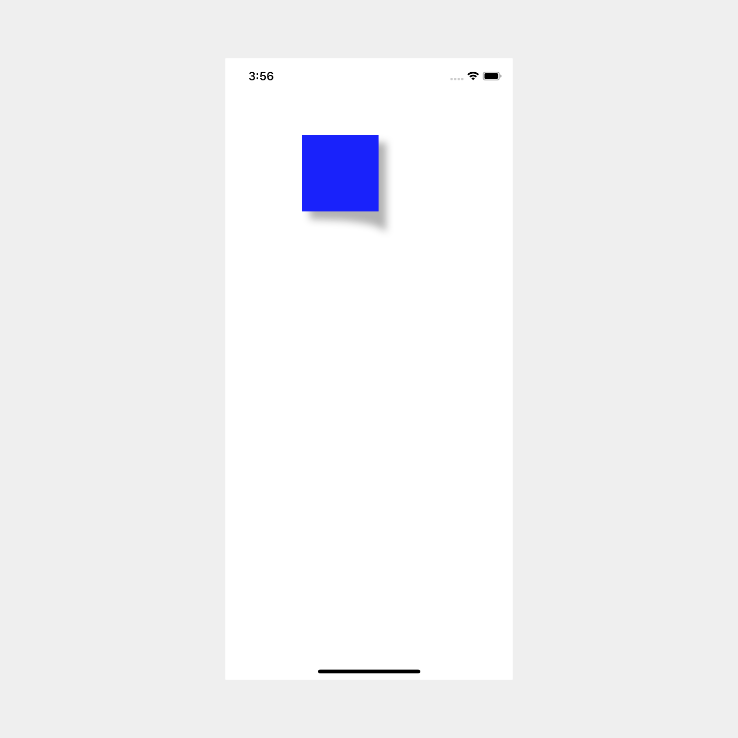
view.layer.shadowRadius = 5
view.layer.shadowOpacity = 0.3If you build and run you will see the following:

At its most basic, this is all that is needed to make a shadow. As I mentioned before, there are some performance caveats when it comes to shadows. Below we will go through the different ways to improve performance.
Shadow Performance
Adding shadows can cause some serious rendering performance degradation. This is due to the way shadows are drawn.
There are two ways that we can improve performance, but both ways will only work in certain circumstances or have limitations.
Rasterize the view's layer
The first and the easiest way to improve performance is to rasterize the view's layer. What this does is that it will cache the view's layer as a bitmap.
The big issue with doing this is that it is only really useful when the view is static. If your view is changing all the time then it does not make sense to rasterize the view's layer. Every time the view changes it will have to get rasterized again which will reduce performance. So this should only be use on views that are static.
If your view is static, this is how you would rasterize the view's layer:
view.layer.shouldRasterize = true
view.layer.rasterizationScale = UIScreen.main.scale
You need to set the rasterization scale to the current screen scale. If you don't do this the bitmap that has been cached could look pixelated.
Use shadowPath
In the beginning of this post I mentioned shadowPath. It is one of the ways that we can improve performance. But, like rasterizing, it is not the perfect, there are a few issues using a shadowPath which I will go through later on.
In this tutorial our shadow has been dynamic. This means that UIKit has needed to calculate the shadows path on the fly. Creating a shadow in this way is a very expensive task, and when depending on the device and the number of views that need shadows, doing this can decrease performance dramatically.
To fix this we can use a shadowPath. A shadow path allows us to provide the correct path for the shadow. This means that UIKit does not have to calculate path dynamically. If we provide the path we can reduce the performance impact significantly, and there is an added benefit to using shadowPath too. But I will talk about that later on after I go through the issues of using shadowPath.
For now let's update our code to use a shadowPath. To do this let's add the following code in the newView() method just below view.layer.shadowOpacity = 0.3:
view.layer.shadowPath = CGPath(rect: view.bounds,
                               transform: nil)
There we go, we have fixed up our code. But one thing to note is that this is a very simple example, so doing it like this is fine for this example, but it will not be the best way to do it in a more complex app due to the potential issues below.
ShadowPath issues
You might have thought of this issue when you saw the above code, but if you haven't one of the big issues using shadowPath is if you have a complex shape. In our example it was straight forward because it was a simple square that we used, but if you have a complex shape then it will be extremely difficult to create that complex shape in code.
Another issue can occur when your view changes its size, for eg when you use AutoLayout. In this case shadowPath can cause issues. To fix this, you can create a subclass of UIView for the view that needs a shadow. Once you have the subclass you will need to put all the shadow code in the layoutSubviews method.
Nice feature of shadowPath
Besides performance benefits, shadowPath will also allow you to create a custom shadow.
To create a custom shadow we will need to create a custom path, add the following method to your code:
private func customShadowPath(viewLayer layer: CALayer,
                              shadowHeight: CGFloat) -> UIBezierPath {
    let layerX = layer.bounds.origin.x
    let layerY = layer.bounds.origin.y
    let layerWidth = layer.bounds.size.width
    let layerHeight = layer.bounds.size.height

    let path = UIBezierPath()
    path.move(to: CGPoint.zero)

    path.addLine(to: CGPoint(x: layerX + layerWidth,
                             y: layerY))
    path.addLine(to: CGPoint(x: layerX + layerWidth,
                             y: layerHeight + 20))

    path.addCurve(to: CGPoint(x: 0,
                              y: layerHeight),
                  controlPoint1: CGPoint(x: layerX + layerWidth,
                                         y: layerHeight),
                  controlPoint2: CGPoint(x: layerX,
                                         y: layerHeight))

    return path
}
Let's set our shadowPath to use this custom path. To do this, change the view.layer.shadowPath in the newView() method to this:
view.layer.shadowPath = self.customShadowPath(viewLayer: view.layer,
                                              shadowHeight: 5).cgPath
If you build and run the app you should see this:
Conclusion:
Adding a basic shadow is quite simple as we saw in steps 1 and 2, and if there is only one shadow you might not notice a performance degradation, but shadows are very expensive and need to used as a last resort. If possible it would be better to use an image as a shadow.
You can find the full source code here.