Add bar button to Navigation Bar with Swift
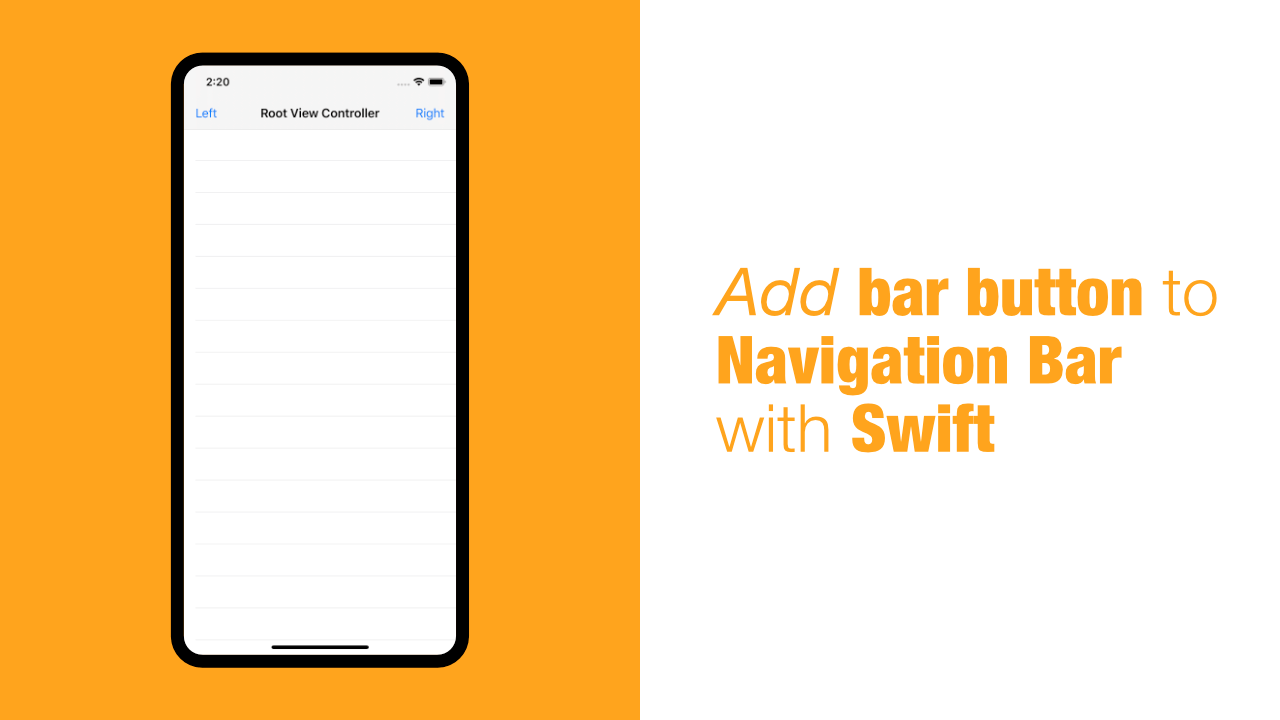
In this tutorial we will learn how to add a bar button to a navigation bar with Swift. Navigation bars are very popular with iOS development, and depending on the app you might find yourself needing to add a few more buttons to the navigation bar.
In this tutorial we will be going over how you can add a bar button item to the navigation bar programmatically as well as using the storyboard.
Before we get started on this tutorial I will assume that you already have navigation controller setup.
If you don't, the next paragraph will be a very short written guide.
You need to open the storyboard, delete the view controller that you have, press cmd, shift, l, and then search for navigation controller. Drag that onto the storyboard. You now need to click on the navigation controller and set it to be the is initial view controller under the attributes inspector.
Add bar button to Navigation Bar using Storyboard
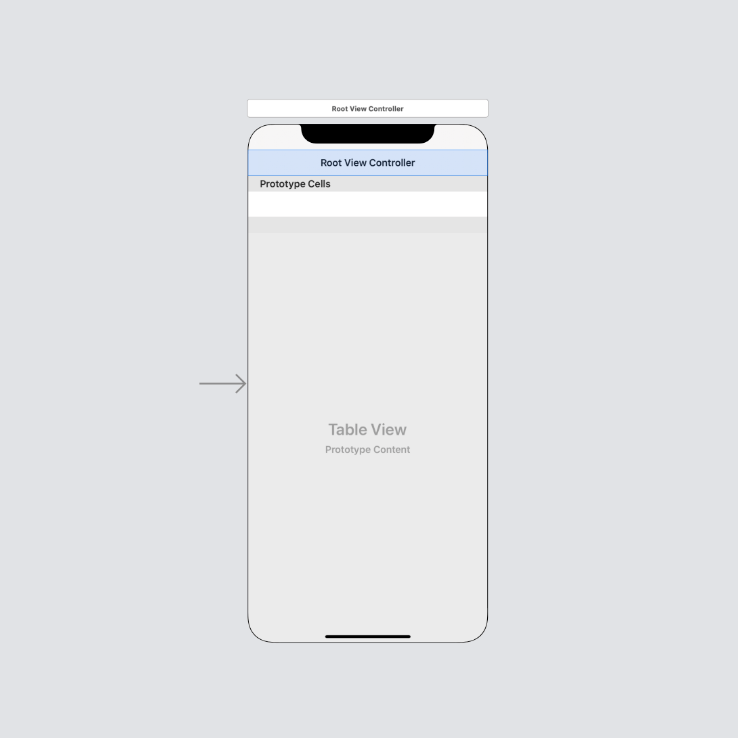
The first thing that we need to do is to select our view controller:
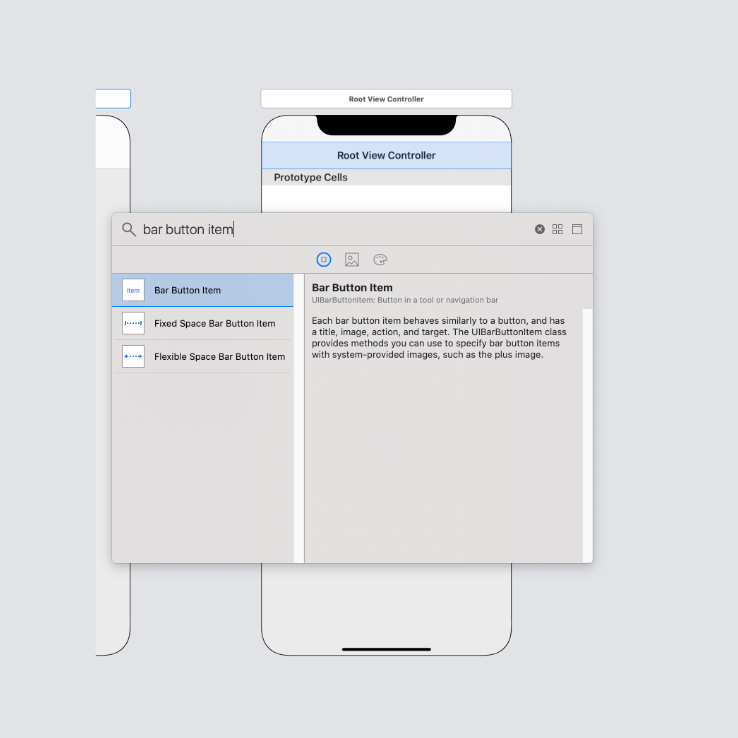
Let's add our bar button items. To do this press cmd, shift and l, and then search for bar button item:
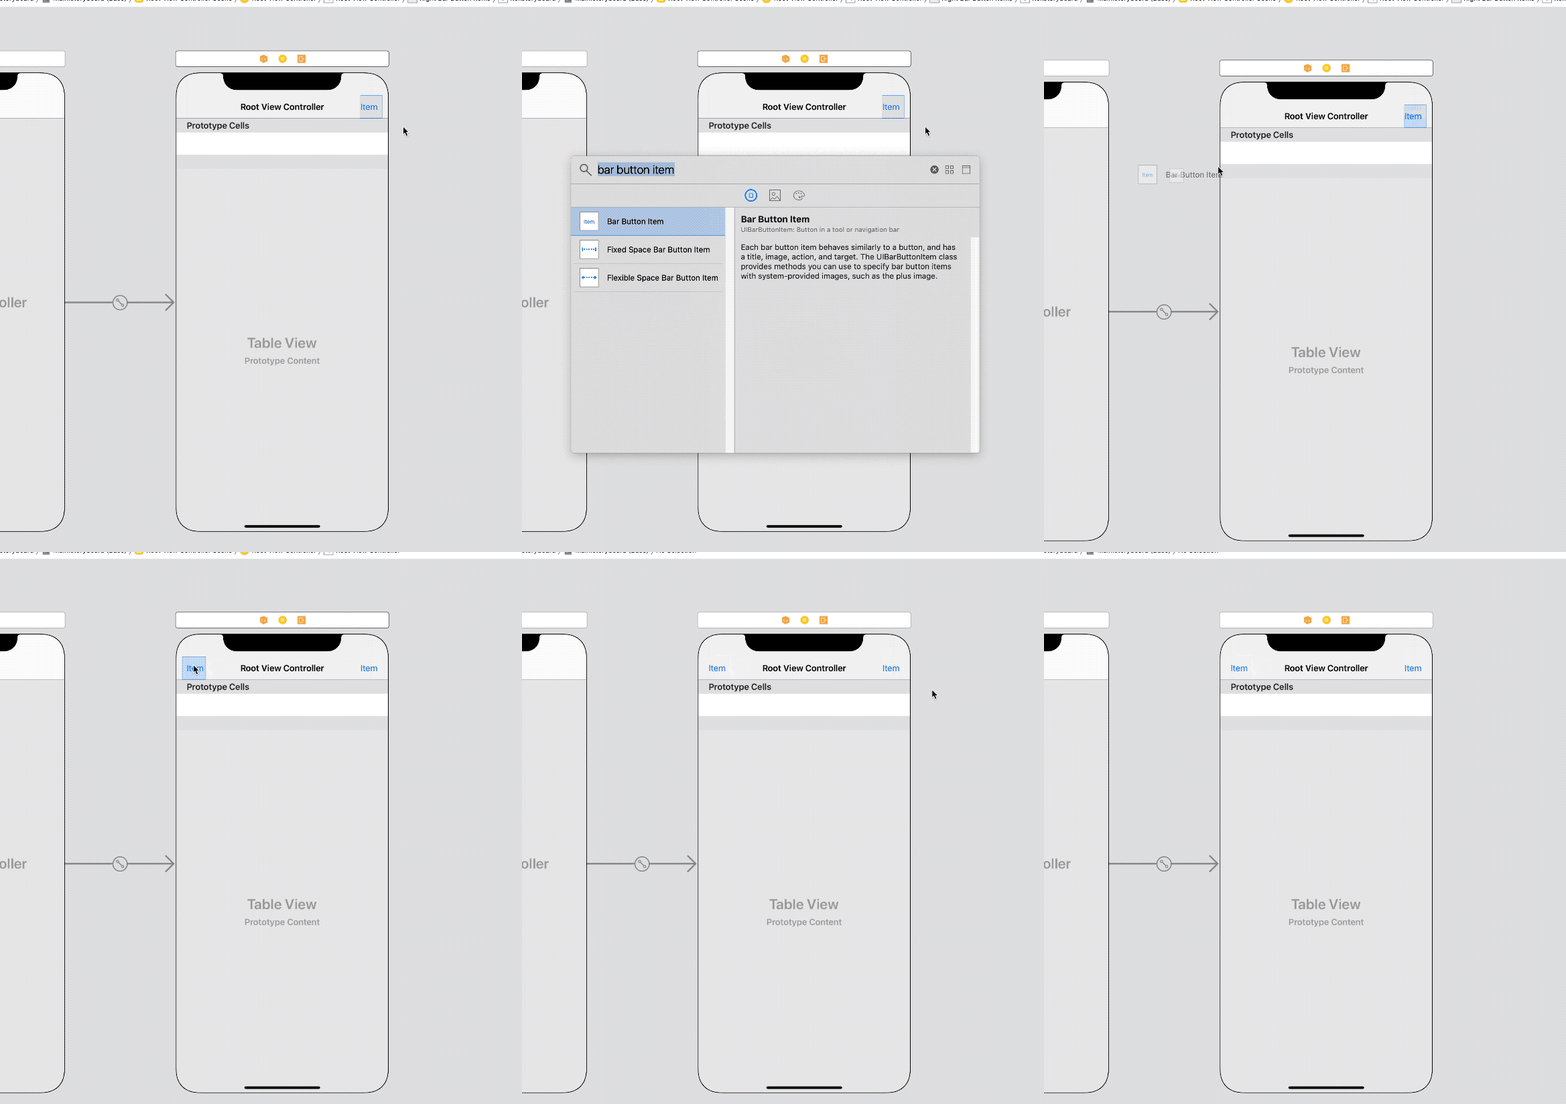
Once you have found the bar button item drag it into the navigation bar, make sure to add one to the left and the right hand sides:
Now that we have are bar button items in the navigation bar, we create actions in our code. To do that, right click and drag from the left and right bar button item into your view controller. I have named my actions rightBarButtonAction and leftBarButtonAction:
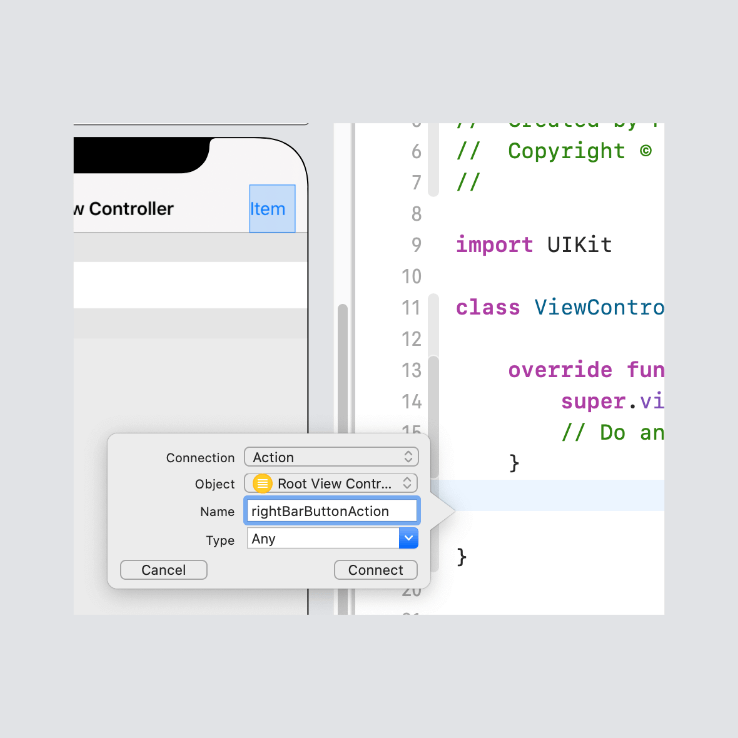
My actions look like this:
@IBAction func rightBarButtonAction(_ sender: Any) {
    print("right bar button action")
}

@IBAction func leftBarButtonAction(_ sender: Any) {
    print("left bar button action")
}
If I tap on the left button it will print left bar button action in the console, and if I tap the right bar button it will print right bar button action in the console.
That is all there is to adding a bar button to a navigation bar using storyboard.
Add Bar button to Navigation Bar programmatically
Before we add these bar buttons with code, we need to remove the bar buttons that we added in storyboard, and we need to remove the actions in code.
Ok, now that we have removed the bar buttons from the storyboard and the actions from code, we need to add these two methods to our view controller:
@objc
func rightHandAction() {
    print("right bar button action")
}

@objc
func leftHandAction() {
    print("left bar button action")
}
These two functions will do the same thing that our previous actions done. As you can see, these functions have an @objc attribute. We need this because when we add our buttons with code, they will use a selector in order to call these functions.
Let's add our right bar button. Add the following code to your viewDidLoad method under super.viewDidLoad:
self.navigationItem.rightBarButtonItem = UIBarButtonItem(title: "Right",
                                                         style: .plain,
                                                         target: self,
                                                         action: #selector(rightHandAction))
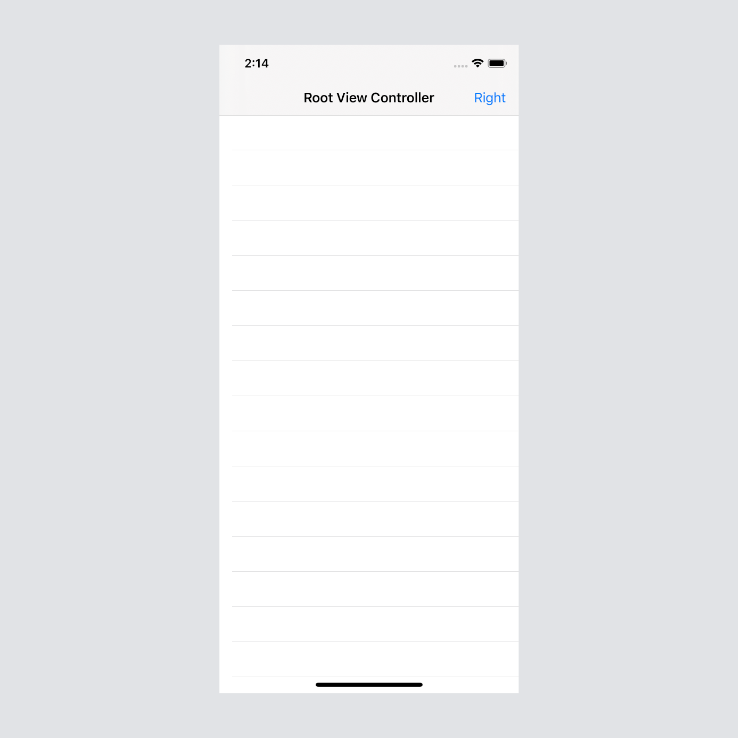
All we are doing here is setting the rightBarButtonItem on our navigationItem. When we initialise a new UIBarButtonItem we set the text to Right, set the style to .plain, the target will be self and then we call our function by passing it in as a selector to the action argument.
If you build and run the app now, you should see the following:
Next let's add the left bar button item, add the following code below the right bar button:
self.navigationItem.leftBarButtonItem = UIBarButtonItem(title: "Left",
                                                        style: .plain,
                                                        target: self,
                                                        action: #selector(leftHandAction))
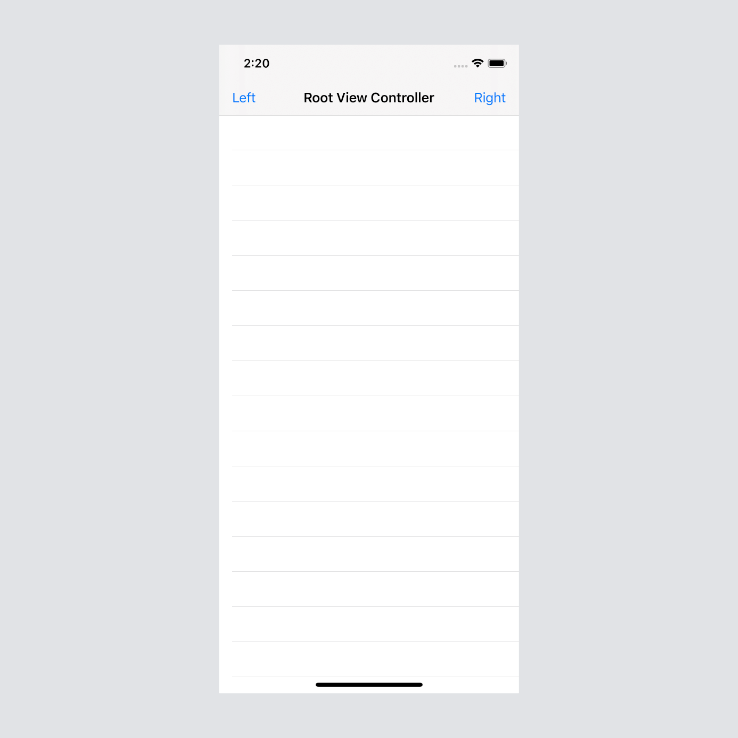
This code is almost identical. The only things that we changed were the title, the action and we had to set the leftBarButtonItem property.
If you build and run the app, you should see the following:
Conclusion:
Adding a button to the navigation bar is very easy whether you do it in code or interface builder. I personally prefer using code, but either is fine.
If you want the full source code of this project, you can find it here.
