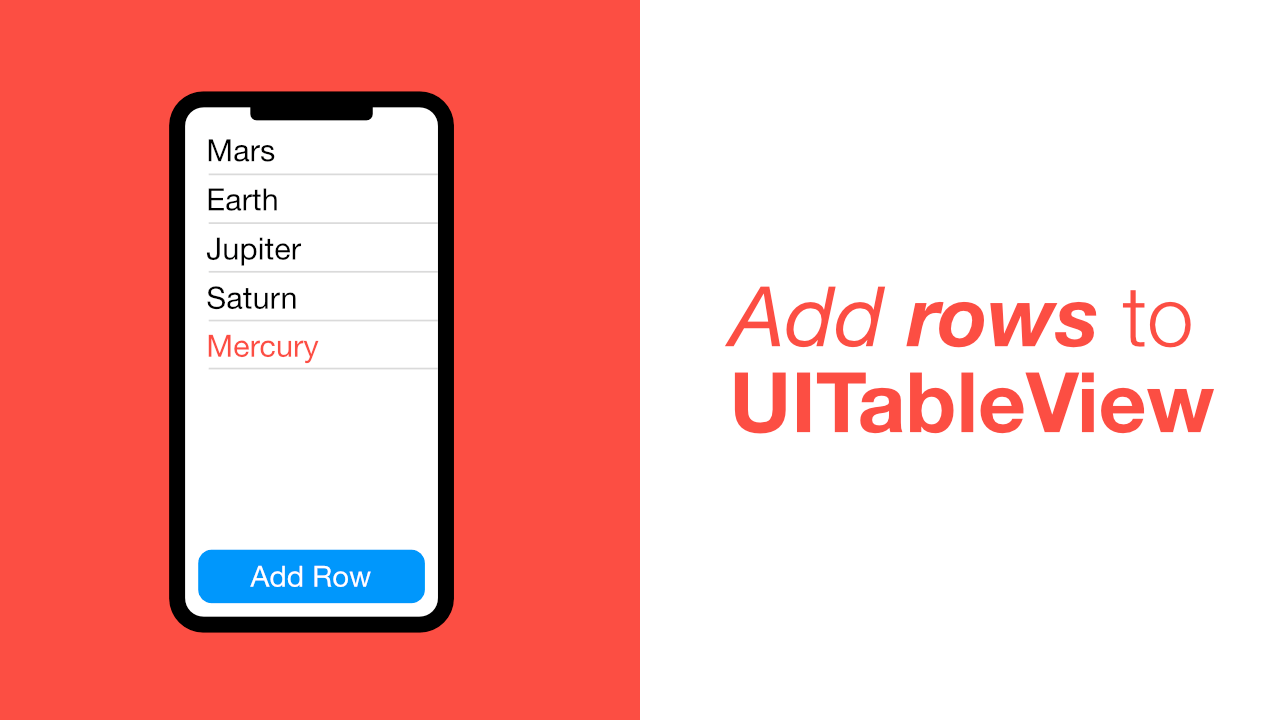
Add rows to UITableView

Adding rows to a UITableView is a common task, whether you are building a todo app, some kind of social network or anything else that needs to display a list of items that will get updated whenever new data has been added will need to be able to add a new row to that UITableView.
In this post we will learn how we can add rows to a UITableView. There are two ways that we will go over in order to update the UITableView.
I am going to assume that you have a UITableView setup and working. Before we get into the tutorial I will go over the test app that I have created so that you have some more context when we go over adding new rows to the UITableView.
What is in my test app
My test app is as simple as it gets when it comes to implementing a UITableView, but I also have a button that will add a new item to my data. This is how my app looks:
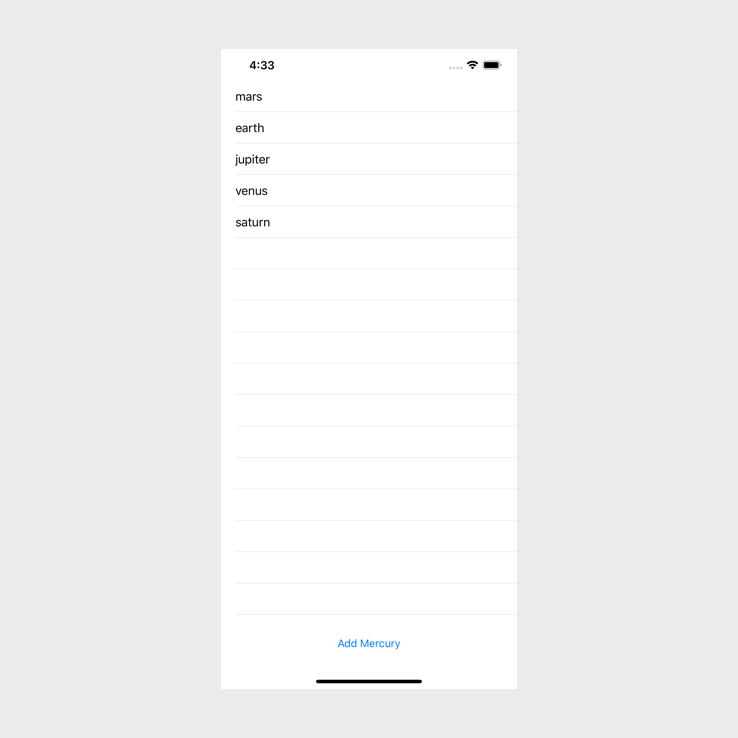
My data for the UITableView looks like this:
var data = ["mars", "earth", "jupiter", "venus", "saturn"]The button has an action which will add mercury to the above data array later on in the tutorial, at the moment, it looks like this:
@IBAction func addMercury(_ sender: UIButton) {
    // Code Here
}
If you want to see the full source code, you can find it here
Step 1: Easiest way to add a new row
The easiest way to add a new row to a UITableView would be to add a new item to the data and then call the reloadData method on the `UITableview.
This is the updated addMercury action to add an item to the data and then reload the UITableView:
@IBAction func addMercury(_ sender: UIButton) {
    self.data.append("mercury")
    self.tableView.reloadData()
}
This will add a new row to our UITableView because we have added mercury to our data and then we called reloadData.
Doing this is fine if your data is not too big but the major drawback for using reloadData is that it will reload the entire UITableView which is not efficient. In Step 2 we will look at another way to add a row to our UITableView which is way more efficient and it is a better experience for the user.
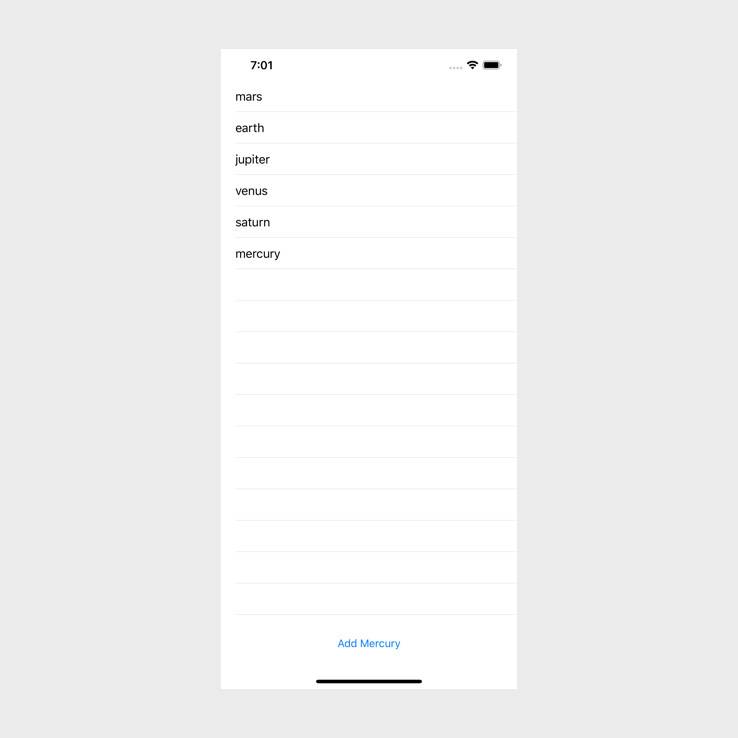
If I build and run the app it will look like this after I have clicked on Add Mercury:

Step 2: Inserting a row into the UITableView
Inserting a row at the end
Let's start with adding a new row at the end of the UITableView. The outcome will be very similar to the outcome from Step 1, but this will be more efficient and it will also have a nice animation.
Update the addMercury method to look like the following:
@IBAction func addMercury(_ sender: UIButton) {
    self.data.append("mercury")

    self.tableView.performBatchUpdates({
        self.tableView.insertRows(at: [IndexPath(row: self.data.count - 1,
                                                 section: 0)],
                                  with: .automatic)
    }, completion: nil)
}
We have replaced the reloadData method to add the row to the UITableView with the performBatchUpdates method.
This method takes two closures, the first closure will insert, reload, delete and move rows, the second closure will allow you to run some code when the action is completed.
As you can see, in the first closure we use a method that is on the UITableView called insertRows. This allows us to insert rows at a specific IndexPath. It will also allow us to insert multiple rows as it takes an array of IndexPath. In our case it will be the last indexPath that we have because we are inserting our row at the bottom 0f the UITableView that is why we use self.data.count - 1. We also only have one section, so we will pass through 0 as our section.
The insertRows method has a second argument which allows us to animate the inserting of our new row. I have used .automatic but there are a number of other options that can be used.
If I build and run the app it will look like this after I have clicked on Add Mercury:
Inserting a row anywhere in the UITableView
Now that we have used insertRows to insert a row at the bottom of our UITableView, let's see how we can use insertRow to add a row anywhere inside our UITableView.
Update the addMercury method to look like this:
@IBAction func addMercury(_ sender: UIButton) {
    self.data.insert("mercury", at: 2)

    self.tableView.performBatchUpdates({
        self.tableView.insertRows(at: [IndexPath(row: 2,
        						  				 section: 0)],
        						  with: .automatic)
    }, completion: nil)
}
There are two changes that have been made to this code. The first change is that instead of using self.data.append("mercury") we are using self.data.insert("mercury", at: 2). This means that we are adding mercury to our array, but we are adding at index 2.
The next update is to the the IndexPath. Previously we used seld.data.count - 1 as the row argument, but in the update we are now using 2 as the row argument. We do this because it matches the index where we inserted mercury into the data array.
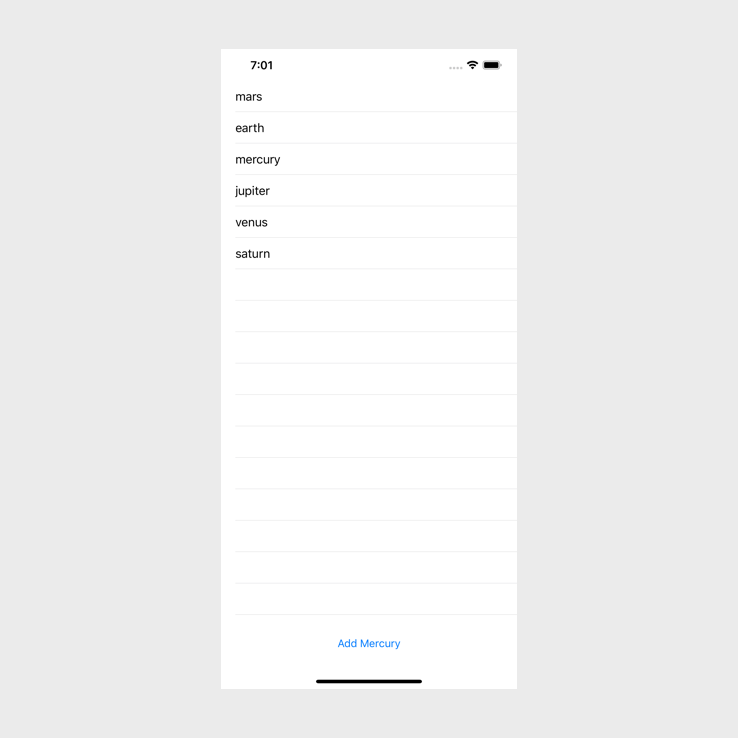
If I build and run the app it will look like this after I have clicked on Add Mercury:
Conclusion
Adding rows to a UITableView is quite easy, just remember that there could be noticeable performance issues if you reload the entire UITableView. If you want to reload a section you can also use the reloadSection function, but again, make sure that when you are inserting, deleting or moving an item that you do it in the most efficient way possible.
If you want the full source code you can find it here