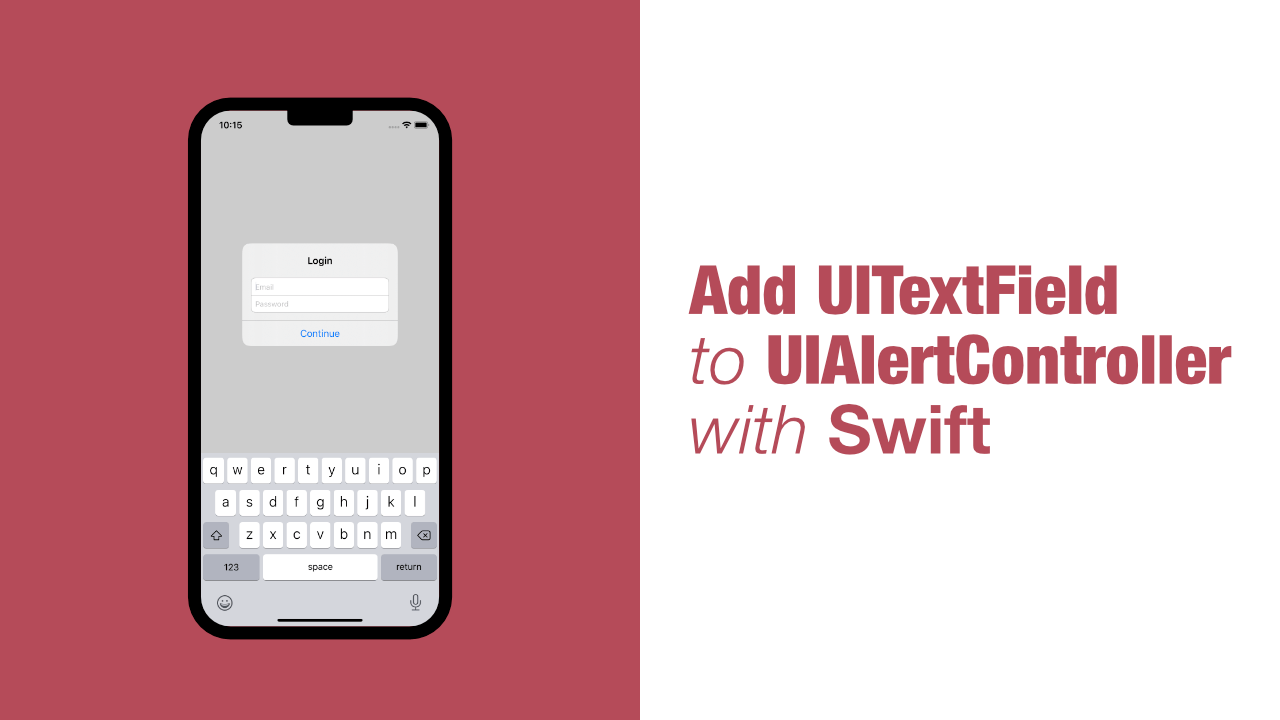
Add UITextField to UIAlertController with Swift

In this tutorial I will show you how to add text fields to a UIAlertController using Swift. This is one of those tasks that is surprisingly simple as it is built into UIAlertController.
Just before we get to the code, my project is a new project and all the code that I am doing will be done in the default ViewController. Ok, now we can start coding!
Step 1: Create a basic UIAlertController
Let's start off with creating a basic UIAlertController and getting it to display. To do that I am going to create a new method and call it presentAlertController. Add the following method with the UIAlertController being initialised:
func presentAlertController() {
    let alertController = UIAlertController(title: "Login",
                                            message: nil,
                                            preferredStyle: .alert)

    self.present(alertController,
                 animated: true)
}
There is not much happening in this, we create a new instance of UIAlertController, we give it a title, set the message to nil and then set the preferred style to .alert. Lastly we present the alertController.
If you build and run the app now nothing will happen, so let's fix that by calling this method. Because I am using a brand new project and I don't have a button or a timer setup, I will be calling this function from the viewDidAppear.
This is what my viewDidAppear looks like after calling presentAlertController:
override func viewDidAppear(_ animated: Bool) {
super.viewDidAppear(animated)
self.presentAlertController()
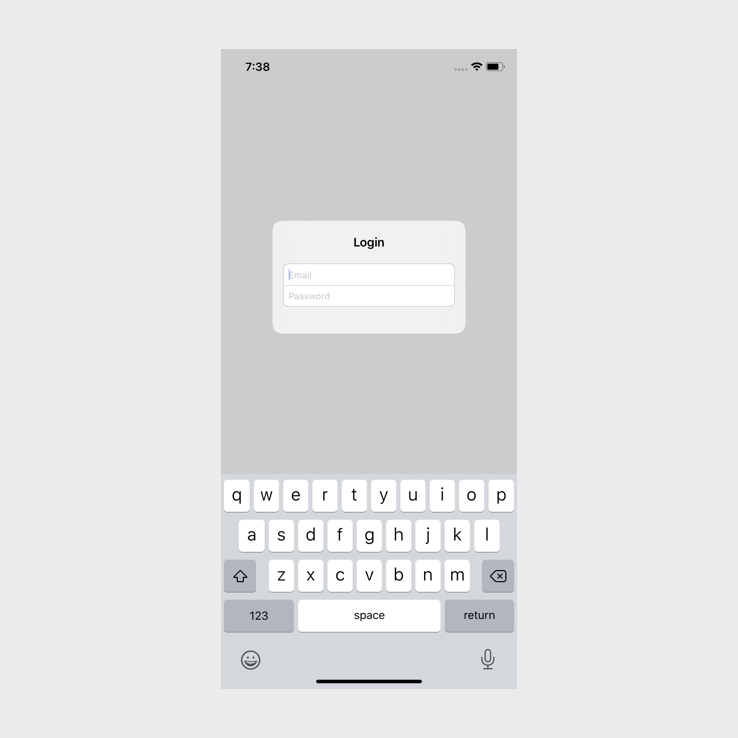
}Let's build and run the app now, you should see something like this:

Step 2: Add the text fields to the alert controller
We are going to add two text fields to the alert controller. The first one will be to take an email address and the second will be for a password.
To add the email text field, add the following code just below where we initialised the UIAlertController:
alertController.addTextField { (textField) in
    textField.placeholder = "Email"
}
As you can see, it is really easy to add a text field to a UIAlertController. Now that we know how to, let's add the password text field. Add the following code just below the above code:
alertController.addTextField { (textField) in
    textField.placeholder = "Password"
    textField.isSecureTextEntry = true
}
In both of the text fields that we have added we have set the placeholder text and in the password text field we have specified that it needs to be secure text entry.
If you build and run the app you should see the following:
Step 3: Getting the value from the text fields
Now that the text fields have been added to the alert controller, we need to get the values from them.
This is the worst part of using text fields with a UIAlertController. The alert controller returns an array of text fields, and having to access each text field by index is not great when it comes to readability, so it is important to have clear variable names.
To get the values from the text fields we will be adding an action to the alert controller. This takes a handler closure as an argument, in this closure we will be getting the values from the text fields.
Add the following code just below the password text field code:
let continueAction = UIAlertAction(title: "Continue",
                                   style: .default) { [weak alertController] _ in
                                    guard let textFields = alertController?.textFields else { return }

                                    if let emailText = textFields[0].text,
                                        let passwordText = textFields[1].text {
                                        print("Email: \(emailText)")
                                        print("Password: \(passwordText)")
                                    }
}

alertController.addAction(continueAction)
All that we are doing here is creating a new UIAlertAction. We give it the title of Continue and we set the style to default.
The last parameter is the closure, in this closure we weakly capture alertController so that we can get the text values from the text fields. To ensure that the text fields are not nil, we use a guard let. Then we use an if let to unwrap the text for the first two text fields. If the text for these text fields are not nil, we will print out their values.
Lastly we add this action to the alertController. If you build and run the app now you should see the following:
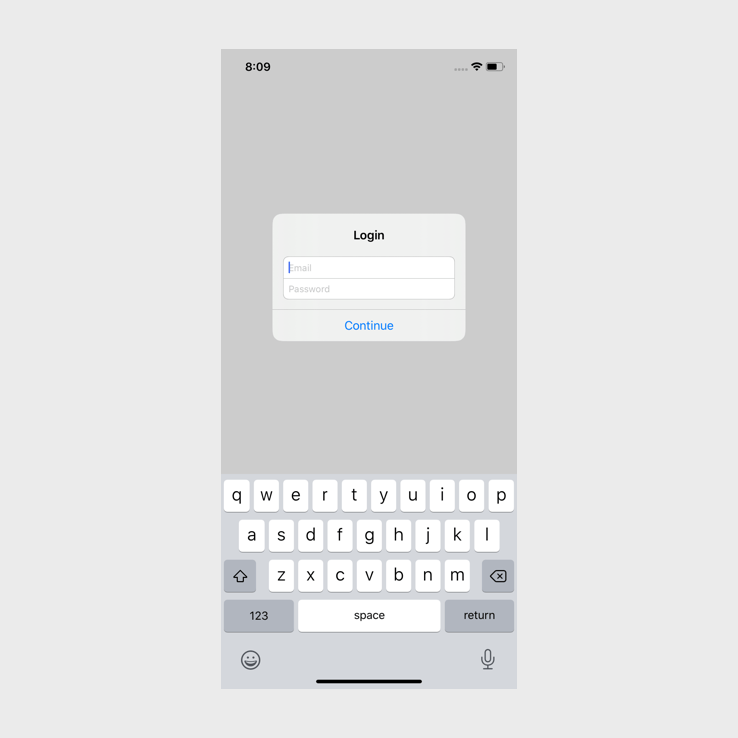
If you fill in the text fields and tap Continue the values should get printed in Xcode's console.
Conclusion
As I mentioned in the beginning of this post, adding a text field to an alert controller is a surprisingly easy task. Sometime these simple things can be far too difficult, but this almost works as expected, I just wish that there was a better way to get the values from the text fields, adding text fields as a value for a key would be great but maybe there are some performance implications with that.
If you want to see the full source code for this project, you can find it here.