Animate image change with Swift

Animating an image change with Swift is quite simple, all we need to do is use UIView.transition.
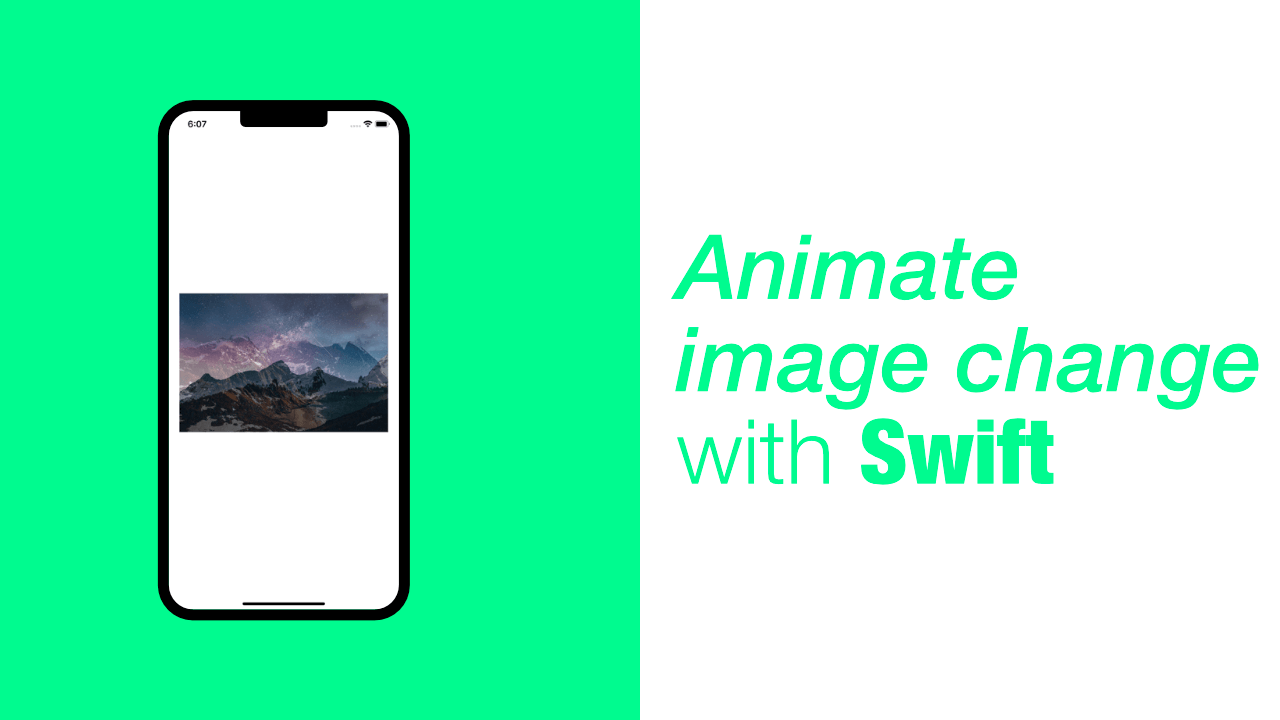
To do this I have created a new project and added a UIImageView to my Main.storyboard. I then created outlets to my ViewController for the UIImageView.
The next thing I done was add two images to my Assets.xcassets. These images are named image1 and image2 which you will see in the code. You can find these images here - image1, image2.
This is my full source code for my ViewController:
class ViewController: UIViewController {

    @IBOutlet weak var imageView: UIImageView!

    override func viewDidLoad() {
        super.viewDidLoad()

        self.imageView.image = UIImage(imageLiteralResourceName: "image1")

        // Do any additional setup after loading the view.
    }

    override func viewDidAppear(_ animated: Bool) {
        super.viewDidAppear(animated)

        UIView.transition(with: self.imageView,
                          duration: 2.0,
                          options: .transitionCrossDissolve,
                          animations: {
                            self.imageView.image = UIImage(imageLiteralResourceName: "image2")
        }, completion: nil)
    }
}
As you can see, in the viewDidLoad I set self.imageView.image to image1 and then in viewDidAppear I used UIView.transition in order to cross dissolve from image1 to image2.
The duration is set to 2 which means that it will take 2 seconds to complete the animation. For the animations argument we use a closure, in this closure we will set the image to image2.
Looking at the code above you will notice that I have put this code in the viewDidAppear method, this is because it does not work in viewDidLoad by default.
You should not put it in the viewDidLoad because this is when the view has been loaded but not yet displayed. Make sure you call the animations once the view has been displayed.
You can find the full project here.