Create a Swift framework

Breaking a project up into modules or frameworks can be a good strategy when building an iOS app. It will allow you to share the framework between multiple apps, you might also want to share the frameworks with other developers etc.
In this tutorial we will go through how one can create a framework. We will create two very simple projects. The first project will be called AnalyticFramework and the second project will be called MainApp.
The MainApp will import the AnalyticFramework, initialise the the Analytics class, and then call the log method. This is as simple as it gets when it comes to creating and using frameworks.
Let's get started on the tutorial.
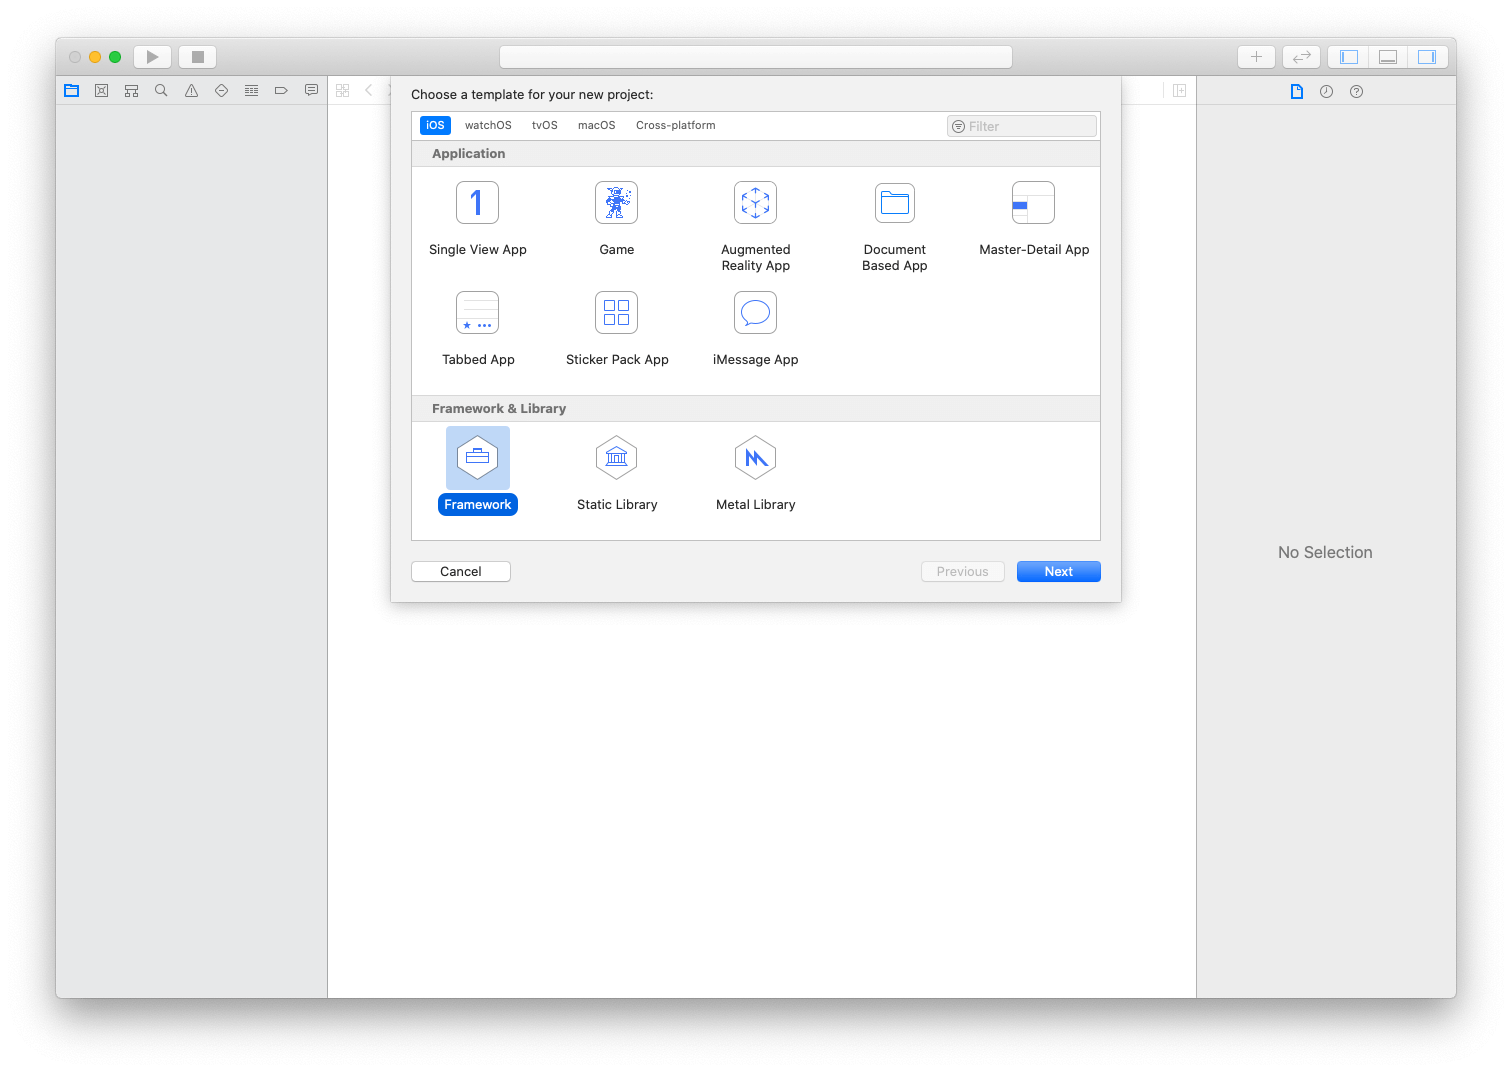
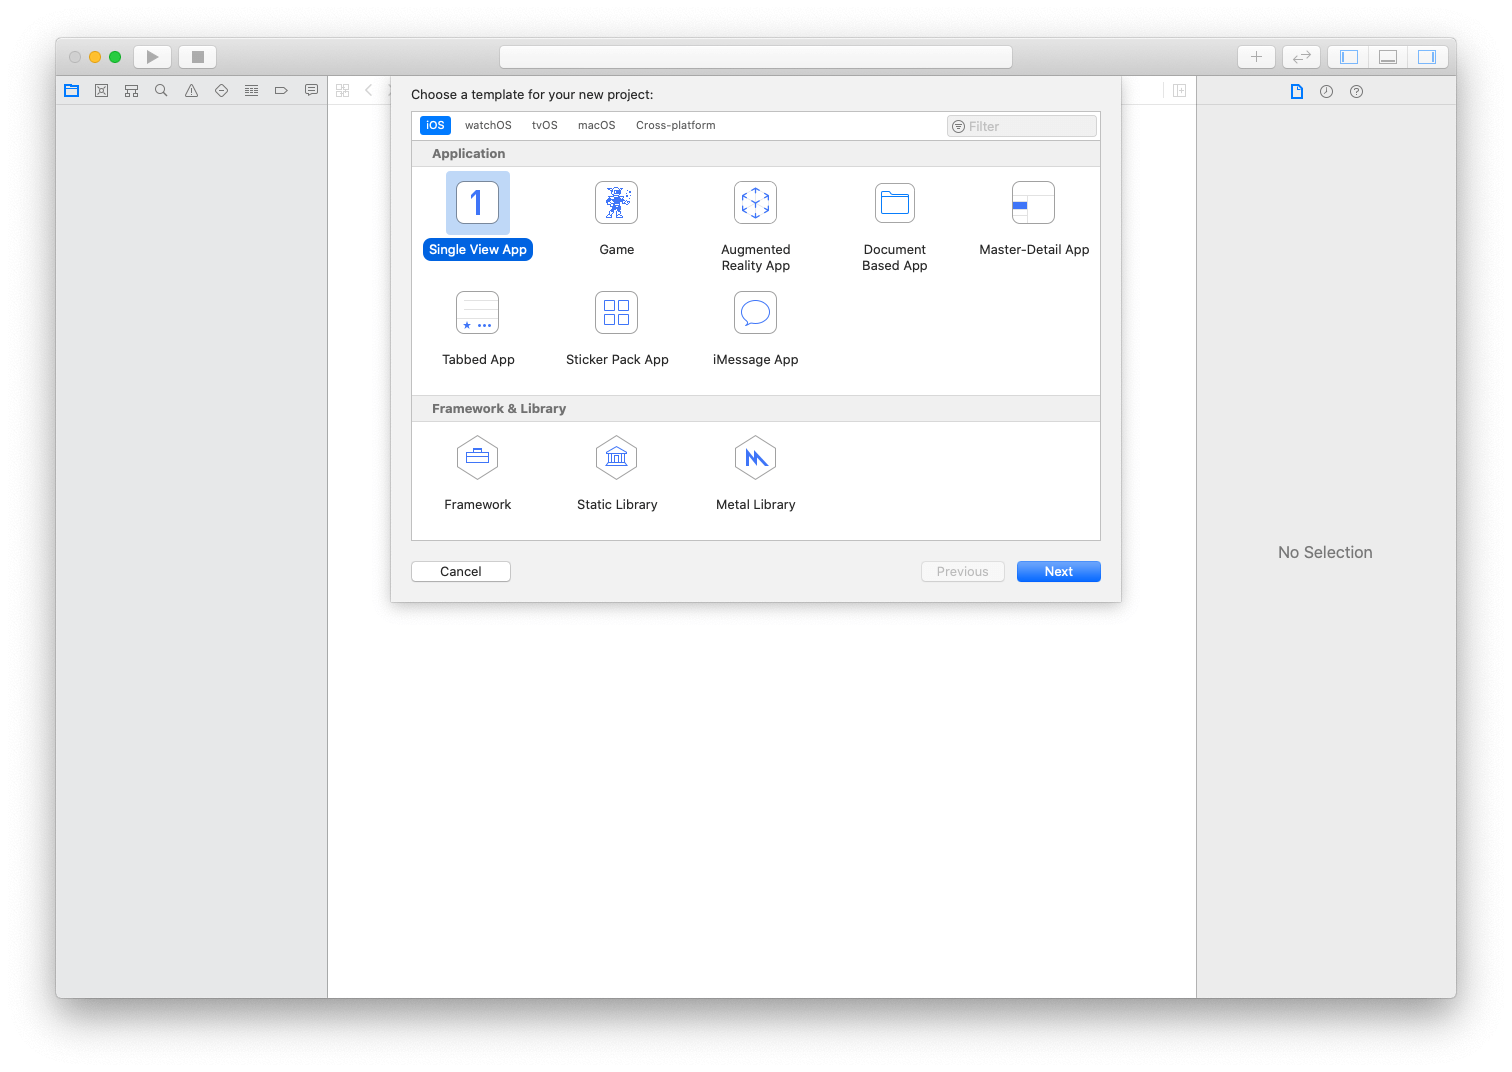
Step 1: Create a new framework
To do this you need to open Xcode and create a new project. But instead of choosing a project type from Application we need to choose Framework from Framework & Library:
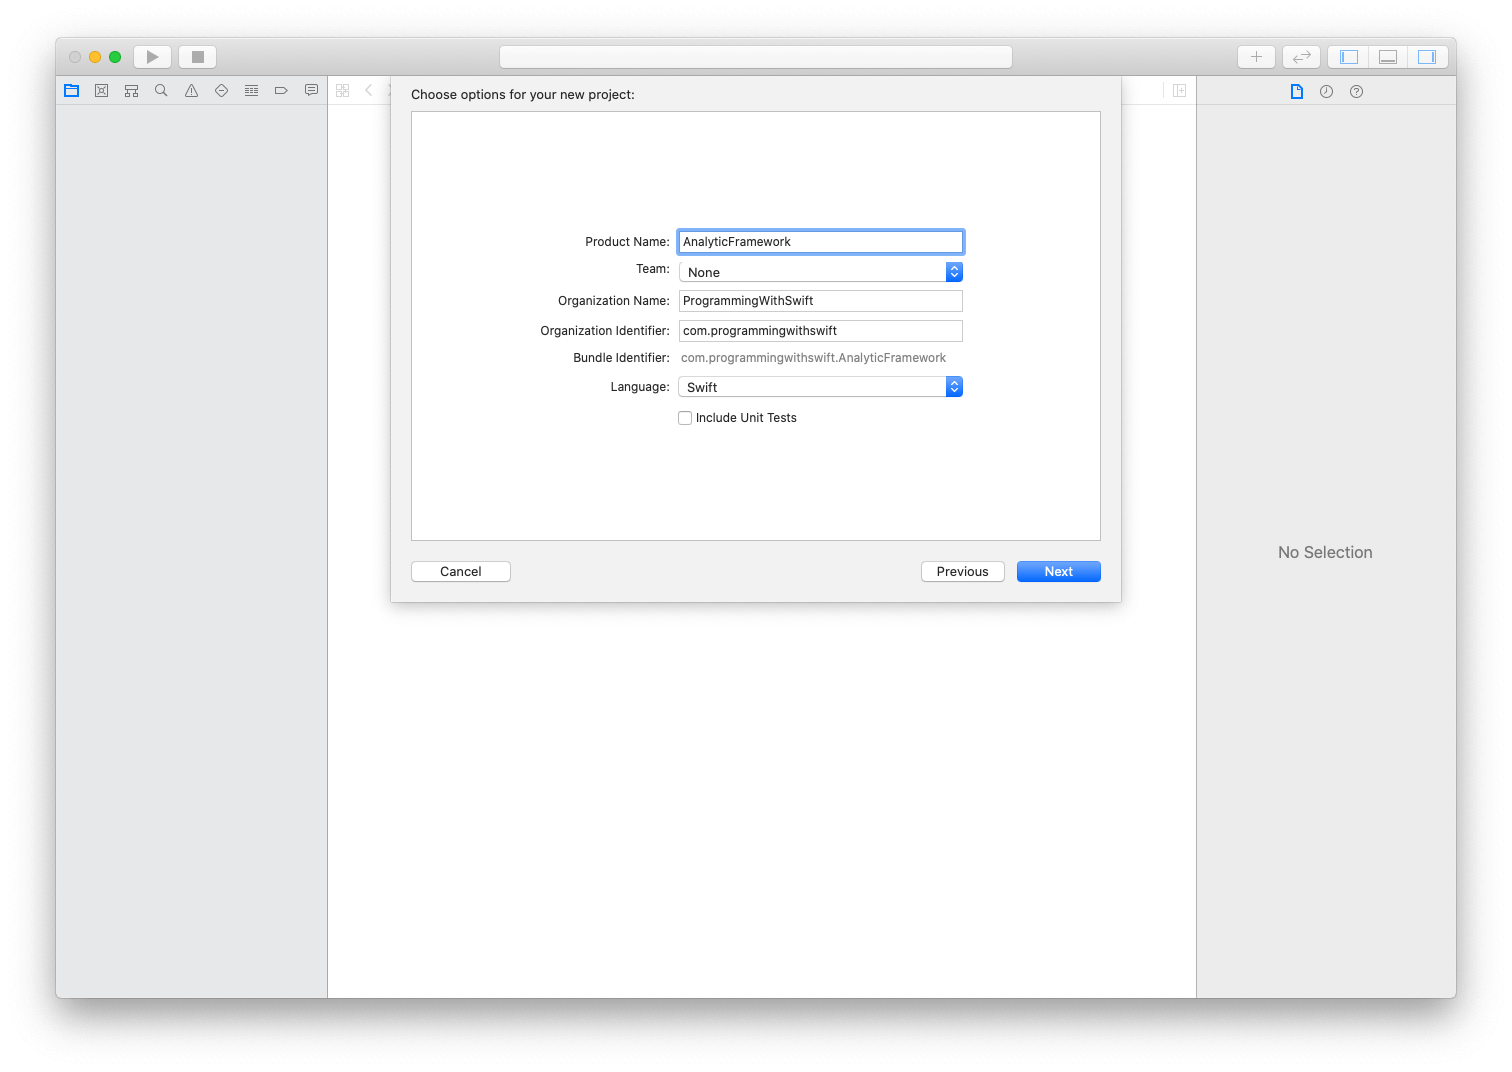
Step 2: Name the project AnalyticFramework
The name for the project is AnalyticFramework:
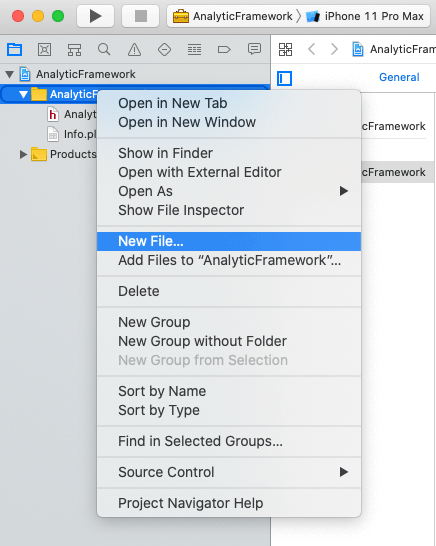
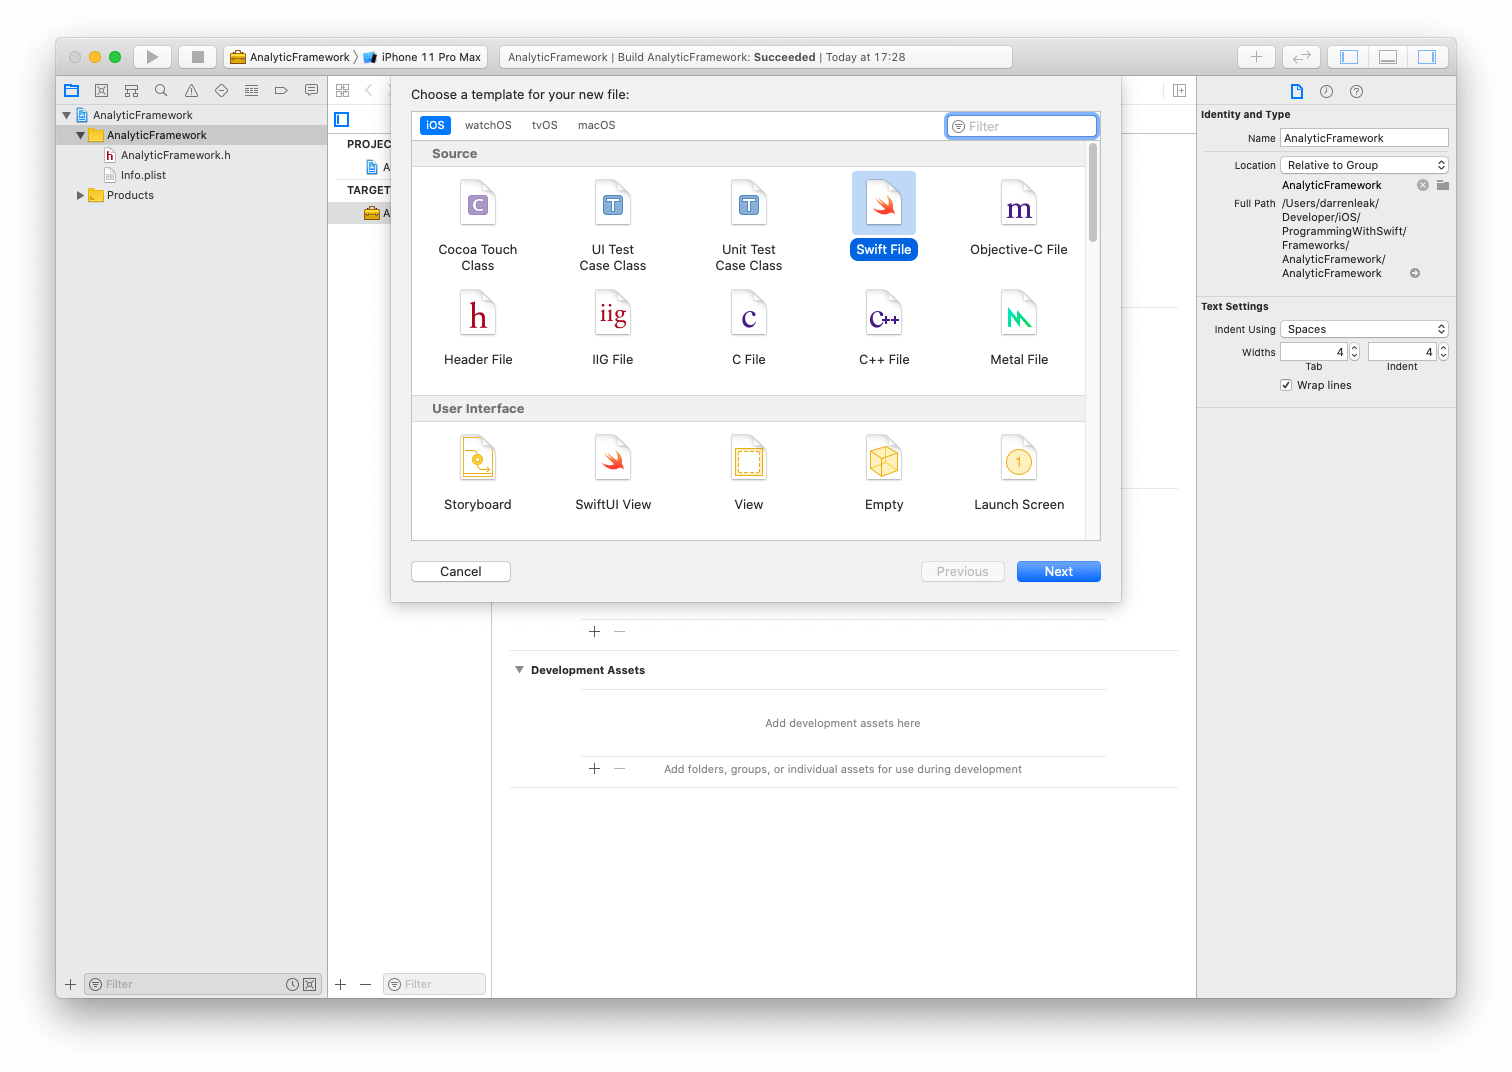
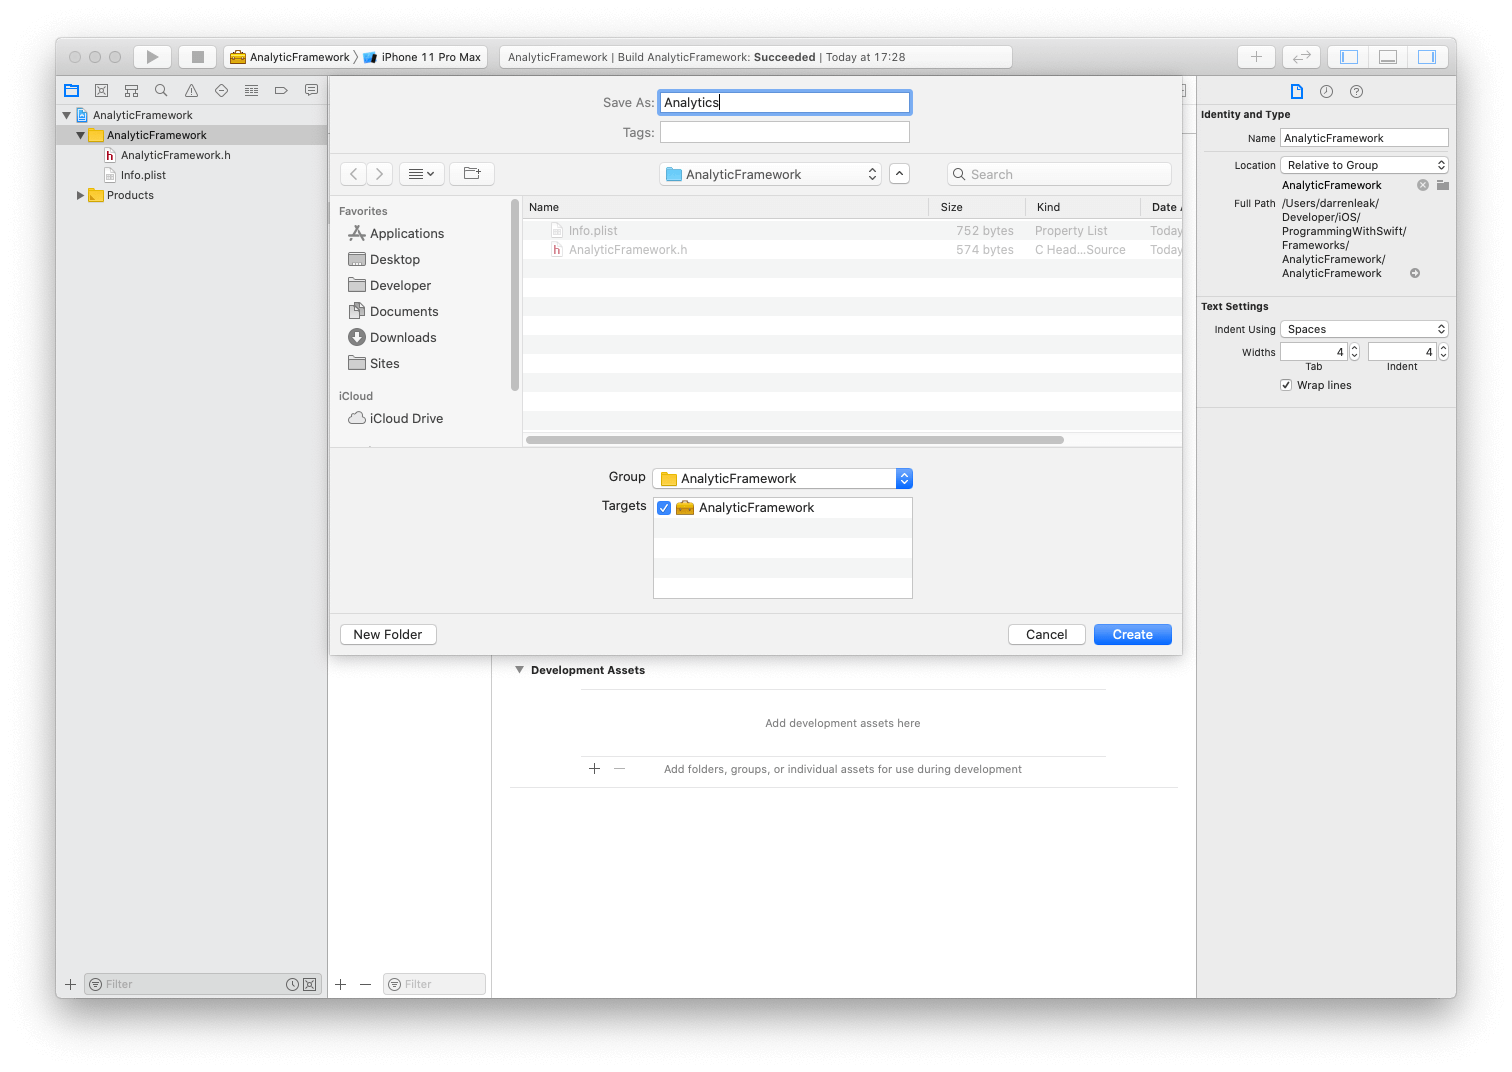
Step 3: Add the Analytics class to the Framework
We now need to add a new file to our project. This file will be our Analytics class that we will use later on to log a message.
Let's add a new file:
Make sure that it is a Swift file:
I have named my file Analytics:
Step 4: Writing the code for the Analytics class
In the new Swift file that we have created, we need to add the following code:
public class Analytics {
    public init() {}

    public func log(message: String) {
        print("Log message: ", message)
    }
}
This is a simple class, but because we want to use this class outside of our framework we need to mark it is as public.
We have a blank init method, this is because we need the init to be public in order to initliase Analytics in the MainApp, but for our purposes it doesn't take any arguments, so it we will keep it blank and just make it public.
The last part of our Analytics class is the log method. We need to make this public so that we can use it from another framework/project. The log method takes one argument, message, which it will print to the console.
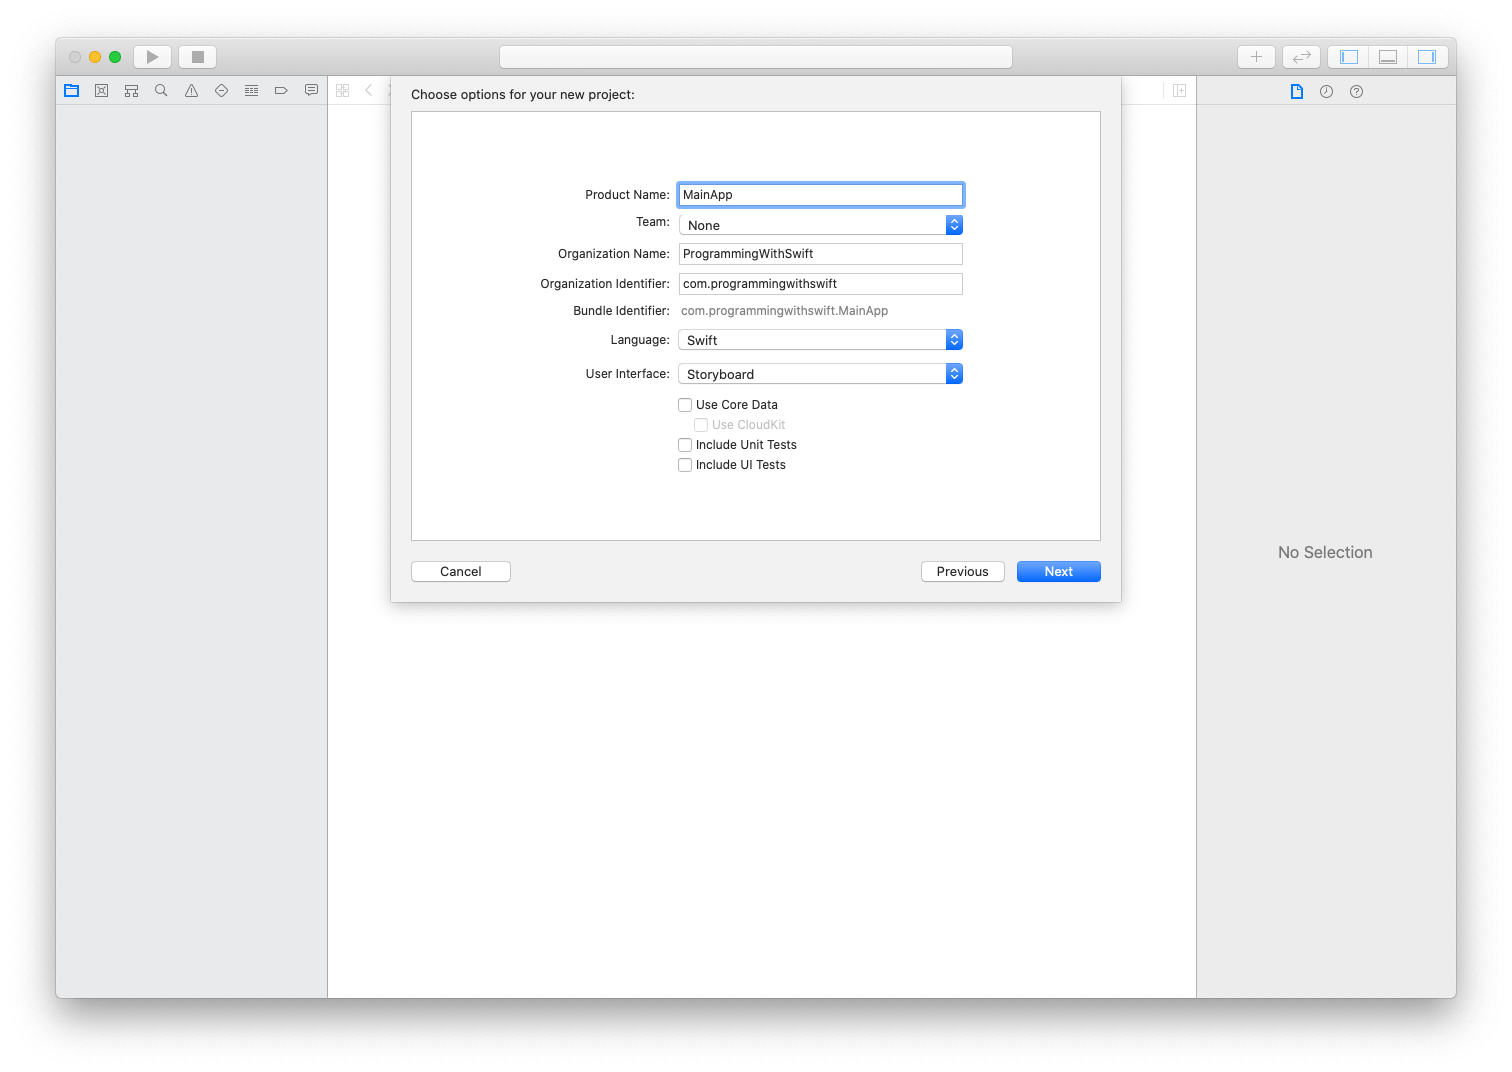
Step 5: Create the MainApp
We can now create a single view application for our main app:
Name it MainApp:
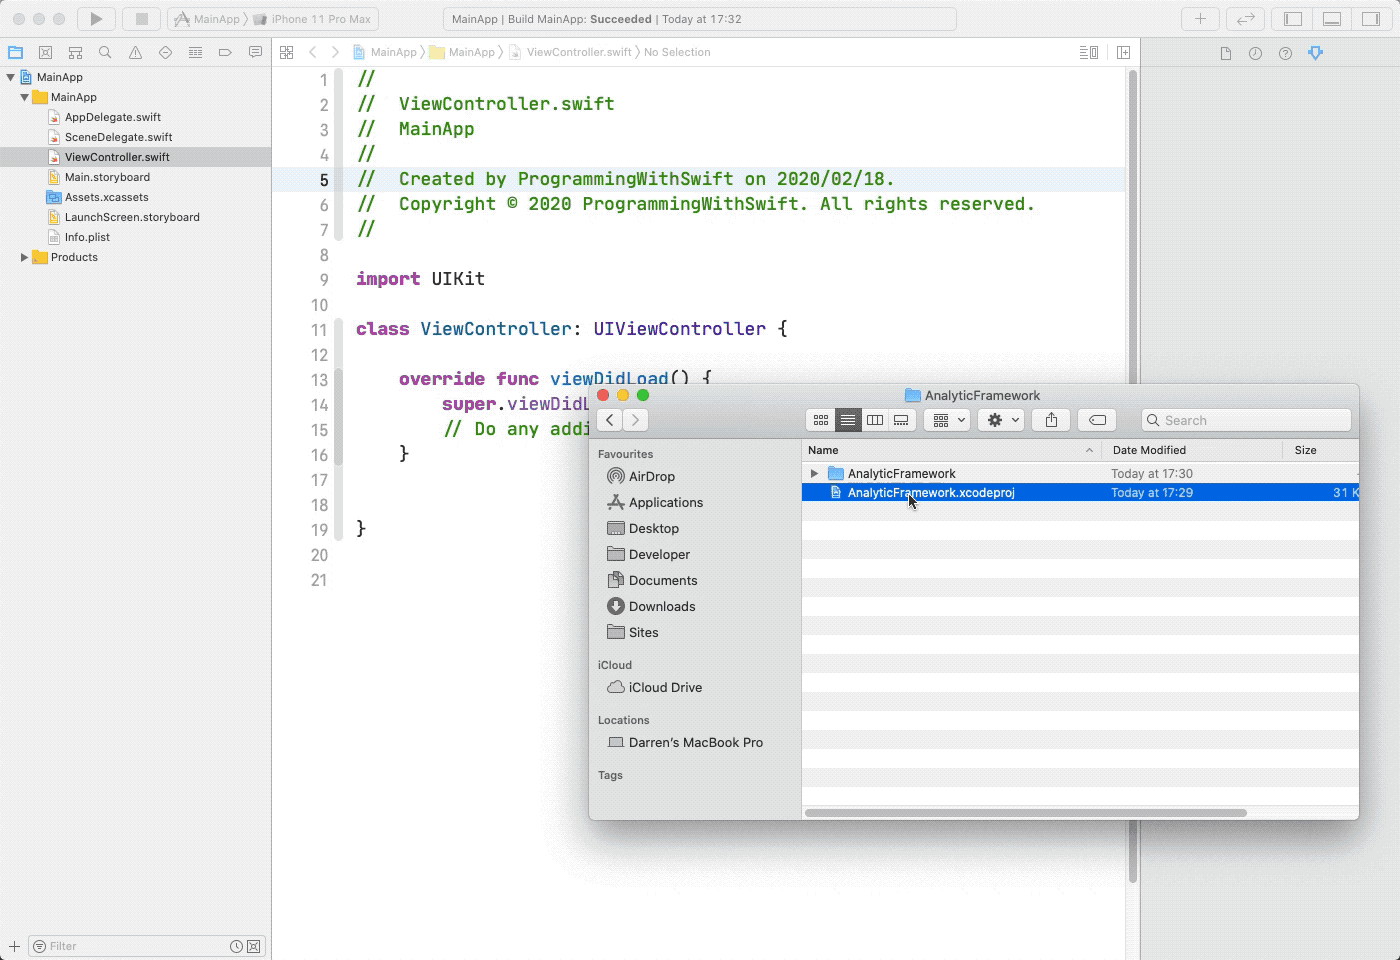
Now that we have our MainApp created, we can drag in the AnalyticFramework.xcodeproj:
When you are dragging in the AnalyticFramework make sure that you don't have another instance of Xcode open. When I tried to drag the framework in with multiple instances of Xcode it wouldn't work properly.
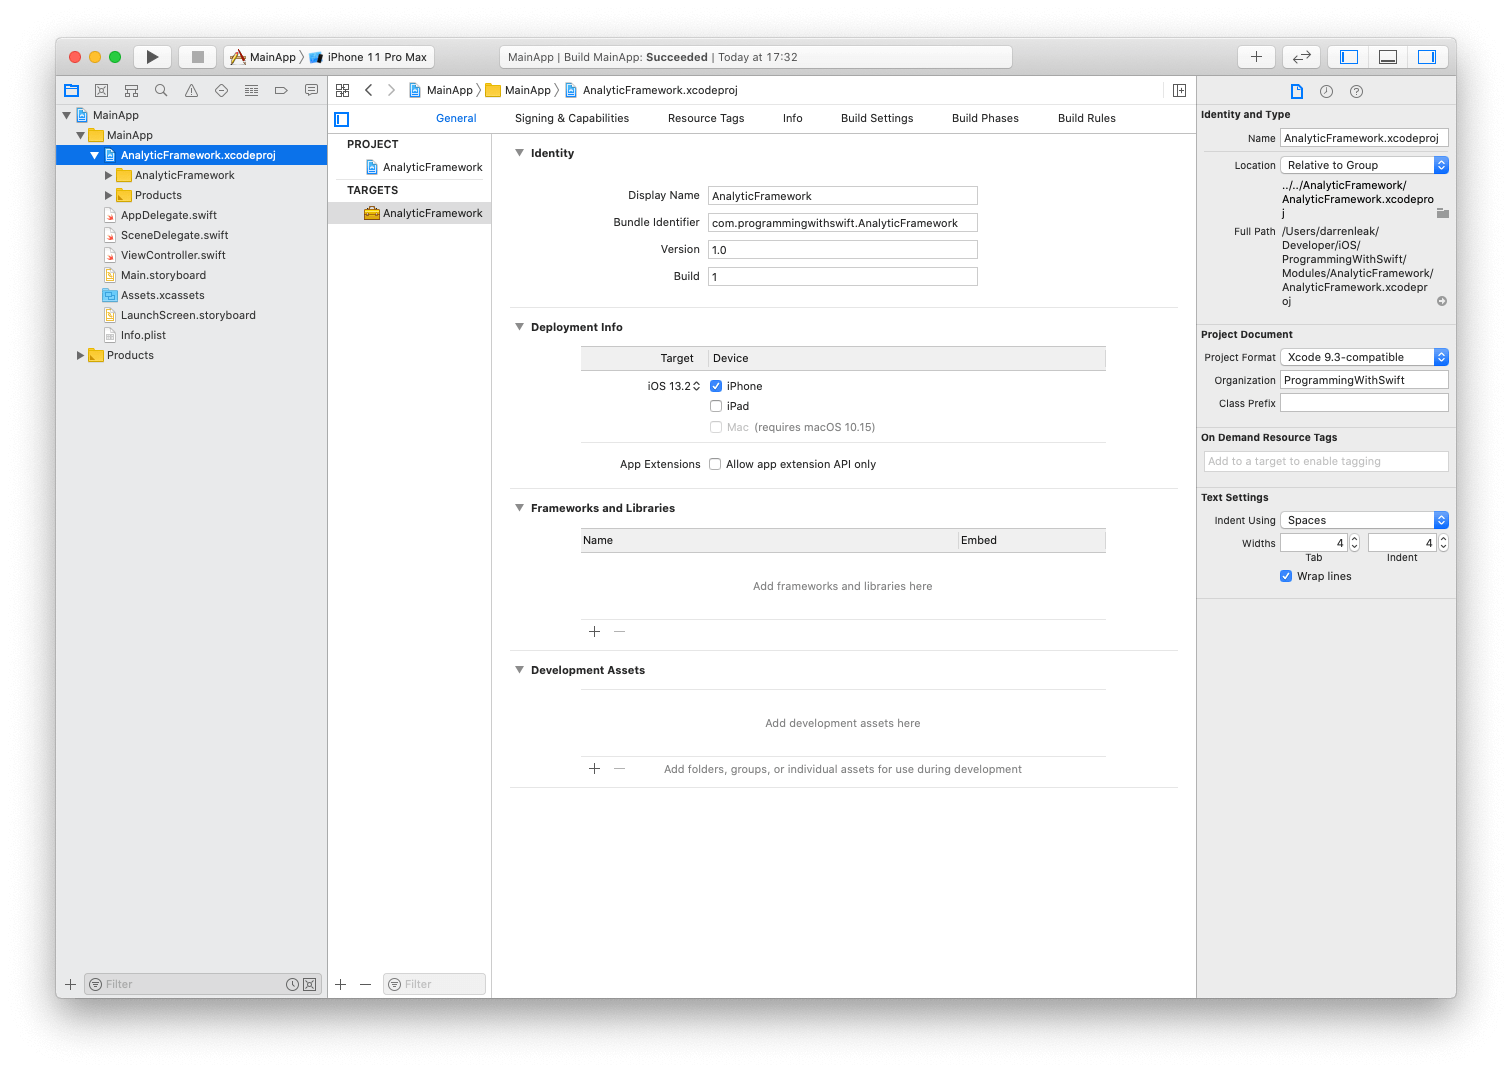
Once you have dragged in the framework it should have a little arrow next to it which will allow you to see the contents of that framework.
As shown in this picture:
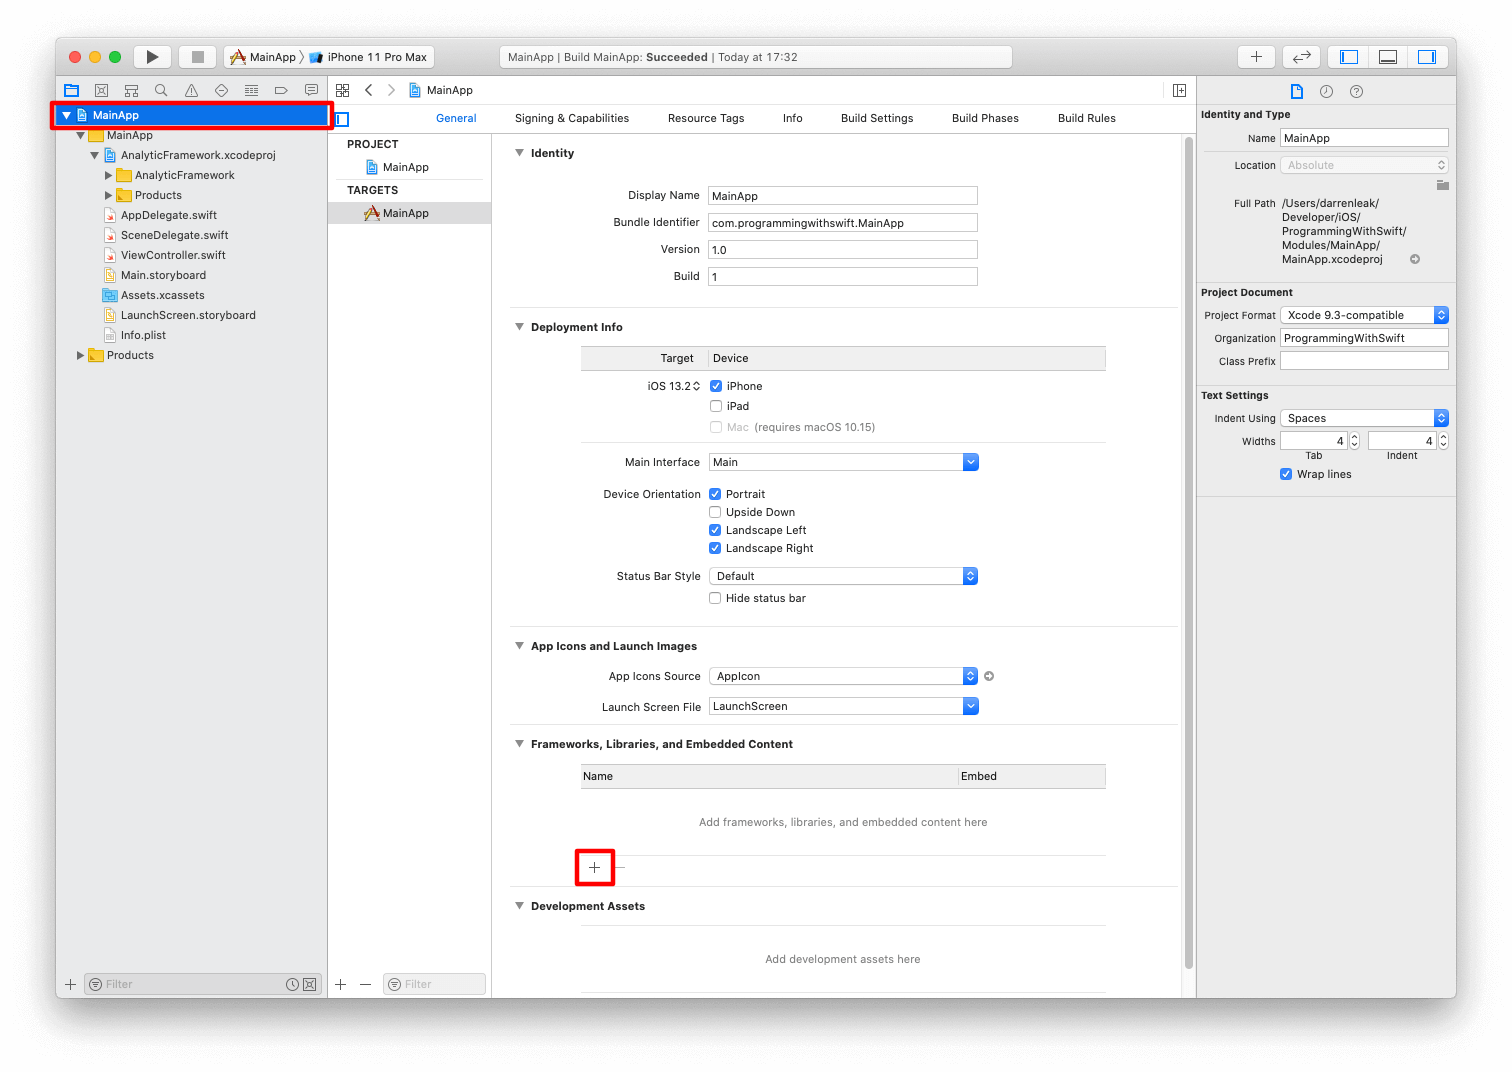
Step 6: Add the framework to Frameworks, Libraries and Embedded Content
To do this you will need to click on the MainApp project in the top left, go to the General tab and then look for Framework, Libraries and Embedded Content. Once you have found it, click on the + button.
You can see what needs to be done in the following image:
When you click on the + button you will get prompted to choose the framework you want to add, it will look like this:
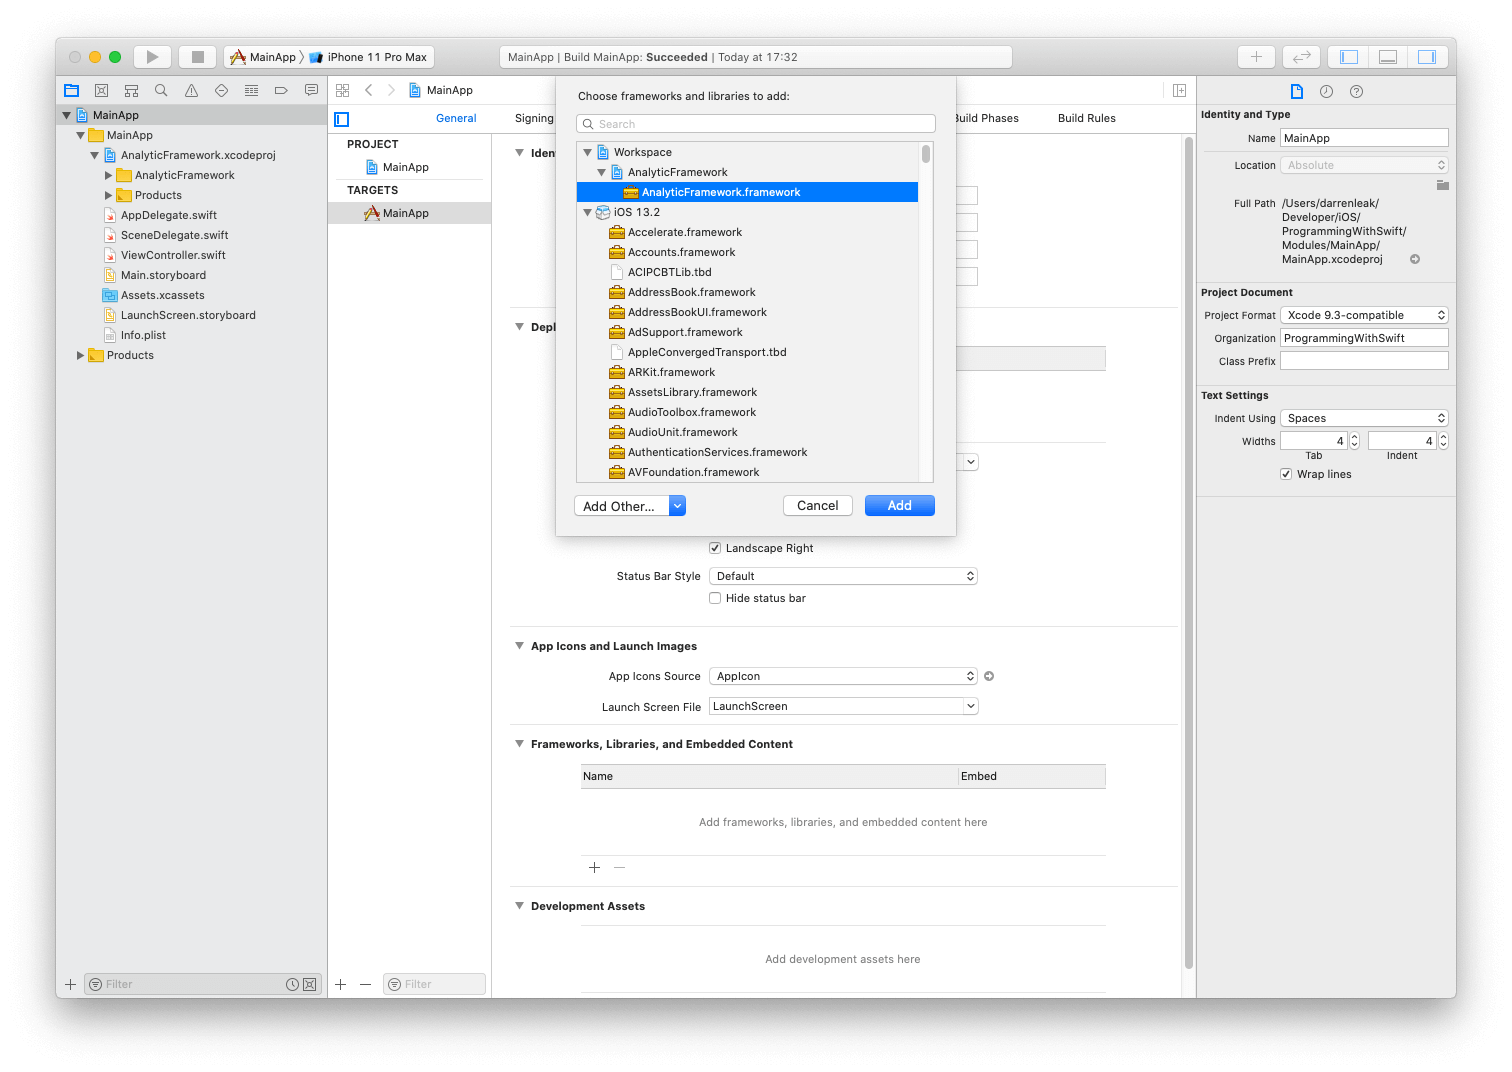
Make sure to select the AnalyticFramework.framework as it is in the above image.
Step 7: Use the framework
Now that we have everything setup we can use the framework. I am going to use it in the viewDidLoad in my ViewController file in MainApp.
Add the following import to the top of the file, below import UIKit:
import AnalyticFrameworkNext we need to update the viewDidLoad. Replace your current viewDidLoad with the following:
override func viewDidLoad() {
    super.viewDidLoad()

    let analytics = Analytics()
    analytics.log(message: "analytics initialized")

    // Do any additional setup after loading the view.
}
You should now be able to build and run the app. When you do, it will print out Log message: analytics initialized.
And there we go, that is all that is needed to create a framework using Swift. If you want the full source code you can find it here.