Create a UITableView with Swift

In quite a few of my tutorials I need to add a section that will explain setting up a UITableView even if the tutorial does not focus on UITableView specifically. I do this so that readers can see exactly what I have done from the start, who knows, maybe their issue is with something other part of the app.
Anyway, I have decided that it is best to write an article about how to setup the most basic UITableView.
Let's get started.
Step 1: Add a UITableView with Interface Builder
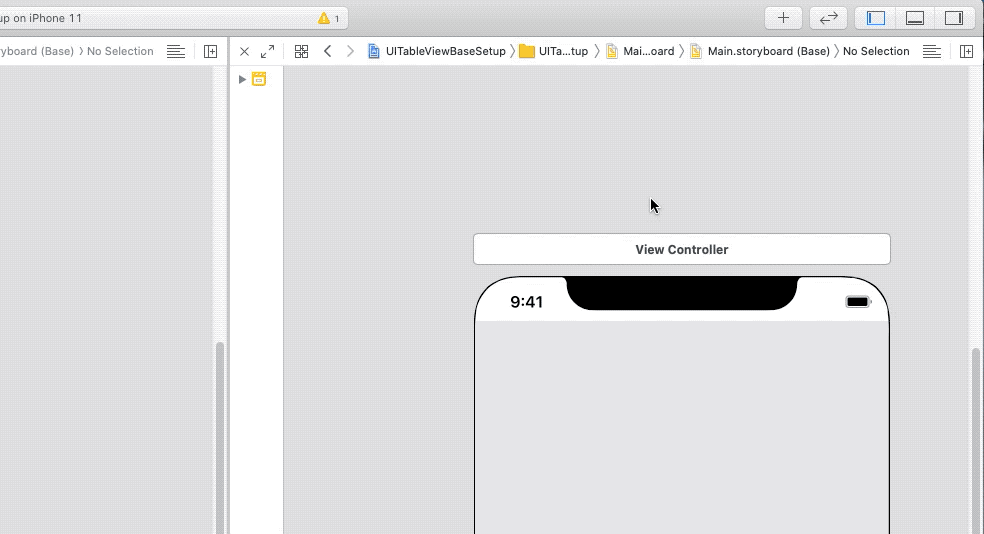
Open Interface Builder and press cmd + shift + l, this will open up the Library:
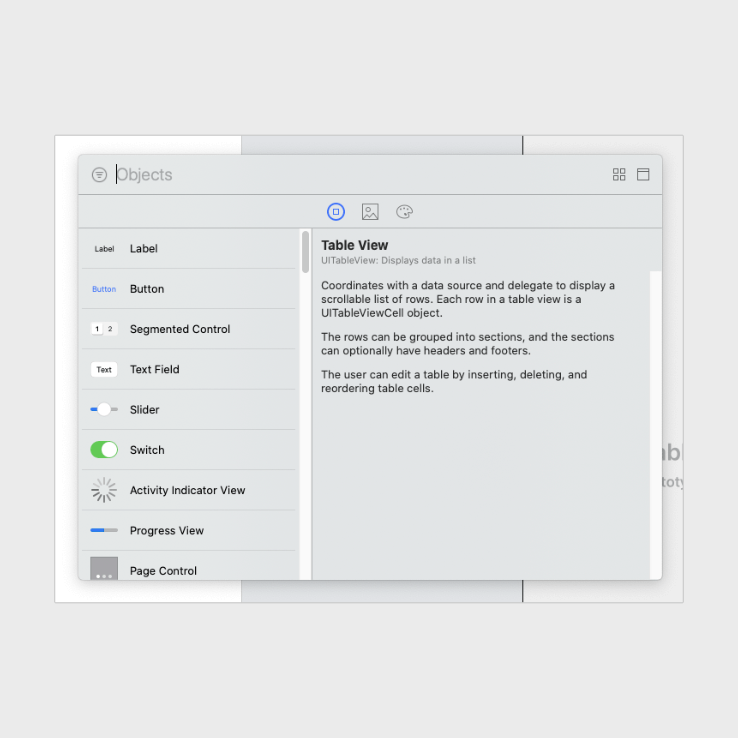
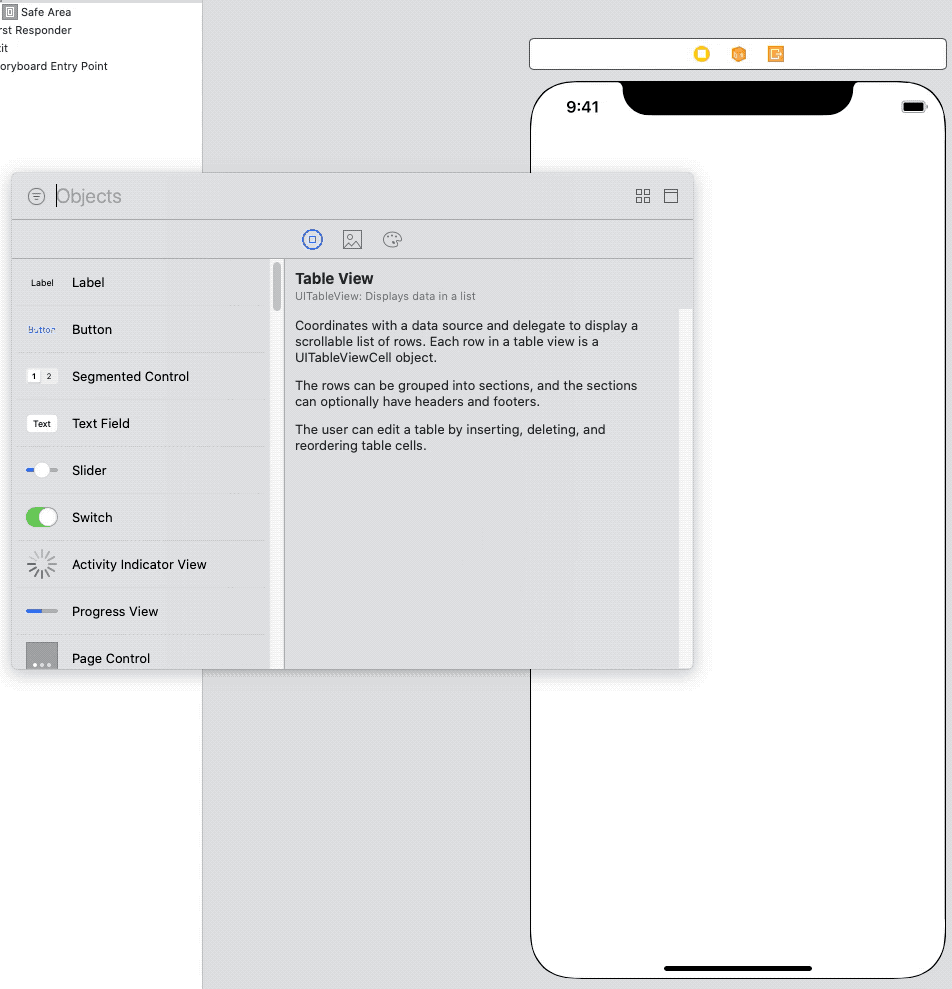
Once you see the library, type tableview. This will filter all the items in the Library and show you relevant views. Click and drag the table view item into the view that you want the table view to be in:
Once the table view has been added, you can resize it however you want. I am going to set the leading, trailing, top and bottom constraints to 0.
Step 2: Create an outlet for the UITableView
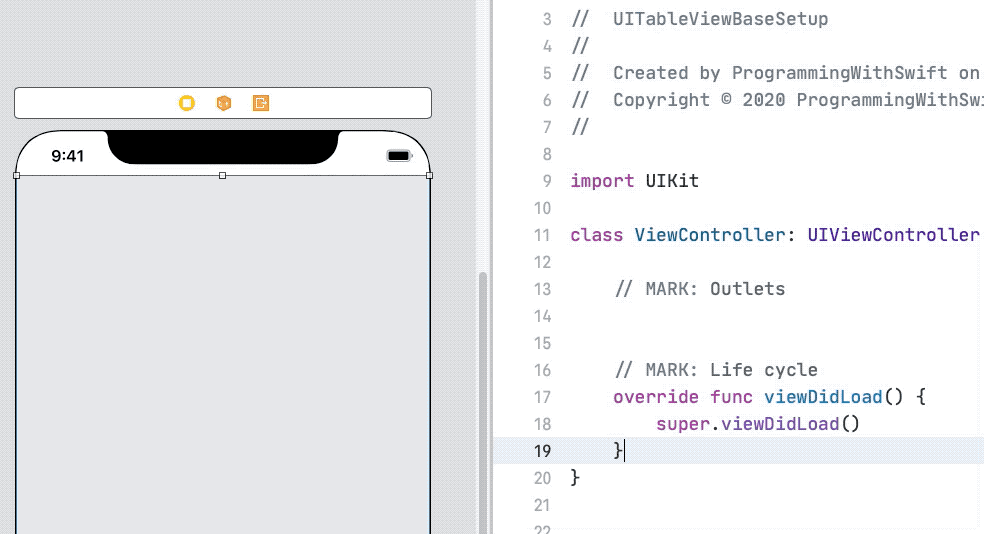
To create an outlet we need to open a new editor. To do this, go to Interface Builder and in the top right of the Jump Bar, you will see an icon like this:
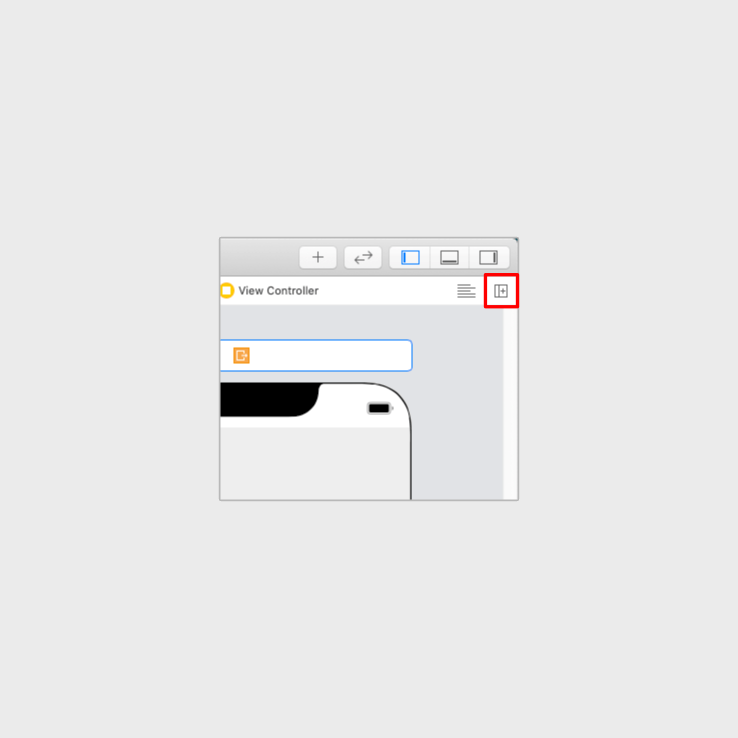
When you click on that, another editor will open. But it this case, it will be another Interface Builder that opens. To change this, you need to go to the Jump Bar in the new editor pane and choose your view controller:
Now that we have Interface Builder in one editor pane and code in the other editor pane, we can create the outlet. To create the outlet, right click on the table view in Interface Builder and drag it into the ViewController code. Like this:
Step 3: Adopt and Conform to UITableViewDataSource
Now that we have our outlet, we can adopt and conform to UITableViewDataSource. This will allow us to show information in the UITableView.
Adopt UITableViewDataSource
To adopt UITableViewDataSource we need to add it to the end of our class definition:
class ViewController: UIViewController, UITableViewDataSourceConform to UITableViewDataSource
To conform to UITableViewDataSource we need to implement two methods:
func tableView(_ tableView: UITableView, numberOfRowsInSection section: Int) -> Int {
    // Code Here
}

func tableView(_ tableView: UITableView, cellForRowAt indexPath: IndexPath) -> UITableViewCell {
	// Code Here
}
The first of these methods requires us to return the number of rows that we require for each section, we only have one section so we only need to return one value. The second method requires us to return the cell that we want to use in the table view.
Let's add the above two methods below the viewDidLoad. Once you have added the two methods we need to change their implementations.
Update numberOfRowsInSection to look like this:
func tableView(_ tableView: UITableView, numberOfRowsInSection section: Int) -> Int {
    return 5
}
We are hard coding the value of 5 for now. Later on we will update this to use a variable.
Next, let's change cellForRowAt to look like this:
func tableView(_ tableView: UITableView, cellForRowAt indexPath: IndexPath) -> UITableViewCell {
    return UITableViewCell()
}
Once again, this will not be the final implementation, we will be updating this soon, but this will prevent warnings from showing in Xcode.
Step 4: Add DataSource and Register UITableViewCell
Add a data source
To add a data source, we need to add a new property to ViewController. I am adding this property above the tableView outlet that we added earlier.
Add the following code above tableView:
let tableViewData = Array(repeating: "Item", count: 5)With the above code we are instantiating an array with five string elements, each with the value of Item. This is all that we are going to need for our data source.
Register a cell
Now that we have our data source, let's register a UITableViewCell that we can use in our table view.
Update your viewDidLoad to look like the following:
override func viewDidLoad() {
    super.viewDidLoad()

    tableView.register(UITableViewCell.self,
                       forCellReuseIdentifier: "TableViewCell")
}
The last thing that we are doing in this method is to register a default table view cell. This will allow us to reuse the cell later on.
Step 5: Update UITableViewDataSource method implementations
Now that we have all of that code done, we can update our data source methods. First method that we need to update is the numberOfRowsInSection method.
Update numberOfRowsInSection to look like the following:
func tableView(_ tableView: UITableView, numberOfRowsInSection section: Int) -> Int {
    return self.tableViewData.count
}
The reason that we have done this is so that when the data source has new elements added to it, we will be able to see those new elements in the table view when/if we reload the table view.
Next, update cellForRowAt with the following code:
func tableView(_ tableView: UITableView, cellForRowAt indexPath: IndexPath) -> UITableViewCell {
    let cell = tableView.dequeueReusableCell(withIdentifier: "TableViewCell",
                                             for: indexPath)
    cell.textLabel?.text = self.tableViewData[indexPath.row]
    return cell
}
In the above function, we dequeue a table view cell, to do this we use the identifier, TableViewCell, which comes from when we registered our UITableViewCell earlier.
After that, we use indexPath.row to get the row index which we can use to retrieve the corresponding value from our tableViewData array. We then assign the value that we get from tableViewData to the default textLabel.text that comes with the default UITableViewCell.
Lastly we return the cell.
Everything seems to be done! Let's build and run the app to see how it looks:
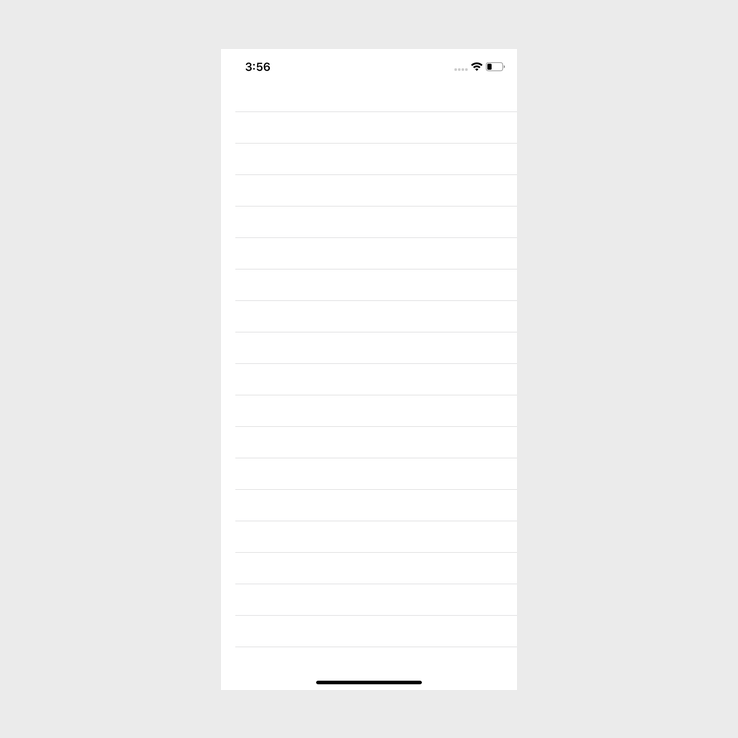
Not exactly what we were expecting. There is one thing that we need to add.
At the bottom of viewDidLoad add the following code:
tableView.dataSource = selfThis tells the tableView that ViewController implements the UITableViewDataSource protocol.
If we build and run the app now we should see the following:
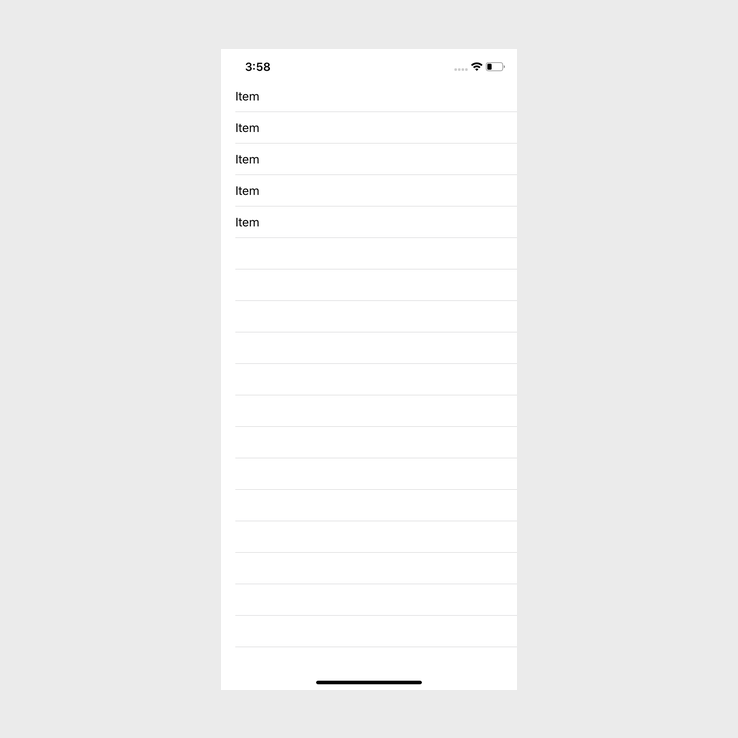
Great! Everything is now working as expected!
Conclusion
Even though this tutorial was a bit long, adding a tableview to your project is quite easy, and because you will be doing it so often it becomes second nature.
You can find the full source code for this tutorial here.