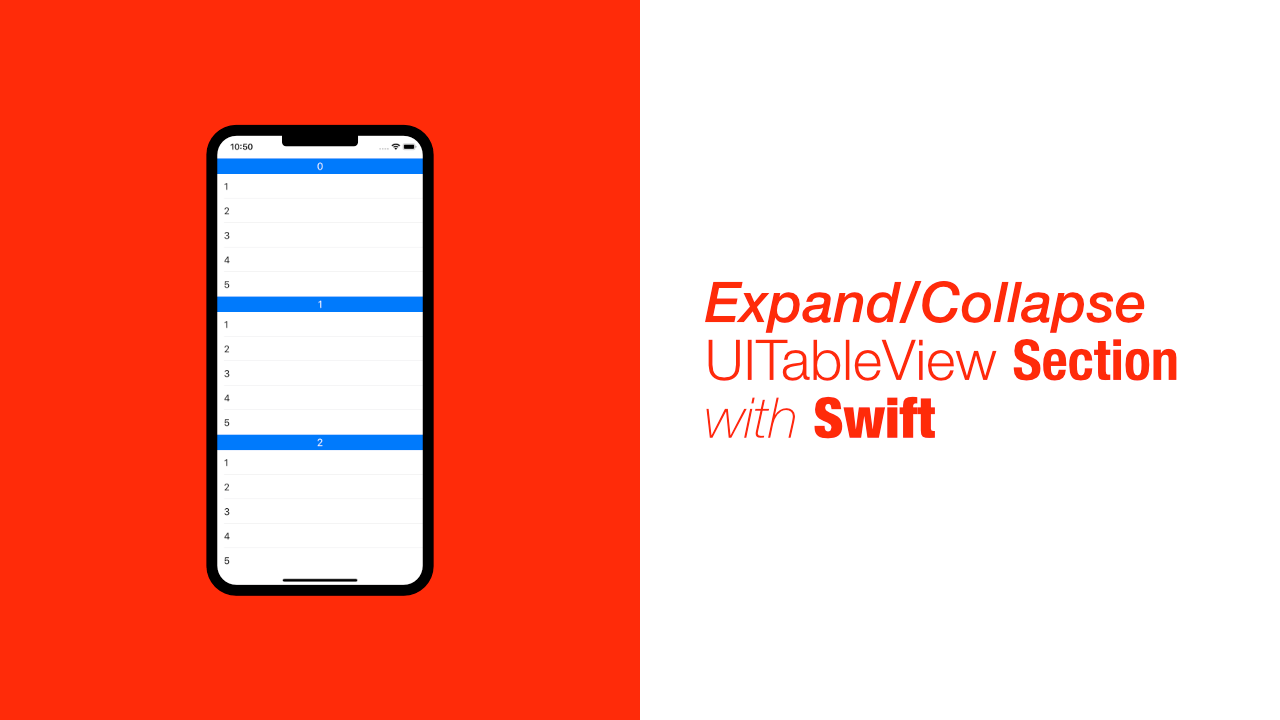
Expand/Collapse UITableView Section with Swift

UITableView is one of the most used views in iOS development. They can be used for lots of reasons. You might use them to build a form, to display a list of items, build a comment section etc. Some use cases for a table view require that cells or sections are able to expand and collapse in order to control the amount of data that gets shown to the user.
In this tutorial we will learn how to expand and collapse a tableview section. If you want to expand and collapse tableview cells, consider using sections instead as it makes it much easier to expand and collapse.
The final app will look like this:
What do we need?
Besides the tableview and conforming to UITableViewDataSource and UITableViewDelegate, we need a datasource, which is a given, but we also need a way to track the sections that are expanded and collapsed.
There are a couple of ways to do this. In this tutorial we will not be updating our datasource to keep state of which sections are expanded or collapsed. Some tutorials require the datasource to know which sections are collapsed or not.
If you need to create a tableview that can be used in multiple places and it needs to have the sections expand and collapse then I would suggest using some kind of data model that will keep track of which sections are expanded or collapsed, in that case I will link to a tutorial in the conclusion of this tutorial. If you wanted, you could easily convert the code in this tutorial to work in a separate model.
For this tutorial we just want to have this functionality on one tableview, so we will make the view controller know what the state of the tableview is.
Before we start
I am starting with a blank project, and I will be going through the process from start to finish. If you already have a tableview setup please skip to Step 5.
Step 1: Adopt UITableViewDelegate and UITableViewDataSource
Adopting these two protocols are easy, update your ViewController to look like this:
class ViewController: UIViewController, UITableViewDataSource, UITableViewDelegateWe will be using both UITableViewDataSource and UITableViewDelegate methods in this tutorial, so we will need to adopt both of these protocols.
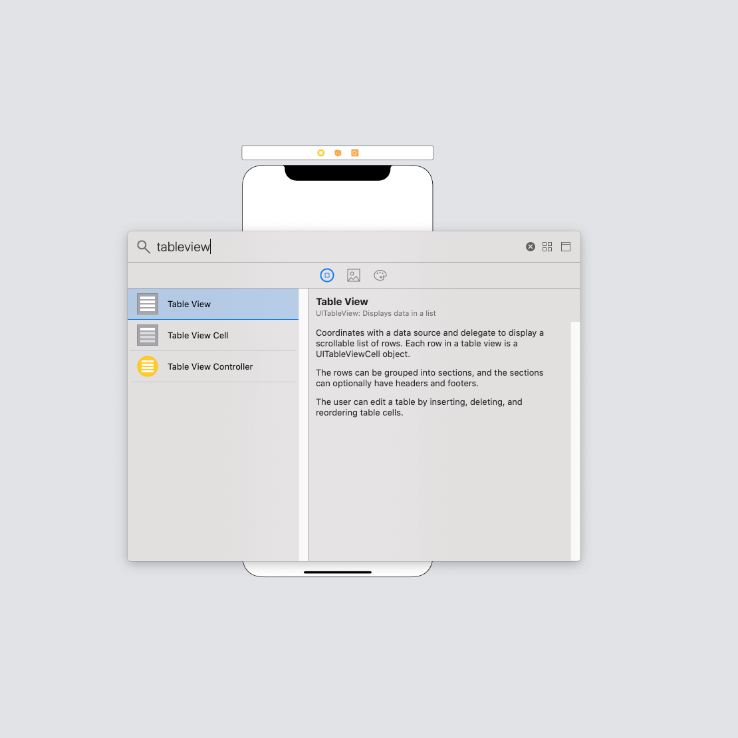
Step 2: Add the UITableView
The first thing that we need to do is to add the tableview to our view controller. Open up the Main.storyboard and add a tableview to the view controller:
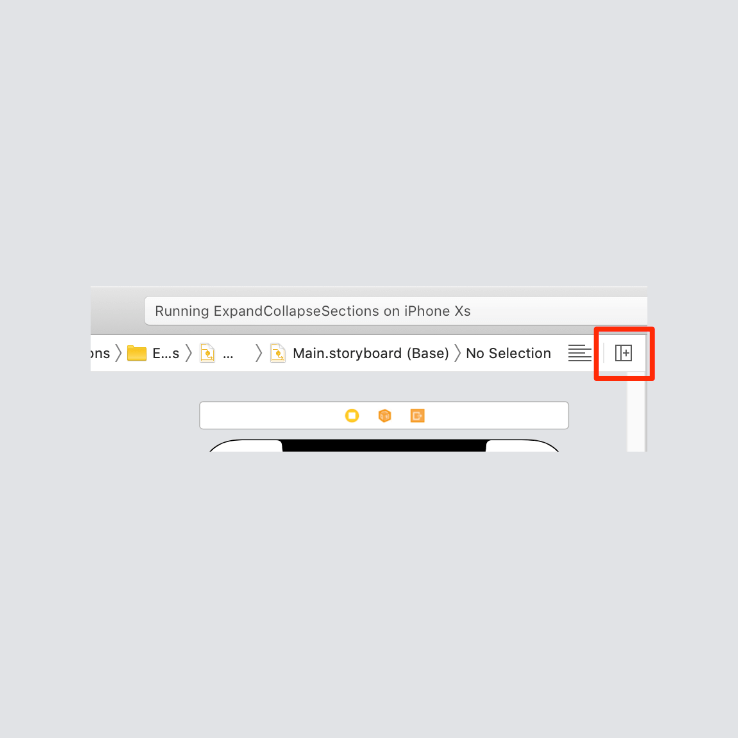
The next thing we need to do is to add constraints to the tableview to make it fill most of the screen. To add the constraints click on the icon that I have highlighted with a red square in the bottom right:
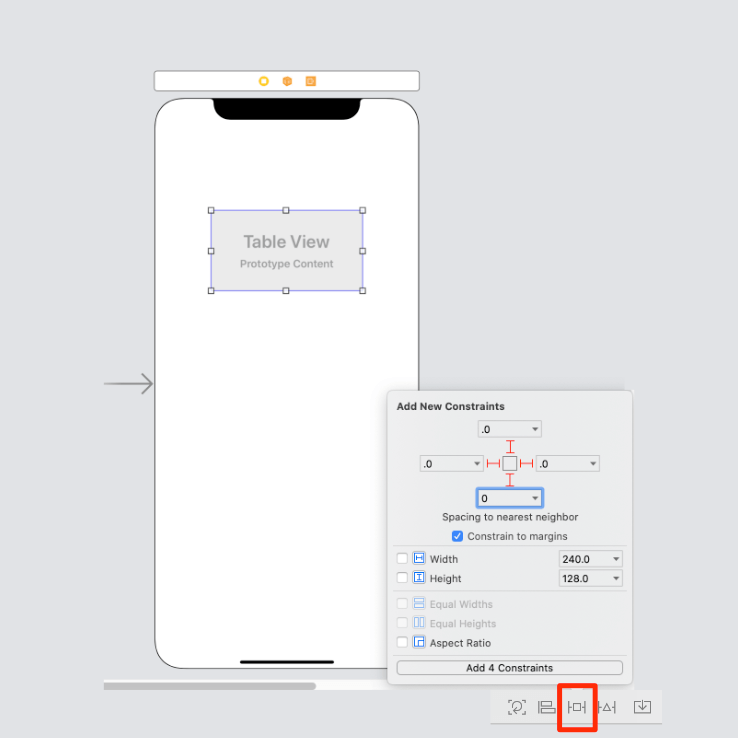
As you can see, I have changed all the constraints to be 0, but I also have Constrain to margins checked.
Now that we have the tableview added to our view controller in Interface Builder, we need to connect it to our code, use the click on Add editor on Right(See image below) and then in the right hand side editor navigate to your ViewController class.
We can then add an outlet by dragging the tableview into the code using the right button on your mouse:

Once you have the outlet we are done with adding the tableview to our project. In the next step we will be setting up our state that keeps track of the collapsed sections, and we will create our datasource.
Step 3: Create data and collapsed state
Creating the state and data is very simple, we will add our data first because that is the easiest, and then we will look at the state of our collapsed sections.
Add the following code to you ViewController:
let tableViewData = [
    ["1","2","3","4","5"],
    ["1","2","3","4","5"],
    ["1","2","3","4","5"],
    ["1","2","3","4","5"],
    ["1","2","3","4","5"],
]
As you can see the datasource is very basic. It is a two dimensional array so that it is easy to get our sections working.
Next let's take a look at our state:
var hiddenSections = Set<Int>()This is all our state is. It will store the section indexes, this will allow us to return a different number of cells depending on the section later on.
We are using a Set for this. The reason why we are using a Set is because it fits our use case better than an array would, here are the reasons:
- A
Setis unordered, because of what we are building we do not need our sections to be in order, so unordered will not be an issue for us. - A
Setonly allows distinct values(no duplicates). This means that we will never be able to make the mistake of adding the same section index more than once. - Lastly a
Sethas the correct performance characteristics in our case. To be able to use aSetthe type that we are using is required to be hashable. This allows for fast lookups, so later on when we check to see if theSetcontains a value, it will be fast no matter how big theSetgets.
Step 4: Implement tableview datasource and delegate methods
There are four methods that we will be using, numberOfSections, numberOfRowsInSection, cellForRowAt and viewForHeaderInSection.
We are going to start off with the two quickest methods to implement, numberOfSections and cellForRowAt.
Add the following method to your view controller:
func numberOfSections(in tableView: UITableView) -> Int {
    return self.tableViewData.count
}
This is where the two dimensional array helps out in this example. All we need to do is return the count of the tableViewData array.
The next method we need to implement is cellForRowAt, add the following code to your view controller:
func tableView(_ tableView: UITableView, cellForRowAt indexPath: IndexPath) -> UITableViewCell {
    let cell = UITableViewCell()
    cell.textLabel?.text = self.tableViewData[indexPath.section][indexPath.row]

    return cell
}
In this method we are creating new cells, not sections, so we are creating a new instance of UITableViewCell. This will happen for each element in the child arrays of tableViewData.
We are setting the textLabel's text using the values from our tableViewData. Once we have set the text we return the cell.
At the moment your app will not be able to build, in order for the app to build we need to implement the numberOfRowsInSection method.
Add the following to your view controller:
func tableView(_ tableView: UITableView, numberOfRowsInSection section: Int) -> Int {
    // 1
    if self.hiddenSections.contains(section) {
        return 0
    }

    // 2
    return self.tableViewData[section].count
}- We check to see if our
hiddenSectionscontains the section. If it does, we return0to indicate that there are no rows in this section. - If the current section is not in the
hiddenSectionswe return the row count for the current section.
If you build and run the app now, you should see this:
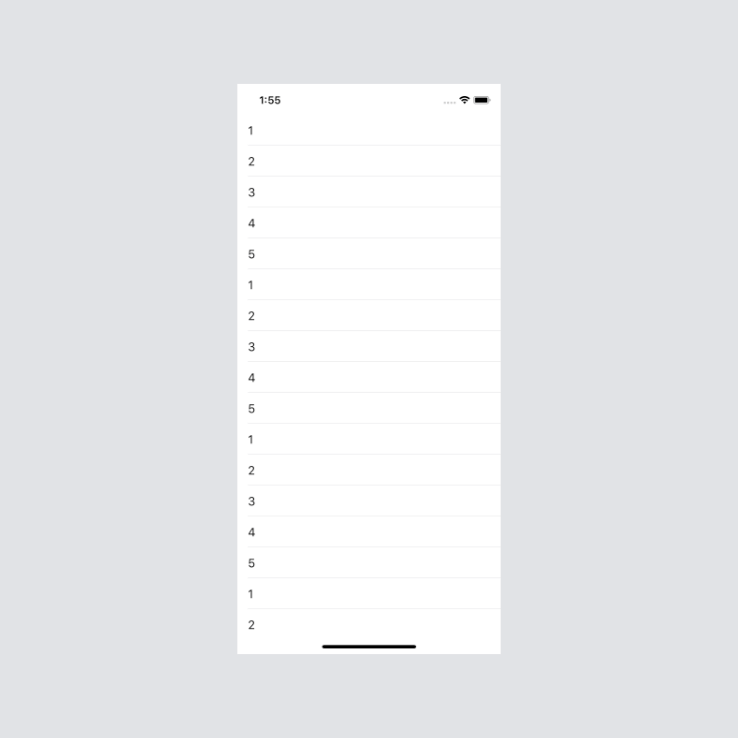
Now that we have all of our data populating the tableview we can add our section headers using viewForHeaderInSection.
To do that add the following code:
func tableView(_ tableView: UITableView, viewForHeaderInSection section: Int) -> UIView? {
    // 1
    let sectionButton = UIButton()

    // 2
    sectionButton.setTitle(String(section),
                           for: .normal)

    // 3
    sectionButton.backgroundColor = .systemBlue

    // 4
    sectionButton.tag = section

    // 5
    sectionButton.addTarget(self,
                            action: #selector(self.hideSection(sender:)),
                            for: .touchUpInside)

    return sectionButton
}
We are now creating a button which will be the header view for each section. This will allow us to tap the header to expand and collapse it.
- Create a new instance of
UIButton. - Set the title of the button. We will set the title to current section.
- Set the background of our button to
.systemBlue. - Set our button tag to the section. I do not like using tags, but for this example it is fine. If you want you could subclass
UIButtonand create a button that has a model which will allow you to store more information. - Add a target to our button. This will allow us to expand and collapse our section. You will get an error at this point because we have no implemented the
hideSectionmethod yet. We will do that in the next step.
Step 5: Create hideSection method
The hideSection method will take one argument which will be of type UIButton. The header button will be passed as the argument, which is the reason that we had to set the tag on the button.
hideSection will also have a nested method called indexPathsForSection which will allow us to easily delete and insert rows into the section that we want to expand or collapse.
We will g0 through this method step by step. Add the following code to your view controller:
@objc
private func hideSection(sender: UIButton) {
    // Create section let
    // Add indexPathsForSection method
    // Logic to add/remove sections to/from hiddenSections, and delete and insert functionality for tableView
}
Currently this method does nothing. I have added the comments to layout the structure of the method.
Replace the first comment with the following:
let section = sender.tagWe will be using the section in multiple places so it is easier to create a let for this. It also makes more sense to use a variable called section compared to sender.tag.
Next we will add the indexPathsForSection nested method. This method will return an array of IndexPath's. We need to return an array because the delete and insert methods on the tableview expect an array of IndexPath's.
Replace the second comment, Add indexPathsForSection method, with the following:
func indexPathsForSection() -> [IndexPath] {
    var indexPaths = [IndexPath]()

    for row in 0..<self.tableViewData[section].count {
        indexPaths.append(IndexPath(row: row,
                                    section: section))
    }

    return indexPaths
}
In the above method the first thing that we do is initialise an array of type IndexPath because that is our return type.
Next we will loop through the row count of the current section, and create and append a new instance of IndexPath using the row from the for loop, and the section.
Then we will return the IndexPath array.
The last part of the hideSection method is to add and remove items from our hiddenSections set as well as insert and delete rows from our tableview based on the hiddenSections.
Replace the last comment with the following:
if self.hiddenSections.contains(section) {
    self.hiddenSections.remove(section)
    self.tableView.insertRows(at: indexPathsForSection(),
                              with: .fade)
} else {
    self.hiddenSections.insert(section)
    self.tableView.deleteRows(at: indexPathsForSection(),
                              with: .fade)
}
We check to see if hiddenSections contains the current section. If it does, then we will remove the current section from hiddenSections and we will insert the rows back at the index paths that indexPathsForSection returns.
If hiddenSections does not contain the current section, we will add the current section and then delete the rows that indexPathsForSection returns.
The hideSections method should look like this:
@objc
private func hideSection(sender: UIButton) {
    let section = sender.tag

    func indexPathsForSection() -> [IndexPath] {
        var indexPaths = [IndexPath]()

        for row in 0..<self.tableViewData[section].count {
            indexPaths.append(IndexPath(row: row,
                                        section: section))
        }

        return indexPaths
    }

    if self.hiddenSections.contains(section) {
        self.hiddenSections.remove(section)
        self.tableView.insertRows(at: indexPathsForSection(),
                                  with: .fade)
    } else {
        self.hiddenSections.insert(section)
        self.tableView.deleteRows(at: indexPathsForSection(),
                                  with: .fade)
    }
}
If you build and run the app, you should be able to tap on the section headers and that section will expand or collapse:

Conclusion
Creating a tableview that has sections which can expand and collapse is relatively irritating in my opinion as I believe that Apple should be able to have this functionality built in. Having to keep track of the state of the sections which are collapsed and expanded is really unnecessary.
If you want to use a model to keep track of the sections that are expanded, take a look at this tutorial from Lets Build That App.
If you want to find the full source code to this project, you can find that here.