How to make SwiftUI view fill width or height of screen

In this tutorial I will show you how to make a view fill the width or height of the parent view or fill the screen. It is often required that a view fill a space, whether it is width, height or both. Luckily for us SwiftUI makes this very easy to do.
TLDR: To make a view fill the screen or parent view, you can set themaxHeightandmaxWidthto.infinitywhen using theframeview modifier.
Fill width or height of the screen
I am going to start off with a very basic layout, the code will look like this:
struct ContentView: View {
var body: some View {
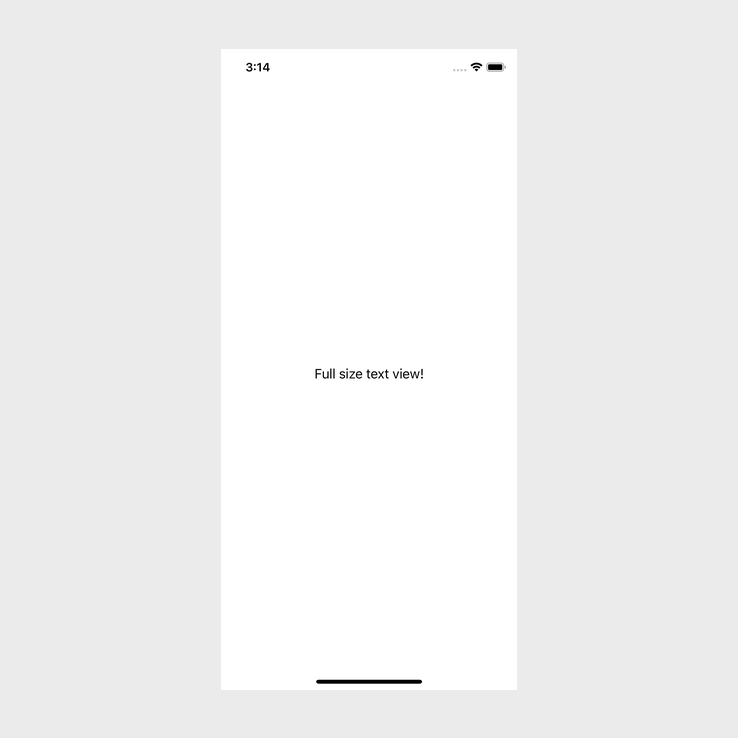
Text("Full size text view!")
}
}When I build and run the app, this is what the app looks like:
Currently this is not full width, but, to make it full width all we need to do is to use the frame view modifier. I have replaced the Text view with the following code:
Text("Full size text view!")
    .foregroundColor(Color.white) // 1
    .frame(maxWidth: .infinity)   // 2
.background(Color.blue) // 3- To make the text more clear, I have set the
foregroundColorto white. - To make the
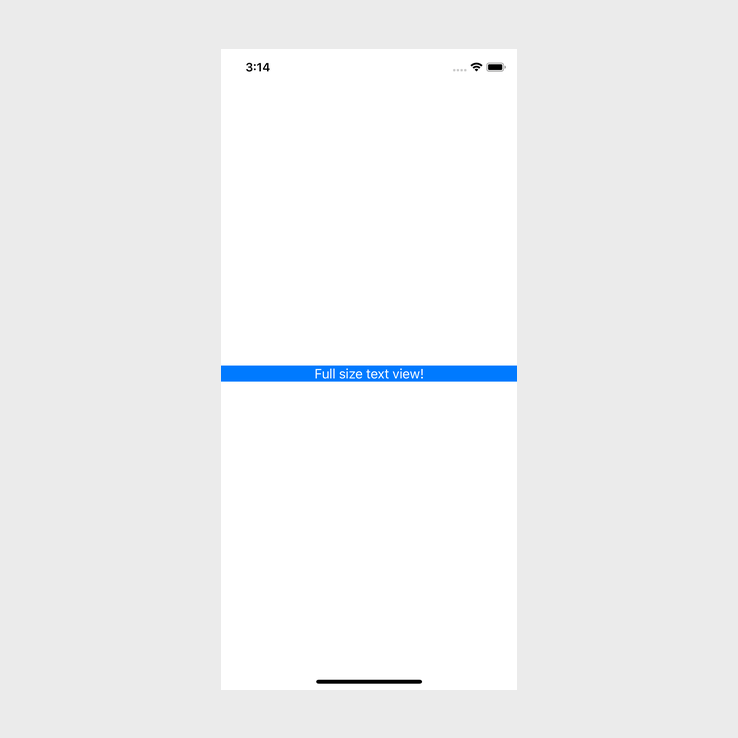
Textview use the full available width we need to use theframeview modifier. Theframeview modifier can take a few arguments, one of them ismaxWidth. To make it use as much space as possible we pass through.infinityas the value formaxWidth. - Lastly I set the background color so that we can see that setting the frames width is working.
When I run the app, I see the following:
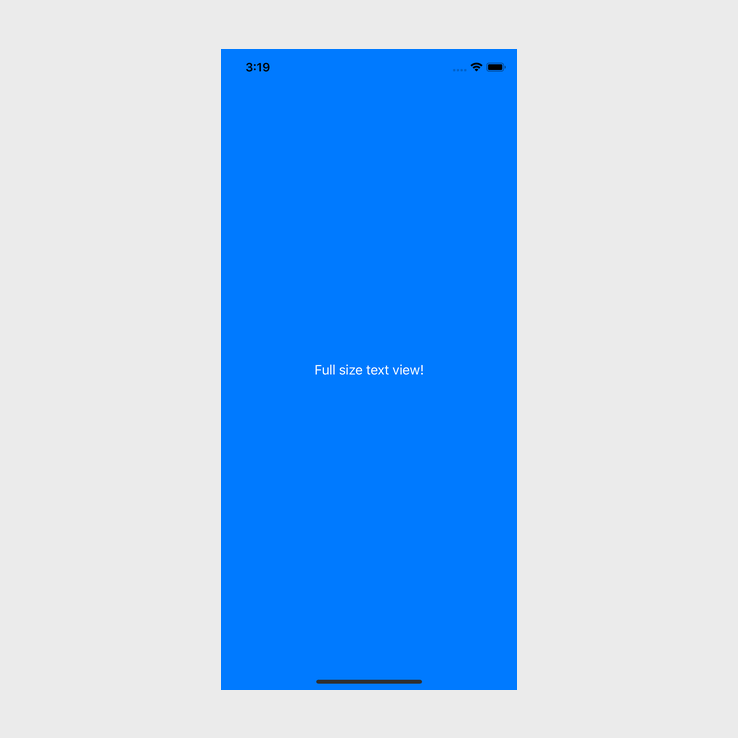
Nice! If we want to fill the height as well, we can pass through a value for maxHeight:
.frame(maxWidth: .infinity, maxHeight: .infinity)It will now look like this:

Great, this is almost exactly what we wanted, but there is one potential issue depending on your use case. The safe area at the top and the bottom of the screen are still white. If you want your view to ignore safe area, you can add the following line of code below the .background view modifier:
.edgesIgnoringSafeArea(.all)It will look this like now:
This is how easy it is to let a SwiftUI view fill the entire screen. But, we can use this to fill smaller spaces too!
NOTE: When using frame, ensure that you use the view modifiers in the correct order to get the result that you are expecting. If you put the background color view modifier before frame, the background color will not fill the parent/screen.Fill SwiftUI parent view
Above we spoke about how we can make a view fill the entire screen, but sometimes we want the view to fill the parent view. That parent view could be of any size.
To demonstrate this I have the following code:
struct ContentView: View {
    var body: some View {
        VStack {
            Text("VStack Text View")
                .foregroundColor(Color.white)
                .background(Color.blue)
        }.frame(width: 200, height: 200) // Set VStack frame width and height
            .border(Color.red, width: 1) // Set VStack border to make it visible
    }
}
This is what the above code looks like when I run it:
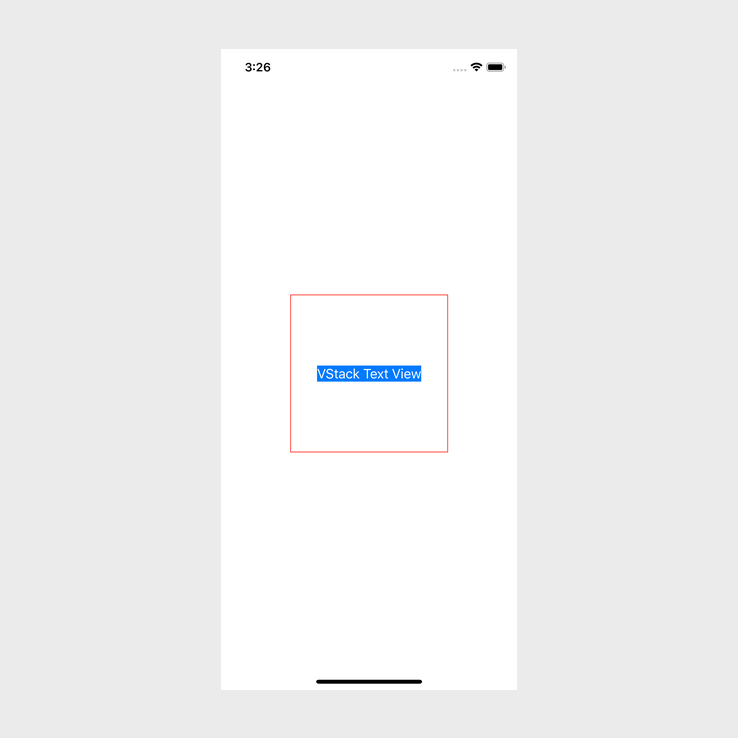
As we can see, we have a VStack where the frame has a width of 200 and a height of 200. We can also see that the Text view is centered and small.
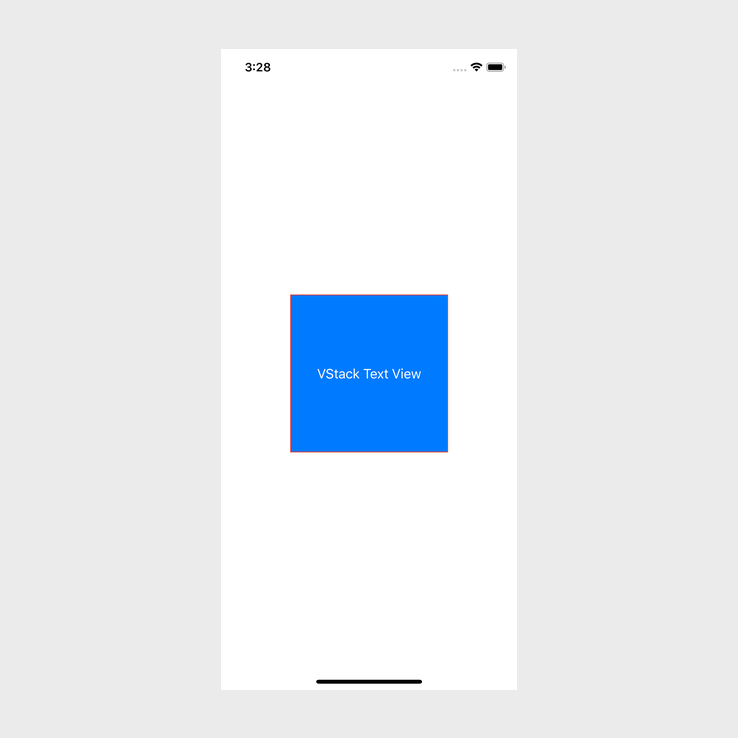
To make the Text view fill up the parent view, we can add the following line inbetween the forgroundColor and background view modifiers:
.frame(maxWidth: .infinity, maxHeight: .infinity)This is what it looks like after we add the frame view modifier to the Text view:
Conclusion
And that is it! SwiftUI makes it incredibly easy to have a child view fill the parent view, but, when doing this, keep in mind the order of the view modifiers.
The full source code for this can be found here.