How to rename an Xcode project


Renaming a project can be a common task. You could start with a name for your project and then during the development process you decide that you want to rename the project. Unfortunately Xcode does not come with built in functionality to do this, so we need to do it manually.
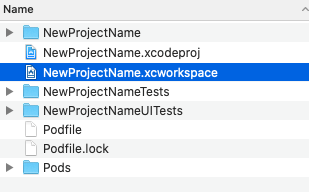
Before we begin, I want to show you what my project looks like in Finder:
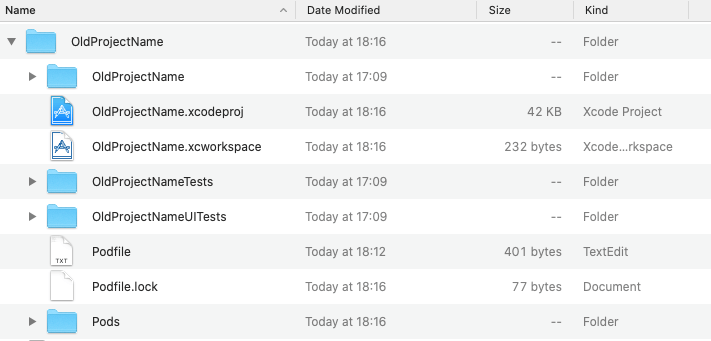
As you can see, I have Tests, UITests and a Podfile. This way we can see how to rename a project that has most of what a regular project might have.
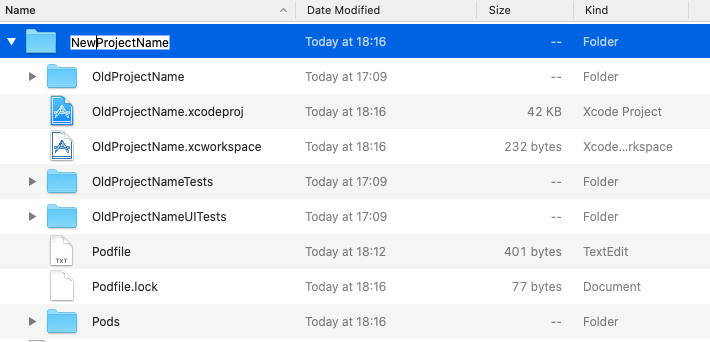
Step 1: Rename the root directory
The first thing that we need to do is to rename our projects root directory, my new project name will be NewProjectName:
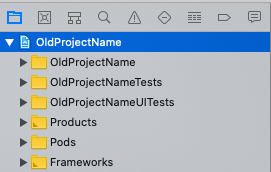
Step 2: Change the project file's name
To do this, click on your project file in the Project Navigator:
Next, open the Inspectors pane on the right:
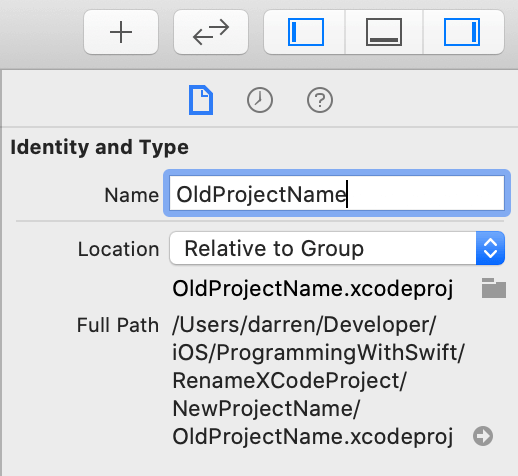
As you can see in the above image, you should see, Identity and Type, if you don't make sure that the File Inspector is open. Let's update this name to our new project name:
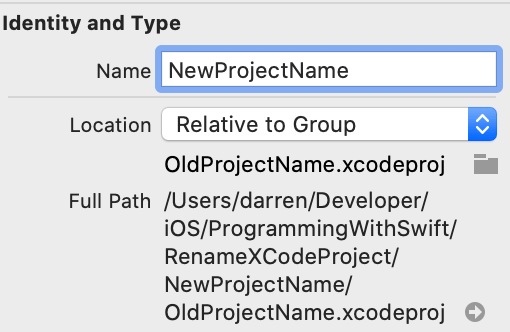
Once you have updated the text you should see a rename prompt like this(this can sometimes take a while to show up, so you might need to wait for it):
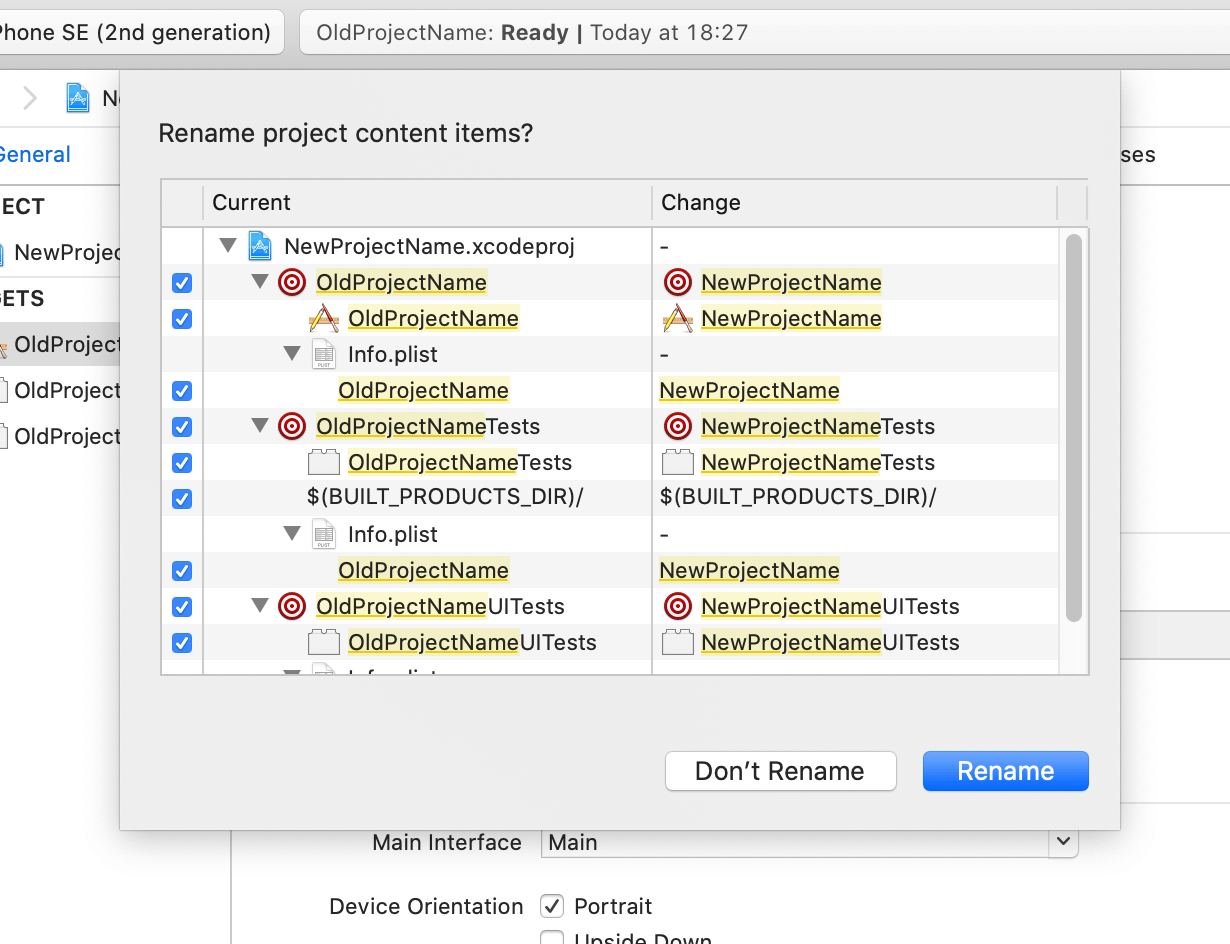
Click on Rename. You might get an uncommitted changes warning, I just clicked continue as we are still busy renaming everything:
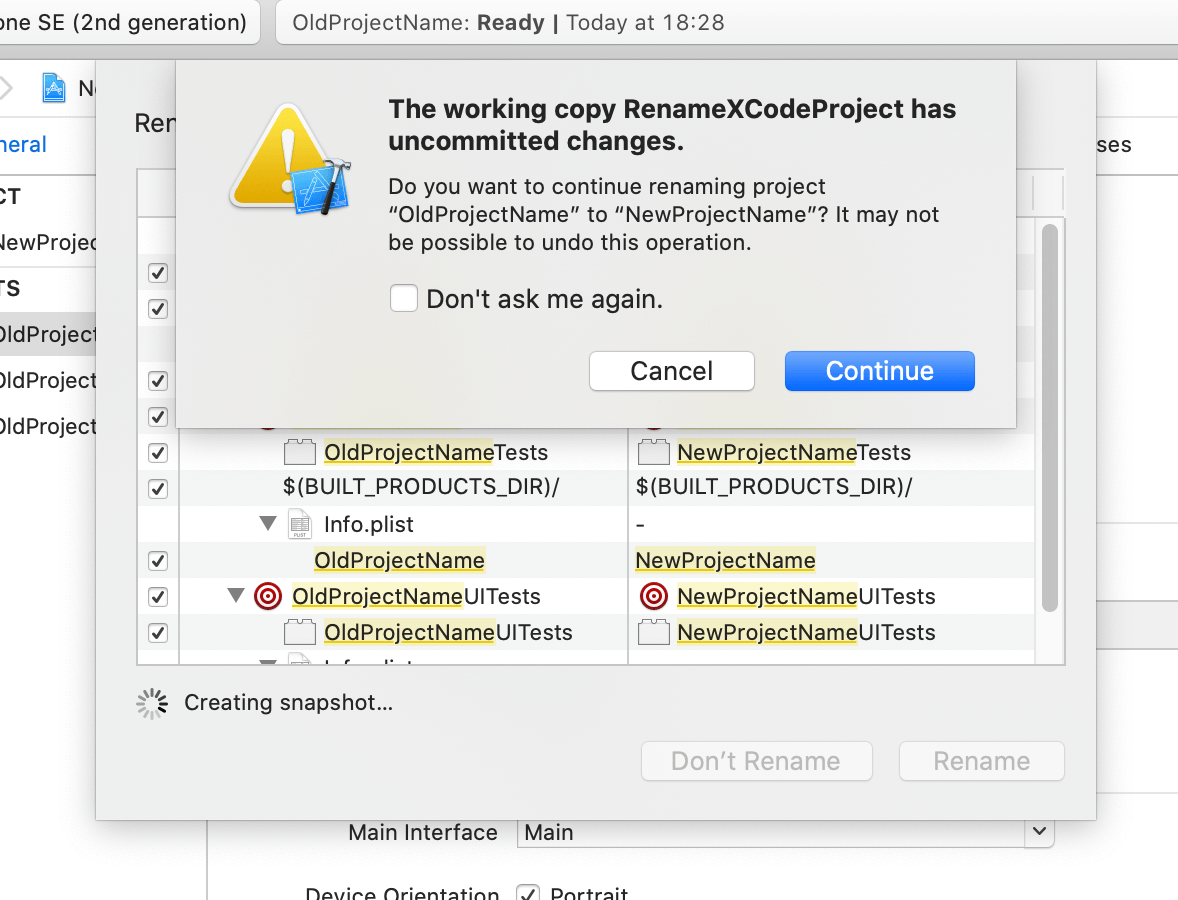
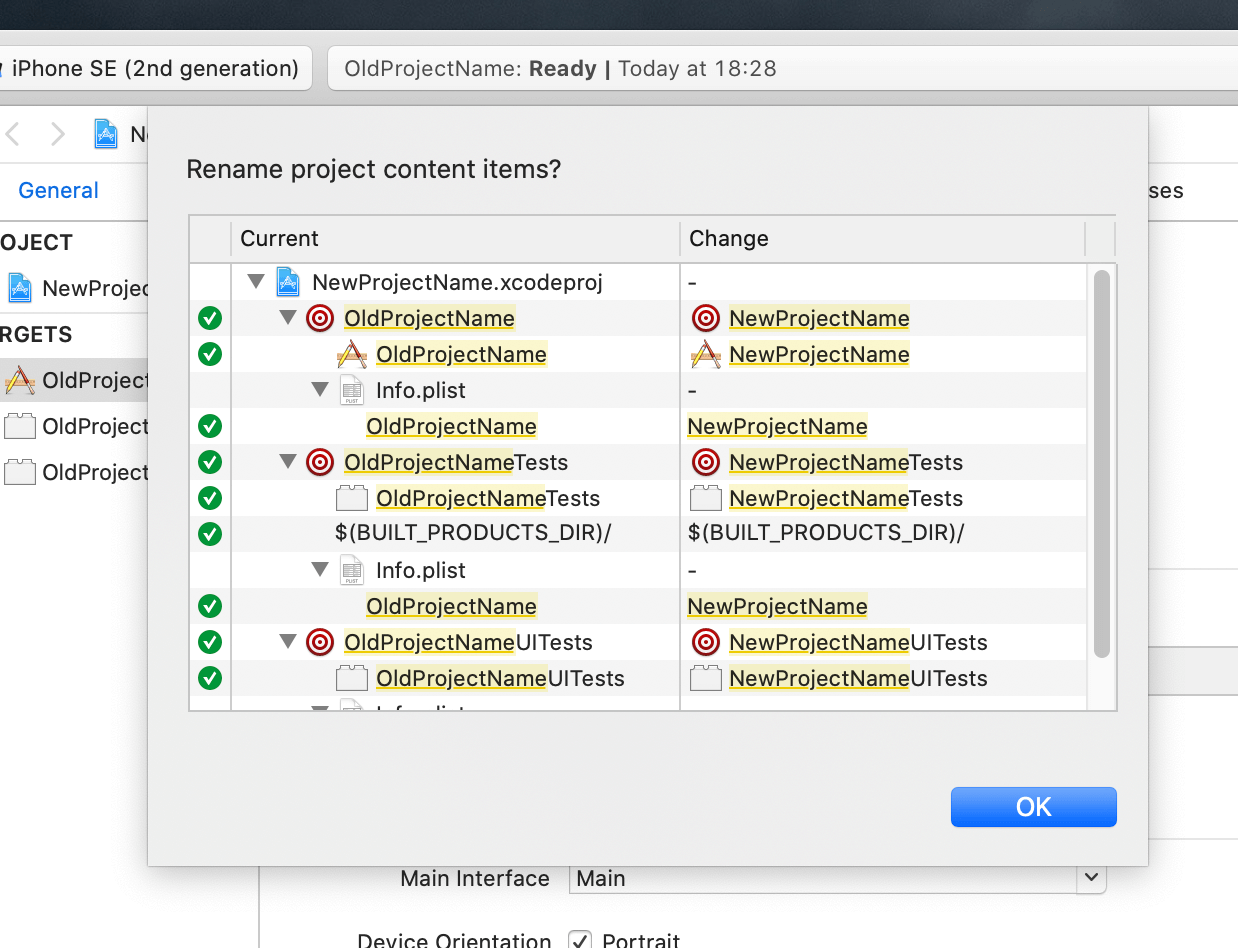
After you click Continue you will see a similar prompt to the rename prompt, but this time it will have an ok button, just leave it, the prompt will disappear after a few seconds, the prompt will look similar to this:
Step 3: Update project structure to reflect new name
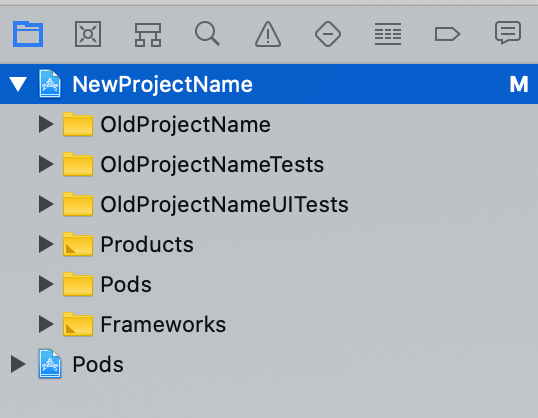
After all of this we can see that our project structure does not reflect the new project name:
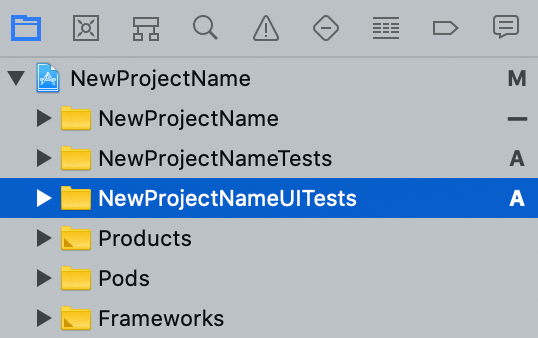
To update this we will rename each folder manually. To do this, click on the folder and press Enter to rename the folder:
Step 4: Update the Scheme to the new project name
To rename the scheme, you can click on the active scheme and then click on Manage Scheme:
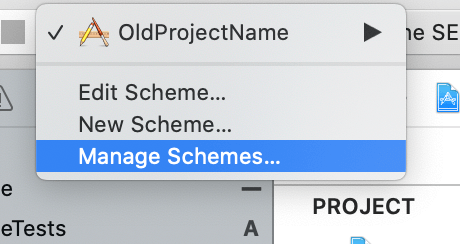
When you click on it, you will have the following pop up:
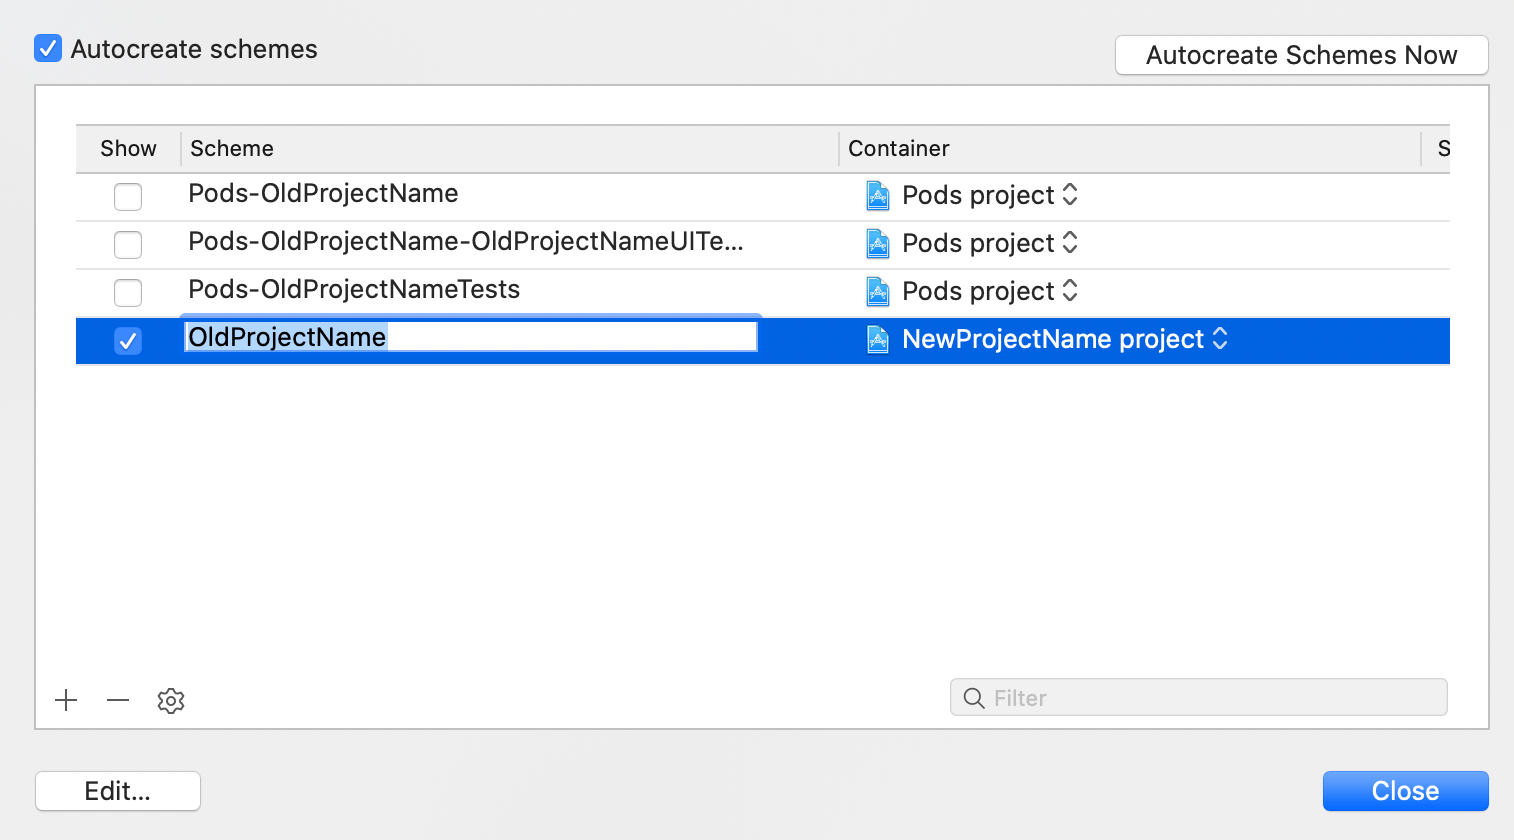
Double click/Press enter on the old scheme to make the field editable, change the name to your new project name and click close.
NOTE: Don't worry about changing the pod schemes. Later on in the tutorial we will update the pods which will automatically update the schemes.
Step 5: Update build settings
To update build settings, click on your project file in the Project Navigator and then click on your projects target:
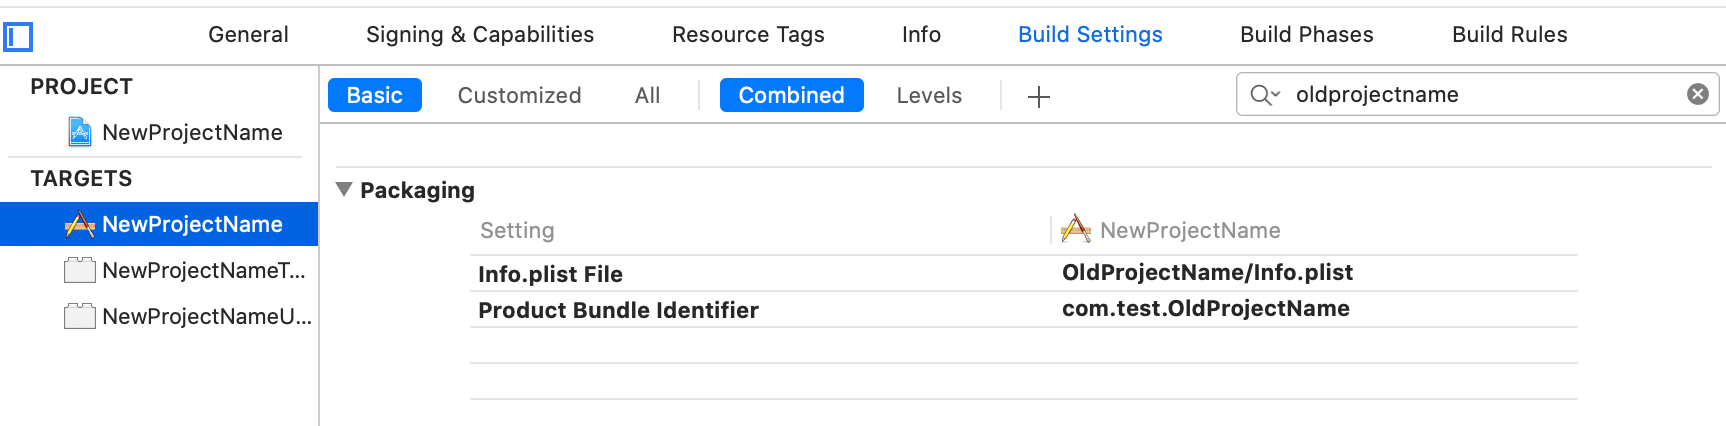
As you can see in the above image, I have clicked on my projects target and then I clicked on the build settings tab at the top. Once you have done that, type your old project name into the search bar. For me, this shows that there are two places that I need to update the old name to the new name.
By the time you are done renaming you don't want to see any results in build settings when searching for the old project name.
If you do not have use Cocoapods and you do not have unit tests, this is all that you should need to do. If you have unit tests or cocoapods see the next two steps.
Step 6: Rename unit tests
As you can see, my unit tests file names and class names are out of date:
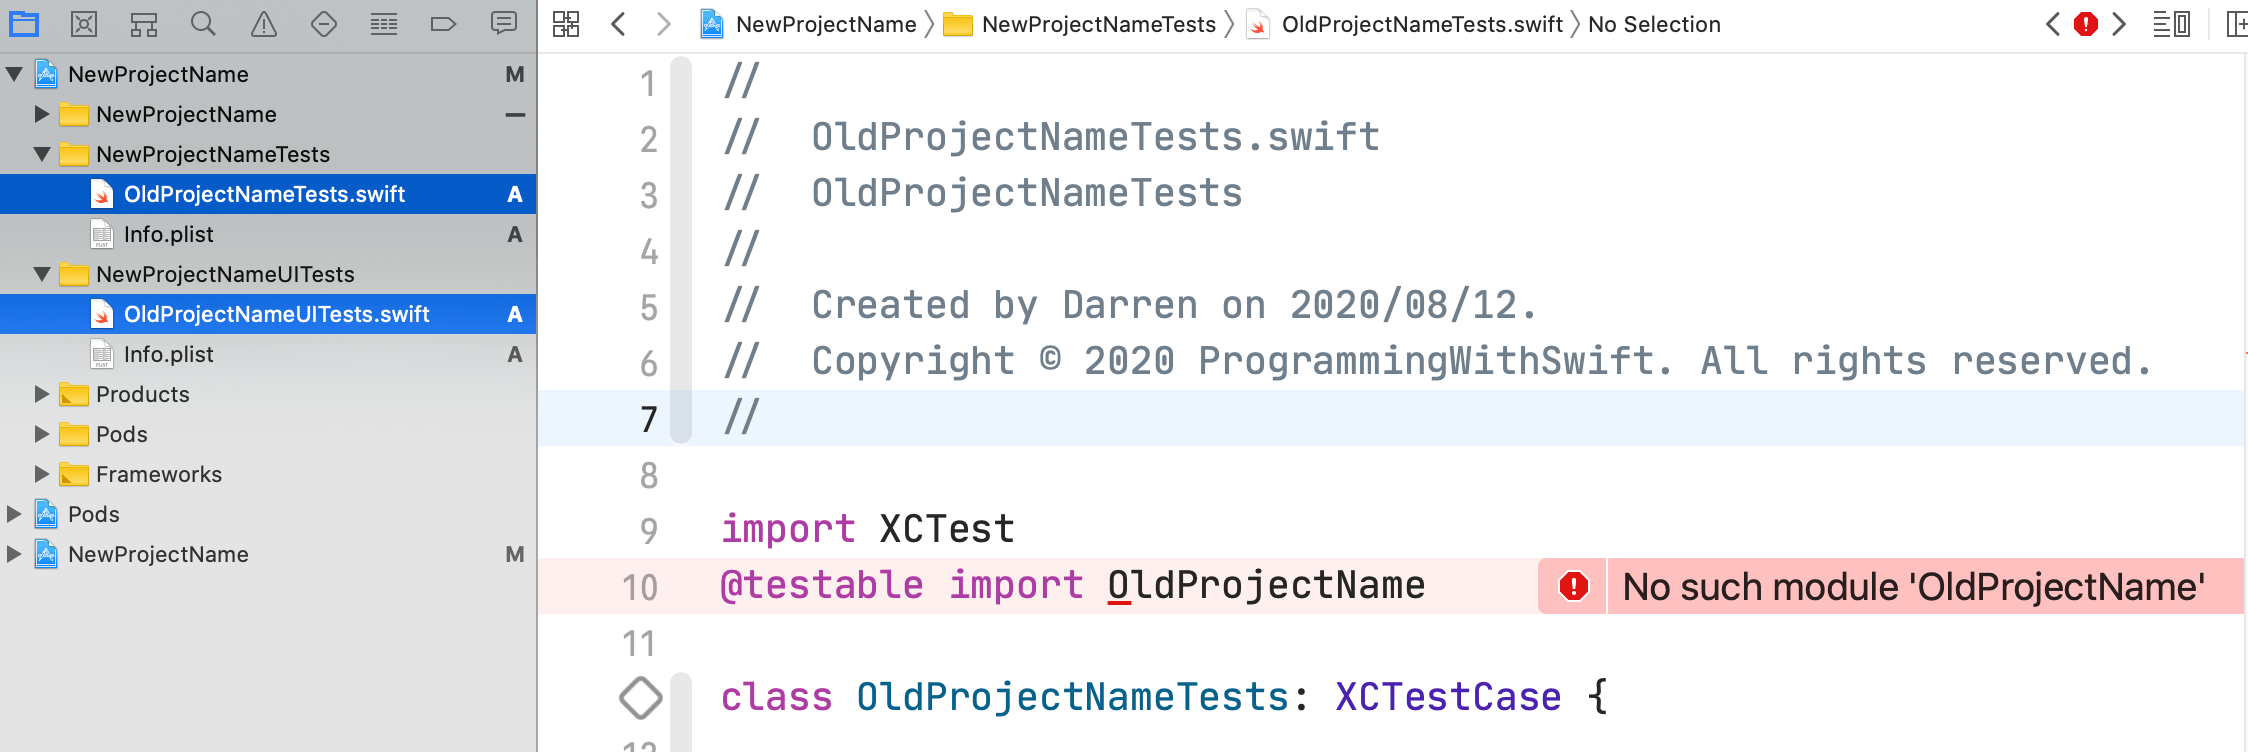
First things first, I am going to rename the files, and then I will update the class names, but, as you can see from the above image, there is an issue when importing OldProjectName, so this needs to be changed too.

If I try to run these tests I still get an error, this is due to the Build Settings for the unit test targets. In this project I have normal tests and ui tests so I need to go to both of those targets and update the Build Settings. This will be exactly the same as in Step 5 the only difference will be the target.
Once you have updated the unit tests and the ui tests Build Settings you should be able to run them as expected.
Step 7: Rename pod related files and content
To be safe I am going to force quite Xcode for this section. The first thing that we need to do is to rename our .xcworkspace file to use the new project name:
Now we need to run pod deintegrate. As the name suggests, this will deintegrate pods with your project, but, Podfile, Podfile.lock and the .xcworkspace file will still exist which is fine.
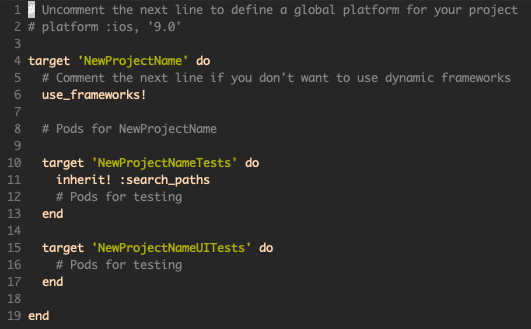
After we have run pod deintegrate we need to update our Podfile by changing the old project name to the new one, my old Podfile looked like this:

And my new Podfile looks like this:
Now that we have updated all these references, we can run pod install and open the .xcworkspace. When you open .xcworkspace you will see that the Frameworks, Libraries and Embedded Content will have Pods_{your new project name}.framework. Also, as mentioned before, the pod scheme names will be updated now too.
You should now be able to build and run the project!
Conclusion
Renaming a project is tedious so if you need to make sure that the name you are picking is the one you want to stick with :)
The full source for this project can be found here.