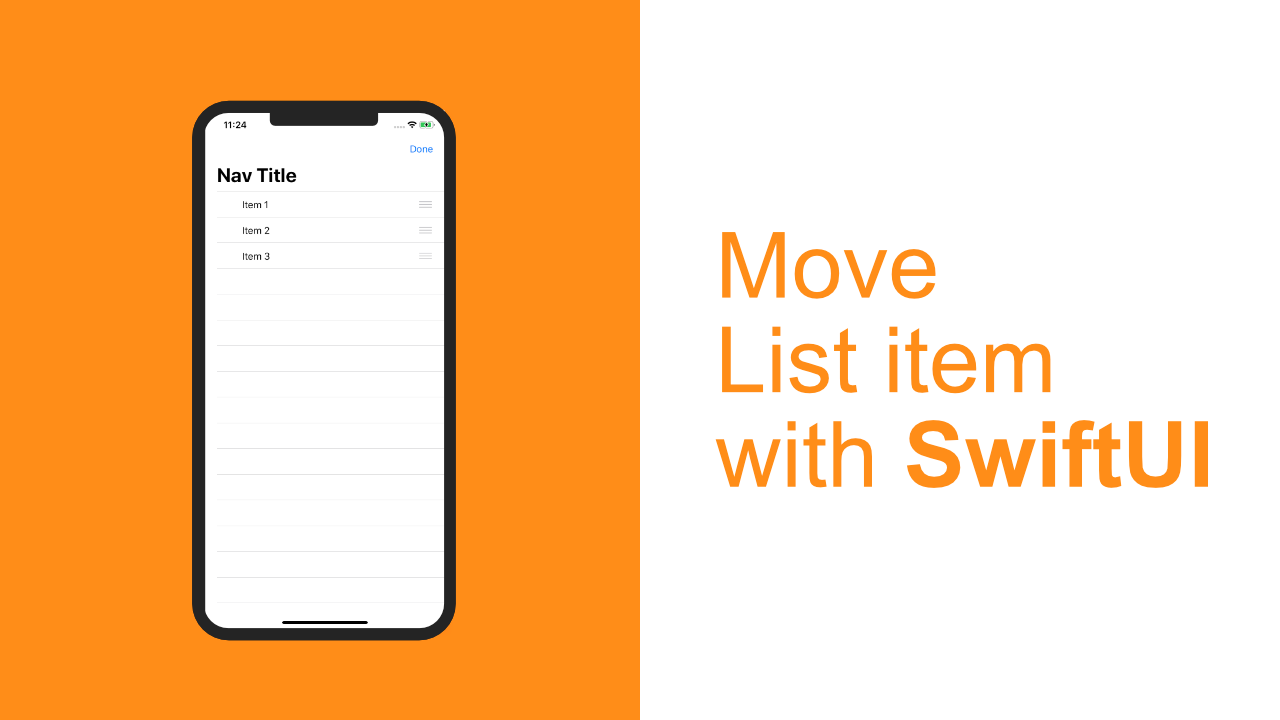
Move List item with SwiftUI
Learn how to easily move an item in a list using SwiftUI.

This is going to be another quick tutorial. SwiftUI makes moving List items incredibly simple, so let's get into the code.
Step 1: Add the data source
The first thing that we need to do is to create our data source. To do this, update your ContentView to look like the following:
struct ContentView: View {
    @State var listItems = ["Item 1", "Item 2", "Item 3"]

    var body: some View {
        Text("Hello World")
    }
}
We use the State property wrapper so that the list will get updated when ever a change is made to the data source.
Step 2: Add a NavigationView
The next step is to add the NavigationView. We need this because we need to add an EditButton to it later on. For now we will just add the view and the rest will be done in Step 3.
Replace the "Hello World" Text view with the following:
NavigationView {
    // List will go here
}
Step 3: Add the List view
Now that we have our data source and our NavigationView, we can add our list to display all the content in our data source.
Replace "// List will go here" inside the NavigationView with the following code:
List {
    ForEach(listItems, id: \.self) { (item) in
        Text(item)
    }
}
.navigationBarTitle(Text("Nav Title"))
.navigationBarItems(trailing: EditButton())
In the above code we have added a list that will display all the items from the listItems array.
We then add a navigation bar title as well as a bar item. The bar item will be an edit button. There are three different methods that one can call when adding bar items. You can add a leading bar item, a trailing bar item, or a leading and a trailing bar item. In this case we are adding a trailing bar item so it will show up on the right hand side of the navigation bar.
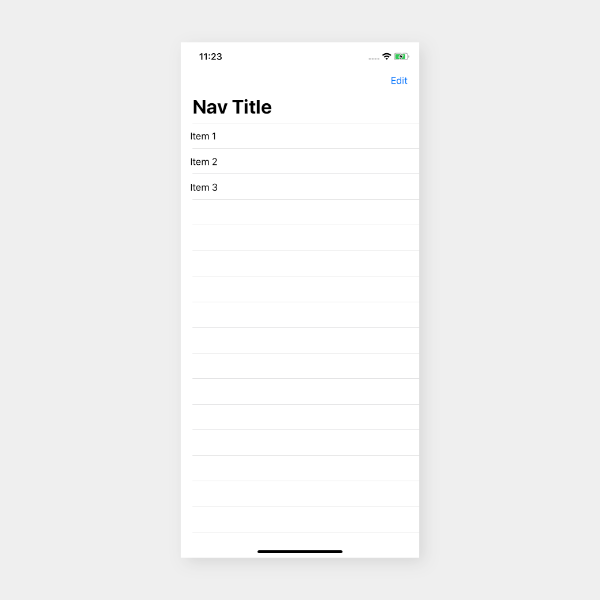
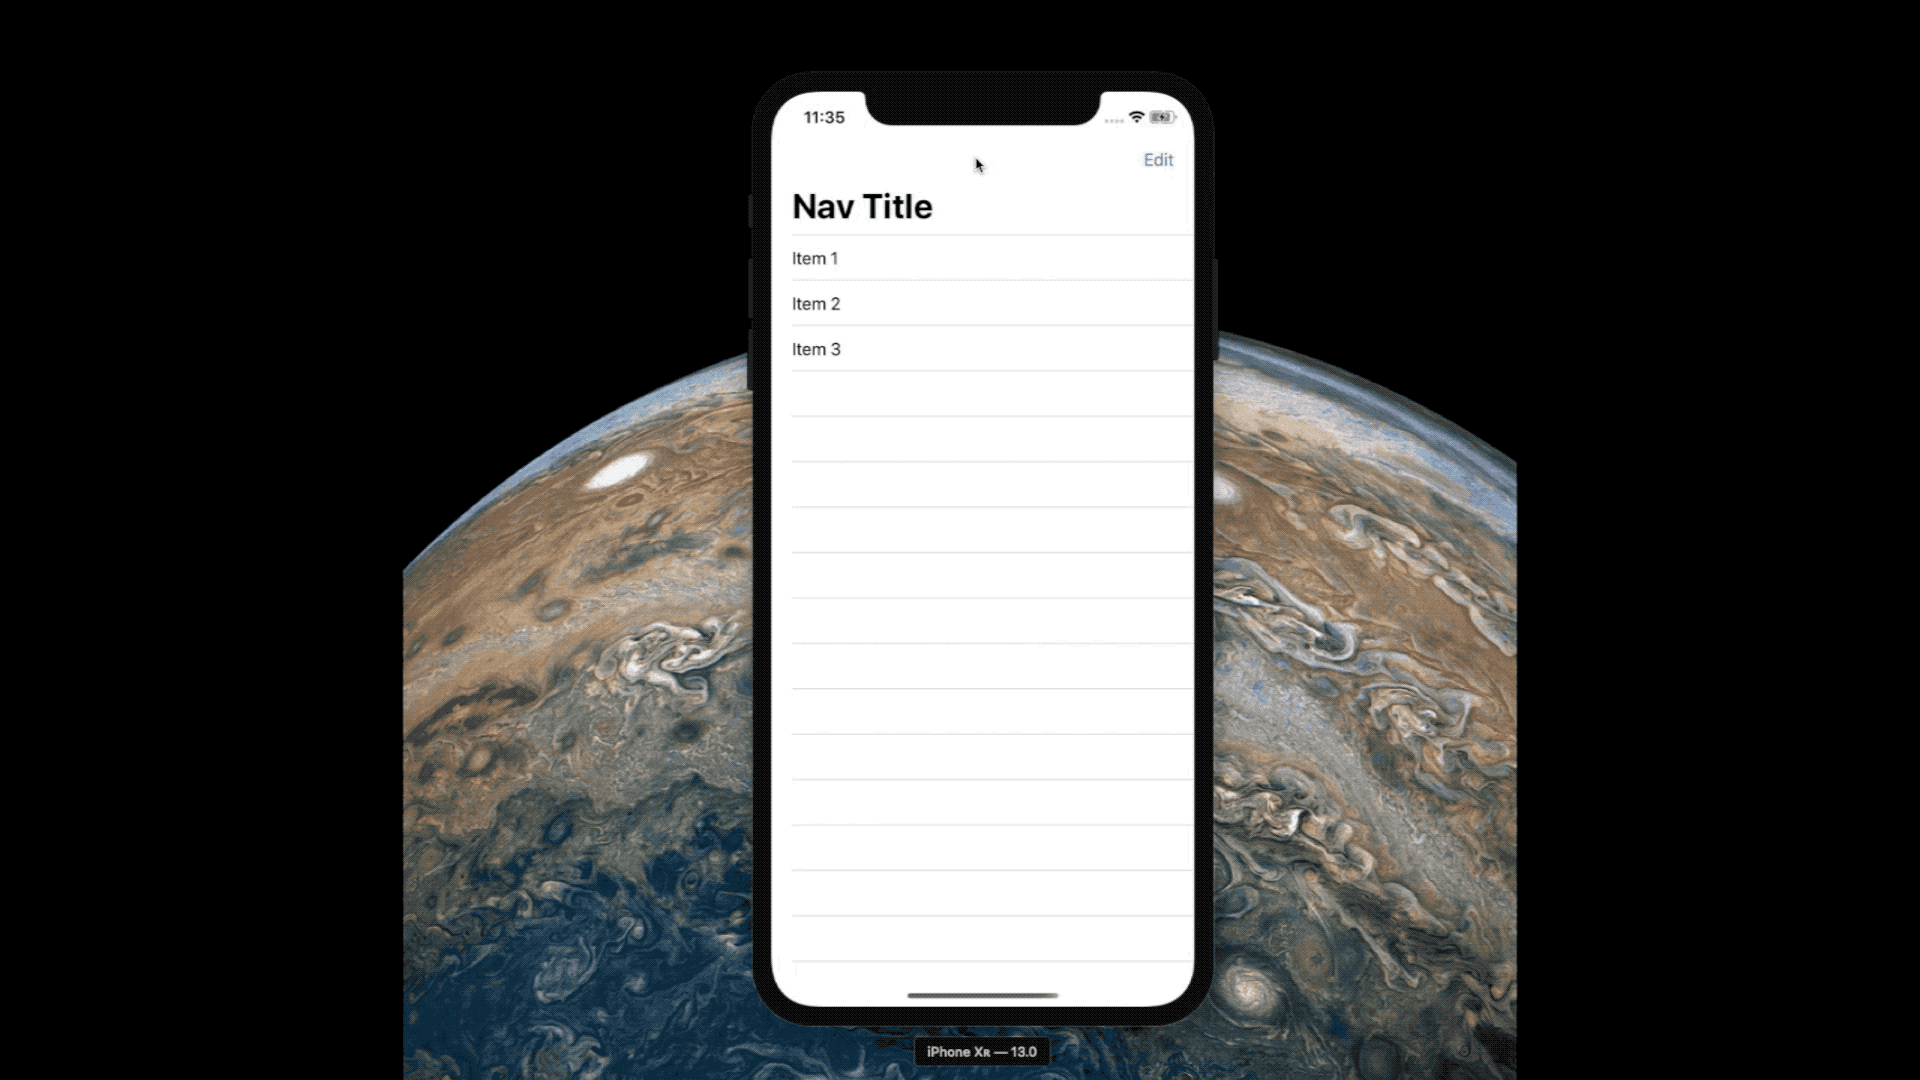
If you build and run the app you should see this:
Step 4: Add onMove to each List item
Update the ForEach to look like the following:
ForEach(listItems, id: \.self) { (item) in
    Text(item)
}.onMove { (indexSet, index) in
    self.listItems.move(fromOffsets: indexSet, toOffset: index)
}
The onMove method takes two arguments, an IndexSet and an Int. We will use these argument values to move a list item.
An Array has a move method. We can use this move method to move the values in the list. The move method takes two arguments, the fromOffsets which will be the indexSet and the toOffset which will be the index.
You can now build and run the app. You will need to click on the Edit button to put the List in an editable state, which will allow you to move each item.
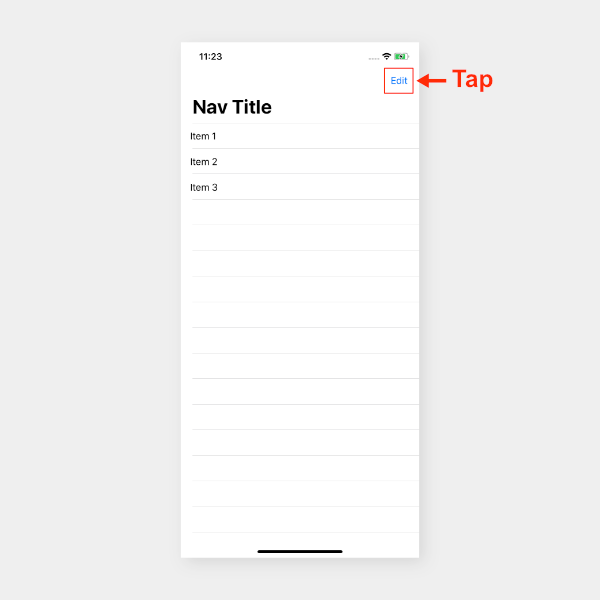
When you tap on Edit you should see this:
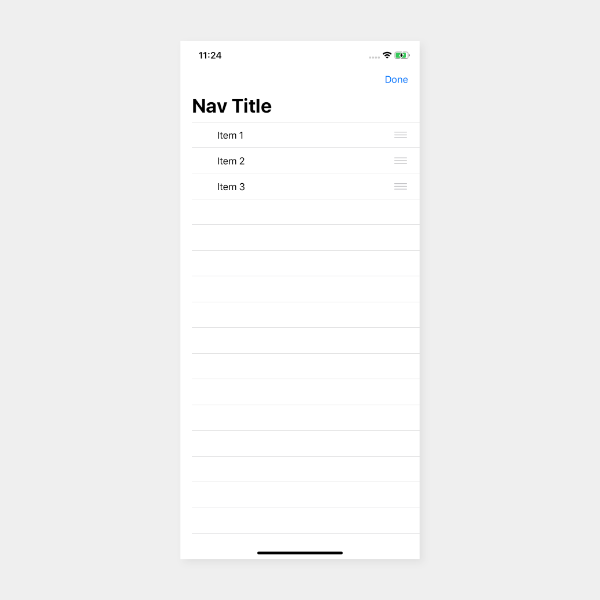
As you can see, each item in the list as a blank space on the left of it, but it also has three lines on the right of it. If you touch and drag on those lines it will allow you to move each item.
I mentioned that there was a blank space on the left hand side of each list item. In my previous tutorial I wrote about deleting items from the list which you can find here. If you add in the delete functionality then there will be a delete icon that shows up on the left hand side.
Final source code:
struct ContentView: View {
    @State var listItems = ["Item 1", "Item 2", "Item 3"]

    var body: some View {
        NavigationView {
            List {
                ForEach(listItems, id: \.self) { (item) in
                    Text(item)
                }.onMove { (indexSet, index) in
                    self.listItems.move(fromOffsets: indexSet,
                                        toOffset: index)
                }
            }
            .navigationBarTitle(Text("Nav Title"))
            .navigationBarItems(trailing: EditButton())
        }
    }
}