Move to next text field with Swift

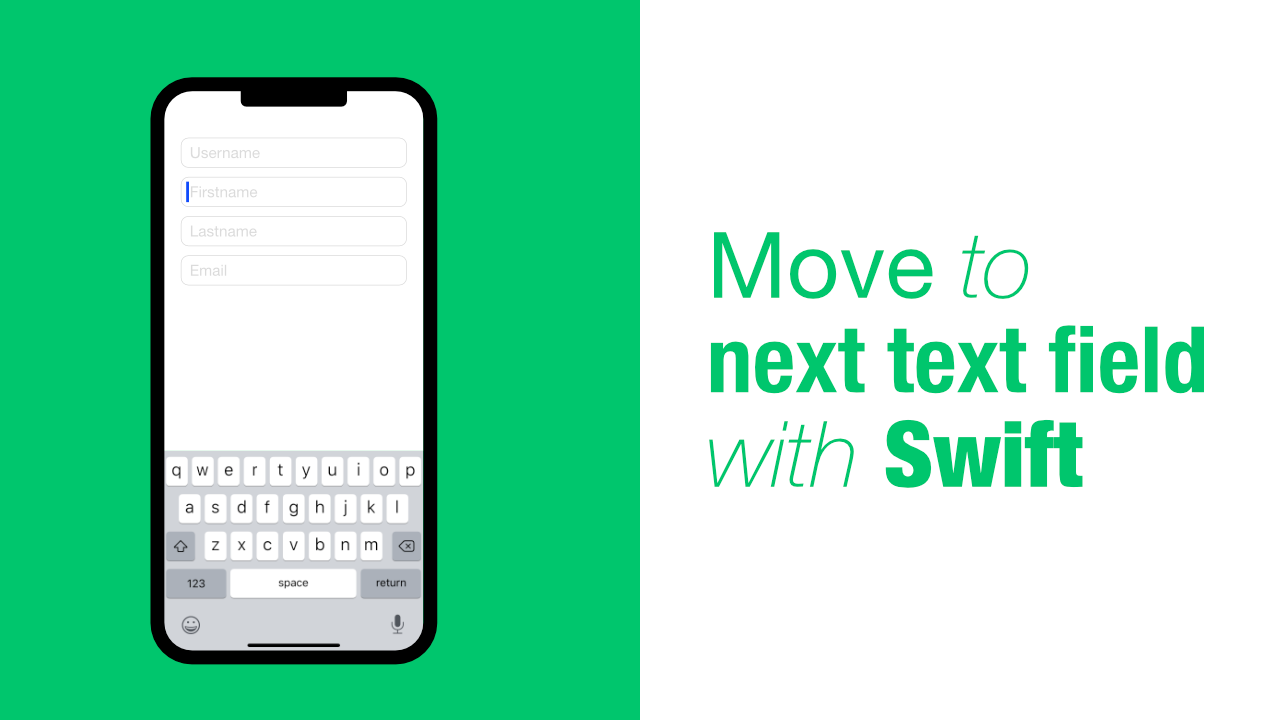
Creating a form for an app is a common task for iOS developers, but they often require that the user easily move to the next textfield without having to tap on the next textfield.
In this tutorial we will learn how to move from one textfield to the next textfield. There are a few ways of doing this, but we will only be going through two of them.
We will only be looking at how you can go to the next textfield in this tutorial, but, if you need to go to the previous textfield, it will be very similar. I will add a note to each of the implementations to guide you on how to do it.
Step 1: Create the text fields
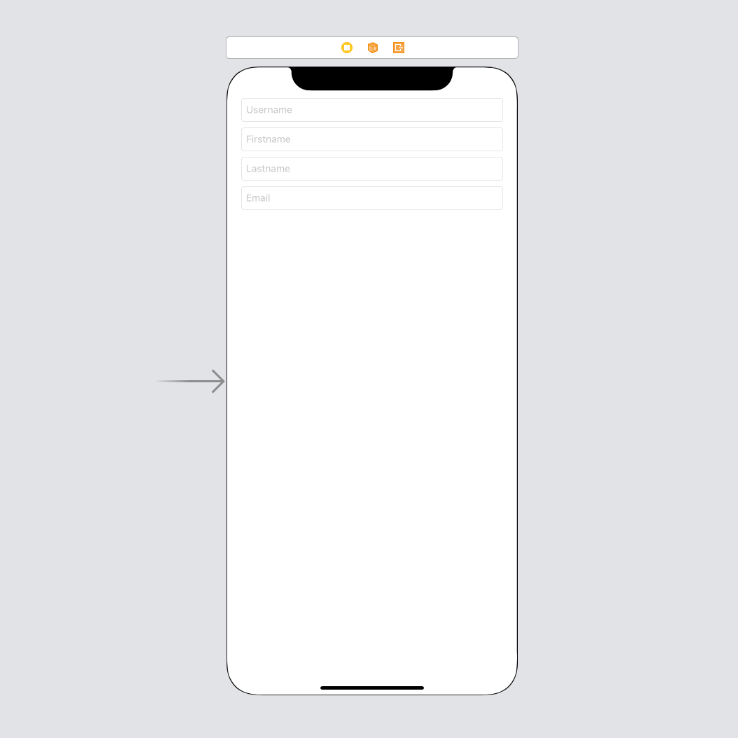
This step is really simple. We will be creating our text fields with Interface Builder and then we will connect them to our IBOutlet's in our ViewController.
My UI is going to look like this, really simple, I have not added any constraints so when I run the app the textfields go to edge of the screen on the right hand side, I only added in the placeholder text.
My IBOutlet's are going to be called, username, firstname, lastname and email. The code for my outlets are as follows:
@IBOutlet weak var username: UITextField!
@IBOutlet weak var firstname: UITextField!
@IBOutlet weak var lastname: UITextField!
@IBOutlet weak var email: UITextField!
Step 2: Setup UITextField delegate
Now that we have setup our UI and hooked it up to our outlets we can make our ViewController conform to UITextFieldDelegate. Both of the ways that we will be looking at today requires using UITextFieldDelegate.
The first thing that we need to do is to make our ViewController adopt the UITextFieldDelegate protocol. To do that, update your ViewController with the following:
class ViewController: UIViewController, UITextFieldDelegateAll we done here is add UITextFieldDelegate. The next part is to set the delegate on all of our text fields. I am going to do this in the viewDidLoad method, but you can add this anywhere else that you prefer. My viewDidLoad will look like this:
override func viewDidLoad() {
    super.viewDidLoad()

    self.username.delegate = self
    self.firstname.delegate = self
    self.lastname.delegate = self
    self.email.delegate = self
}
Setting the delegate on all of our textfields will allow us to use the textFieldShouldReturn method from the UITextFieldDelegate. Let's add this method for now, we will use it later on. Add the following code below the viewDidLoad:
func textFieldShouldReturn(_ textField: UITextField) -> Bool {
    return true
}
If you build and run the project now, it should look like it did in the first step, nothing should have changed.
Step 3: Implement next textfield functionality
We are now able to implement our next text functionality at this point. We will do this in two parts, the first will be the way that I prefer, and the second part will be in the other way.
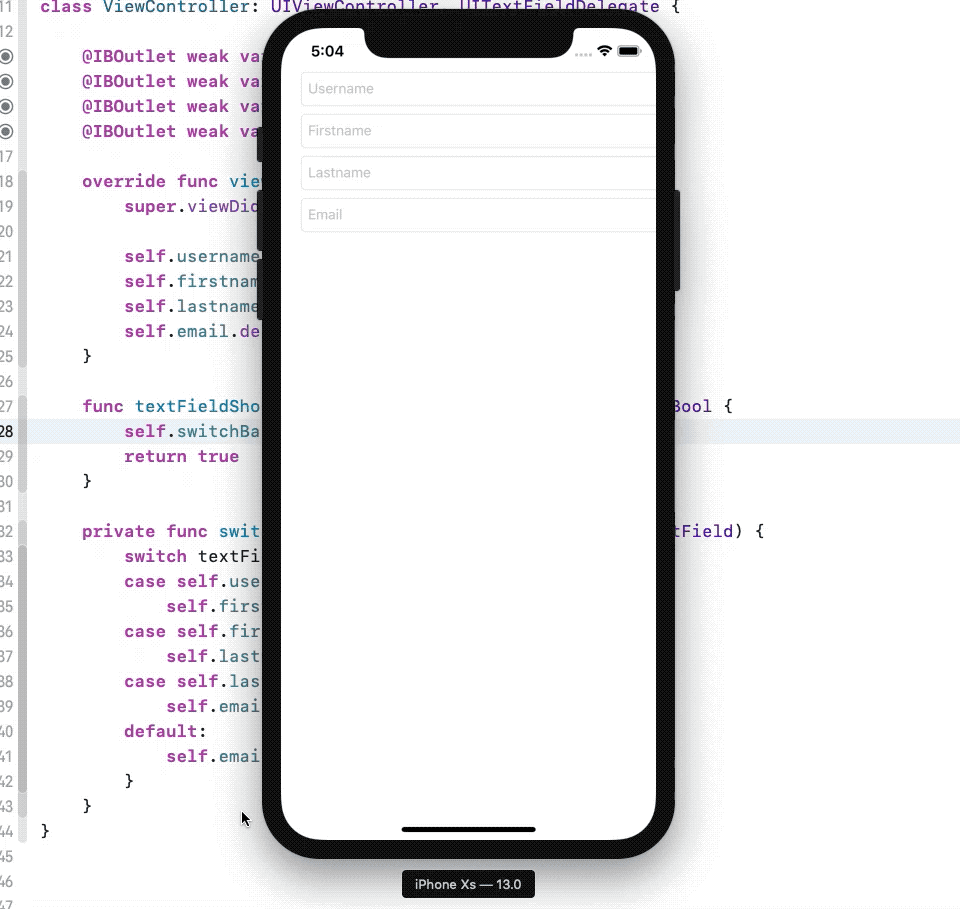
Part 1: Next textfield using Switch
In the first part we will use a switch statement to move to our next textfield. The reason why I prefer this method is because we can do it without making any further changes to the previous code, besides calling the function that we are about to create.
Let's add the following method to our code:
private func switchBasedNextTextField(_ textField: UITextField) {
    switch textField {
    case self.username:
        self.firstname.becomeFirstResponder()
    case self.firstname:
        self.lastname.becomeFirstResponder()
    case self.lastname:
        self.email.becomeFirstResponder()
    default:
        self.email.resignFirstResponder()
    }
}
This is quite a straightforward way to move to the next textfield. All we do is check if the textfield that is passed through as an argument matches one of our textfields in our switch statement. If it does, we move onto the next textfield, if it doesn't, then we resign the first responder.
This is a more manual way compared to the technique used in part 2, but I prefer the simplicity of this.
Depending on your form you might not know what textfield is currently the first responder. In order to get the default case to remove the first responder in that situation, you can replace self.email.resignFirstResponder() with self.view.endEditing(true).
As I mentioned earlier, I will be adding a note on how to make this move to the previous textfield.
Moving to the previous textfield would be as simple as replacing this:
case self.firstname:
    self.lastname.becomeFirstResponder()
With this:
case self.firstname:
    self.username.becomeFirstResponder()
I will add another note with regards to moving to the previous textfield at the end of this post.
We can now call our switchBasedNextTextField. To do this, update the textFieldShouldReturn method to look like this:
func textFieldShouldReturn(_ textField: UITextField) -> Bool {
    self.switchBasedNextTextField(textField)
    return true
}
If you build and run, this is what you should see:

Part 2: Next field using UITextField tag
The reasons I dislike this method of moving to the next textfield is:
- It requires more code.
- The extra code is to add tags to the
UITextField's. I am not a fan of using tags, so I will try and avoid them at all costs. Tags make things less easy to read, and if you want to make them easier to read it requires more code. - You need to use the textfields superview in order to use
viewWithTag.
The first thing that we need to do is to update our viewDidLoad method. Replace you current viewDidLoad with the following:
override func viewDidLoad() {
    super.viewDidLoad()

    self.username.tag = 0
    self.firstname.tag = 1
    self.lastname.tag = 2
    self.email.tag = 3

    self.username.delegate = self
    self.firstname.delegate = self
    self.lastname.delegate = self
    self.email.delegate = self
}
As you can see, we have set the tag on each of our textfields. This will allow us to move to the next textfield by getting the tags value and adding 1 to it.
Let's add the method that will do this logic, add the following code to your ViewController:
private func tagBasedTextField(_ textField: UITextField) {
    let nextTextFieldTag = textField.tag + 1

    if let nextTextField = textField.superview?.viewWithTag(nextTextFieldTag) as? UITextField {
        nextTextField.becomeFirstResponder()
    } else {
        textField.resignFirstResponder()
    }
}
In our tagBasedTextField method, we get the tag from the textField, we then increment that tag by 1 and assign it to nextTextFieldTag.
We will then pass nextTextFieldTag as an argument to viewWithTag. If there is a view with that tag and it is a textfield, we will make that textfield the first responder, if a textfield does not exist with that tag, we resign the first responder on the textfield that was passed to tagBaseTextField.
If you wanted this to go to the previous textfield, instead of adding 1 to get the nextTextFieldTag, you could just subtract 1.
Now that we have this new logic to move to the next textfield, let's replace our textFieldShouldReturn with this:
func textFieldShouldReturn(_ textField: UITextField) -> Bool {
    self.tagBasedTextField(textField)
    return true
}
If you build and run the app now, you should see the exact same functionality:
As I promised earlier, this is another note with regards to moving to a previous textfield. Using the return functionality to move back and forward is not really possible, to move to the previous and next textfield you would need to use a keyboard input accessory view or some other form of control.
I might do a tutorial on this in the future, for now you can take a look at this tutorial. This tutorial is not specific to the next and previous button, but it will allow you create an input accessory view and call whatever methods you need to call based on what your user wants to do.
You can find the full source here.