Resize an image with SwiftUI

Images are not always the exact size that we need which is what leads me to writing this tutorial. Depending on the situation you might have an image that is too big or too small.
TLDR: To resize an image we need to use theresizableview modifier on the image we want to resize. Like this:Image("").resizable().aspectRatio(contentMode: .fit)
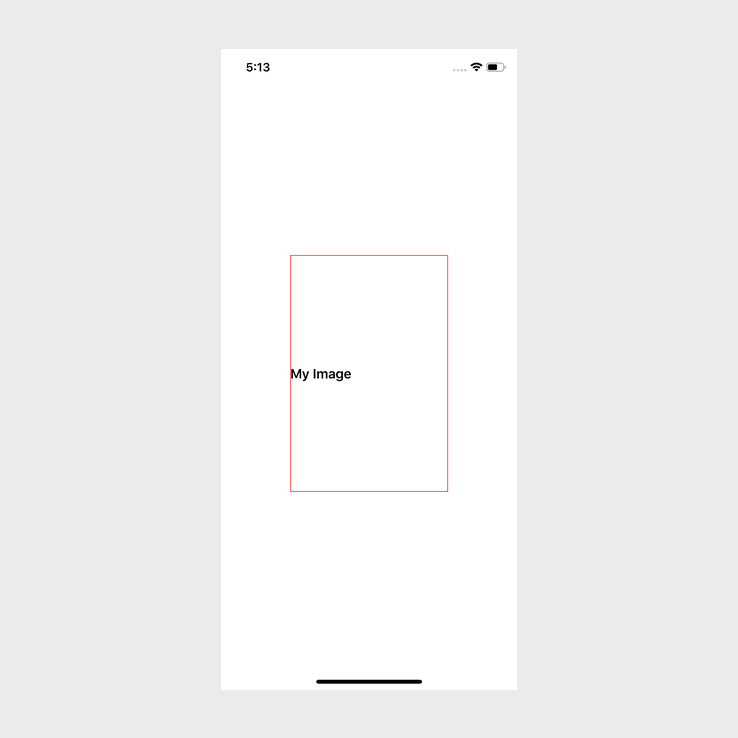
Let's start at the beginning, currently my app looks like the following:
The code for the above app looks like this:
struct ContentView: View {
    var body: some View {
        VStack {
            Text("My Image").bold()
            // Image to be placed here
        }
        .frame(width: 200,
               height: 300,
               alignment: .leading)
        .border(Color.red, width: 1)
    }
}
Ok, so as we can see, this is a very simple layout. I have given the VStack a specific size with a border to more easily showcase the issue and how we can fix it.
My project, which is available here, contains two images, one large image and one small image. In this tutorial I will be focussing more on the large image, but the concepts will remain the same.
This is my updated code:
struct ContentView: View {
var body: some View {
VStack {
Text("My Image").bold()
Image("test-image-large")
}
.frame(width: 200,
height: 300,
alignment: .leading)
.border(Color.red, width: 1)
}
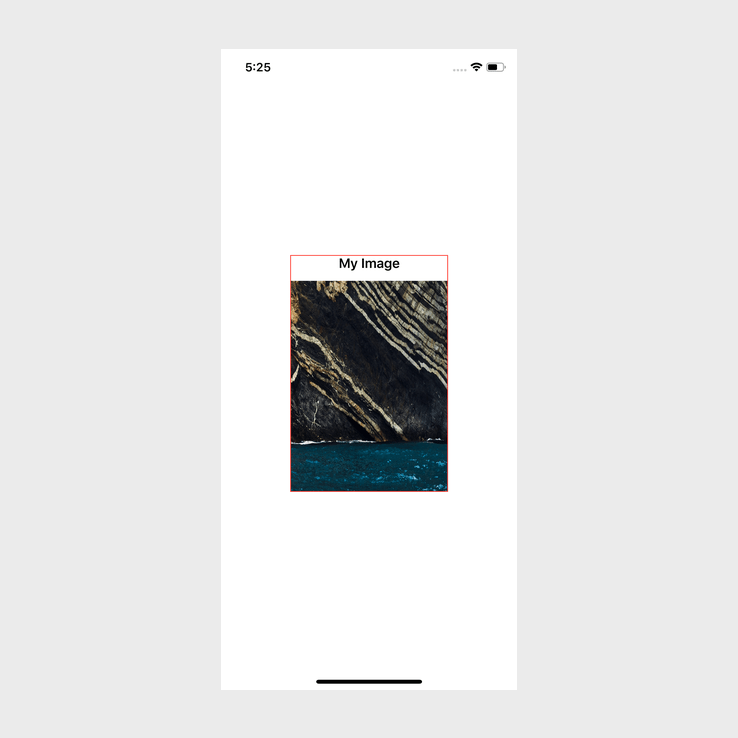
}If I build and run this it looks will look like this:
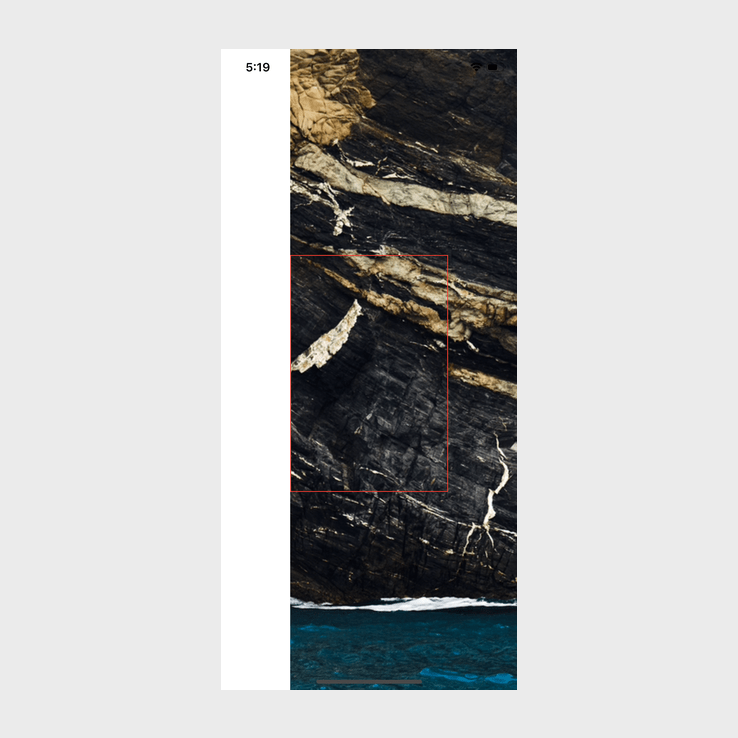
Not exactly what I was looking for. So now that we know that the image will be displayed like that, let's resize the image. The first thing that comes to mind is to use frame, let's try that out.
I have updated my image code to this:
Image("test-image-large")
    .frame(width: 200,
           height: 150)
It makes a difference, but it is still wrong, one could argue that it is more wrong after adding the frame:
This is clearly not working. I also tried the following on my image after removing the frame:
.aspectRatio(contentMode: .fit)
.aspectRatio(contentMode: .fill)
Nothing worked. Turns out that SwiftUI has a resizable view modifier that we need to use. I have updated my image to use the resizable view modifier:
Image("test-image-large")
    .resizable()
When I build and run using the resizable view modifier, I get this:
Ok, we are getting somewhere now. This has made a huge difference. Using the resizable view modifier allows us to use the other view modifiers to resize the image. This means that we can now start to use frame and aspectRatio, but we can only use them after we have used the resizable view modifier.
This is my updated code using aspectRatio:
Image("test-image-large")
.resizable()
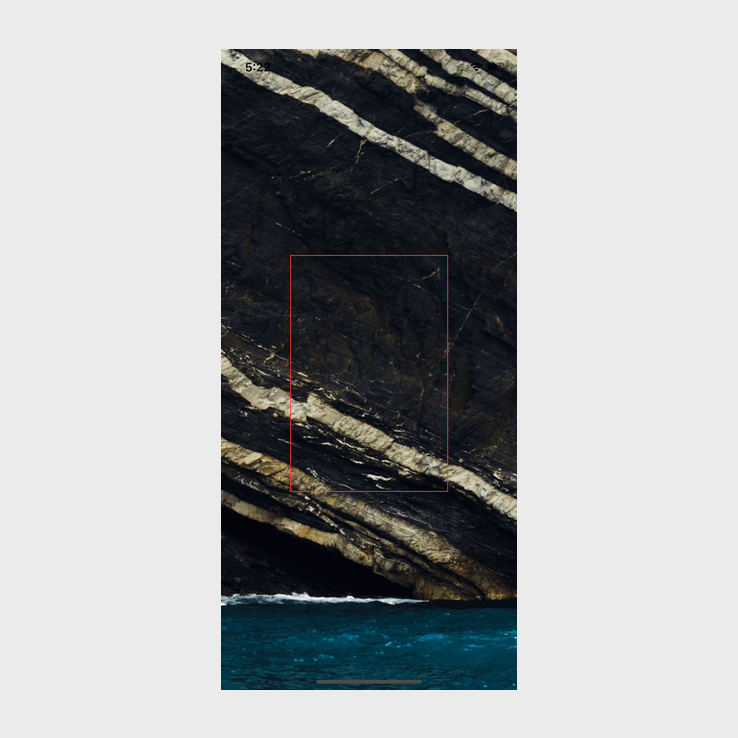
.aspectRatio(contentMode: .fit)If I build and run this is what we get:
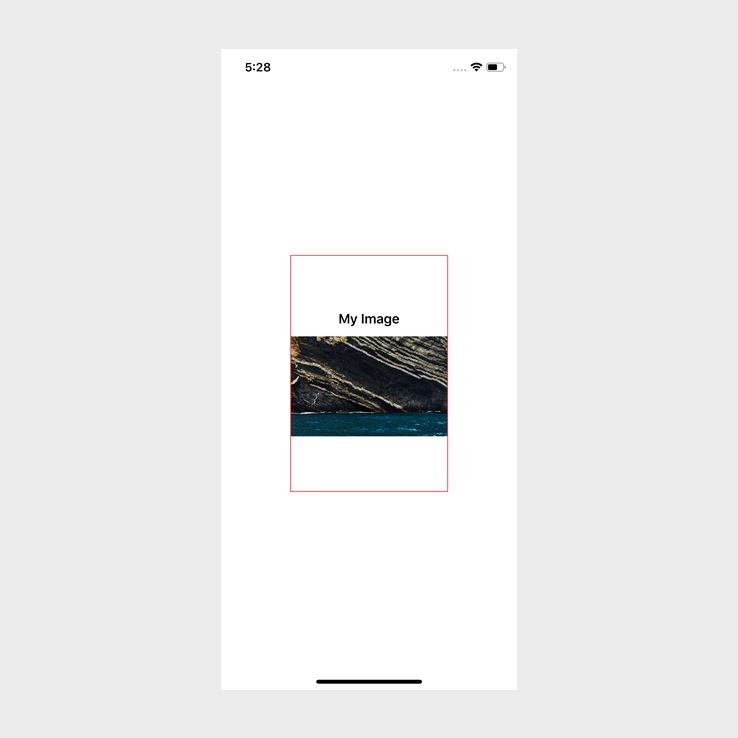
Success! We finally get the image filling up the width but keeping its aspect ratio. Let's see what happens when we use the frame view modifier, my updated code looks like the following:
Image("test-image-large")
    .resizable()
    .frame(width: 150,
           height: 100)
And if I build and run, I get this:
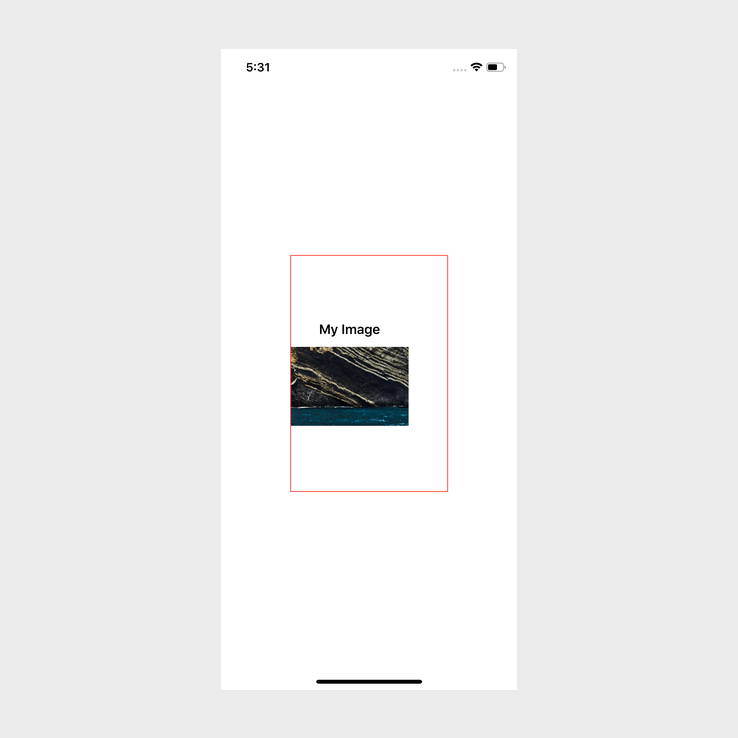
This is not working as expected. It is quite amazing how adding one simple view modifier can make such a big difference.
Conclusion
Once we know that we need to use the resizable view modifier before we can start resizing an image, it becomes a trivial task.
If you want the full source code, you can find it here.