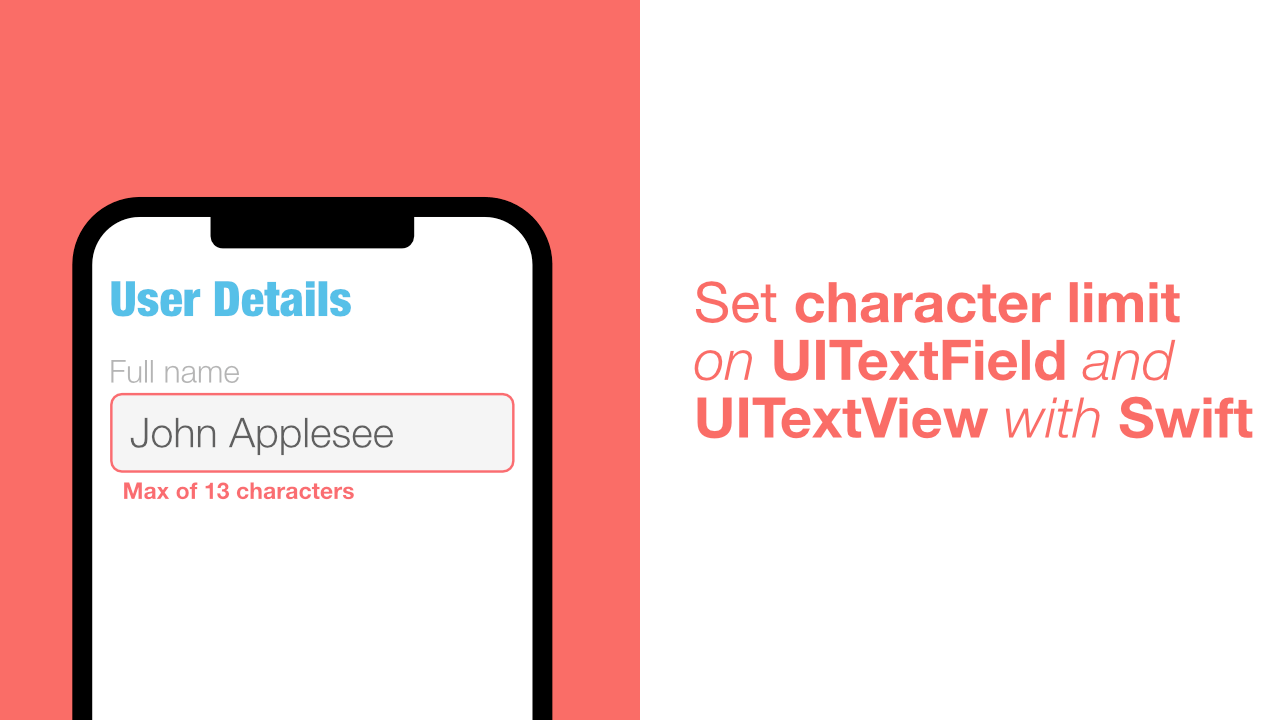
Set character limit on UITextField and UITextView with Swift

When creating forms in an app, one might want a character limit as part of the validation for UITextField's or UITextView's. Adding limits require the use of UITextFieldDelegate or UITextViewDelegate depending on if you are using a textfield or a textview.
In this tutorial we will learn which delegate method we need to implement and how we can use that method to limit the characters that the user is allowed to type.
Create textLimit method
This is the first step in limiting the characters for a text field or a text view. We need to create a method that will limit the the number of characters based on the current character count and the additional/new text that will get appended to the current value of the text field or text view.
Let's create this method now, add the following method to your code:
private func textLimit(existingText: String?,
                       newText: String,
                       limit: Int) -> Bool {
    let text = existingText ?? ""
    let isAtLimit = text.count + newText.count <= limit
    return isAtLimit
}
This method has three arguments. The first will take the current string value from the text field/text view. The second argument, newText, will contain the new text that has been typed into the text field/text view. Lastly we have a limit argument, which will be the max character count value that the text field/text view can have.
First, we create a new text variable. This will be assigned the value of existingText if it is not nil, otherwise we assign it an empty string.
Next, we create a new constant called isAtLimit. This will do a calculation to determine whether the text value's length and the newText value's length is less than or equal to the limit when the two lengths are combined.
Finally we return isAtLimit.
UITextField character limit
Now that we have the textLimit method, we can start by using it with a UITextField.
I have my text field set up, the next thing that needs to get done is to make my ViewController adopt and conform to UITextFieldDelegate. Let's do that now.
The first part of this is to make our ViewController adopt UITextFieldDelegate:
class ViewController: UIViewController, UITextFieldDelegate { }Now that we have adopted the delegate we need to conform to it. The delegate method that we need to use is:
textField(_ textField: UITextField,
            shouldChangeCharactersIn range: NSRange,
            replacementString string: String) -> Bool
Let's implement this method by adding the following code:
func textField(_ textField: UITextField,
               shouldChangeCharactersIn range: NSRange,
               replacementString string: String) -> Bool {
    return self.textLimit(existingText: textField.text,
                          newText: string,
                          limit: 10)
}
Since we have already created the textLimit method, and it returns a Bool value, all we need to do is return the result that textLimit returns.
When we call textLimit we pass through the current text that the text field contains. We then pass through the new text that is going to get added to the text field, and finally we pass through our character limit.
If you build and run the app now, you should not be able to type more than 10 characters into your text field. If you want a bigger or smaller limit, just change the limit argument value. Applying a limit is as easy as that. Next we will do the same thing but for UITextView.
UITextView character limit
Adding a character limit to the UITextView is almost identical to adding a limit to a UITextField.
We need to adopt UITextViewDelegate, which is done like this:
class ViewController: UIViewController, UITextViewDelegate {}Next we need to conform to it by adding the following code:
func textView(_ textView: UITextView,
              shouldChangeTextIn range: NSRange,
              replacementText text: String) -> Bool {
    return self.textLimit(existingText: textView.text,
                          newText: text,
                          limit: 10)
}
As you can see, this delegate method is functionally identical to the UITextField delegate method that we used. This means that we can easily use the textLimit function here too.
Instead of textField.text as the argument value for existingText, we will now use textView.text and instead of using string as the argument value for newText we are now using text. I have still used 10 as the limit, but you can change that to anything you want.
If you build and run your app you will see that you cannot add anymore than 10 characters to your UITextView.
Conclusion
Adding a character limit to a text field or a text view is straight forward once you figure out how to use the delegate methods. If you want you can easily add more functions which will allow you to validate user input for text fields and text views.
The full source of this project can be found here.
