Setup Charles for iPhone
Learn how to setup Charles proxy for iOS (iPhone / iPad)

In this tutorial I will show you how to setup Charles with your iPhone. Charles is an extremely useful tool. I have used it often to debug my network calls, or to change the value that the server has returned to ensure that my app is behaving correctly.
Step 1: Get the proxy details
The first thing that you need to do once you have Charles open is to navigate to:
Help -> SSL Proxying -> Install Charles Root Certificate on a Mobile Device or Remote Browser
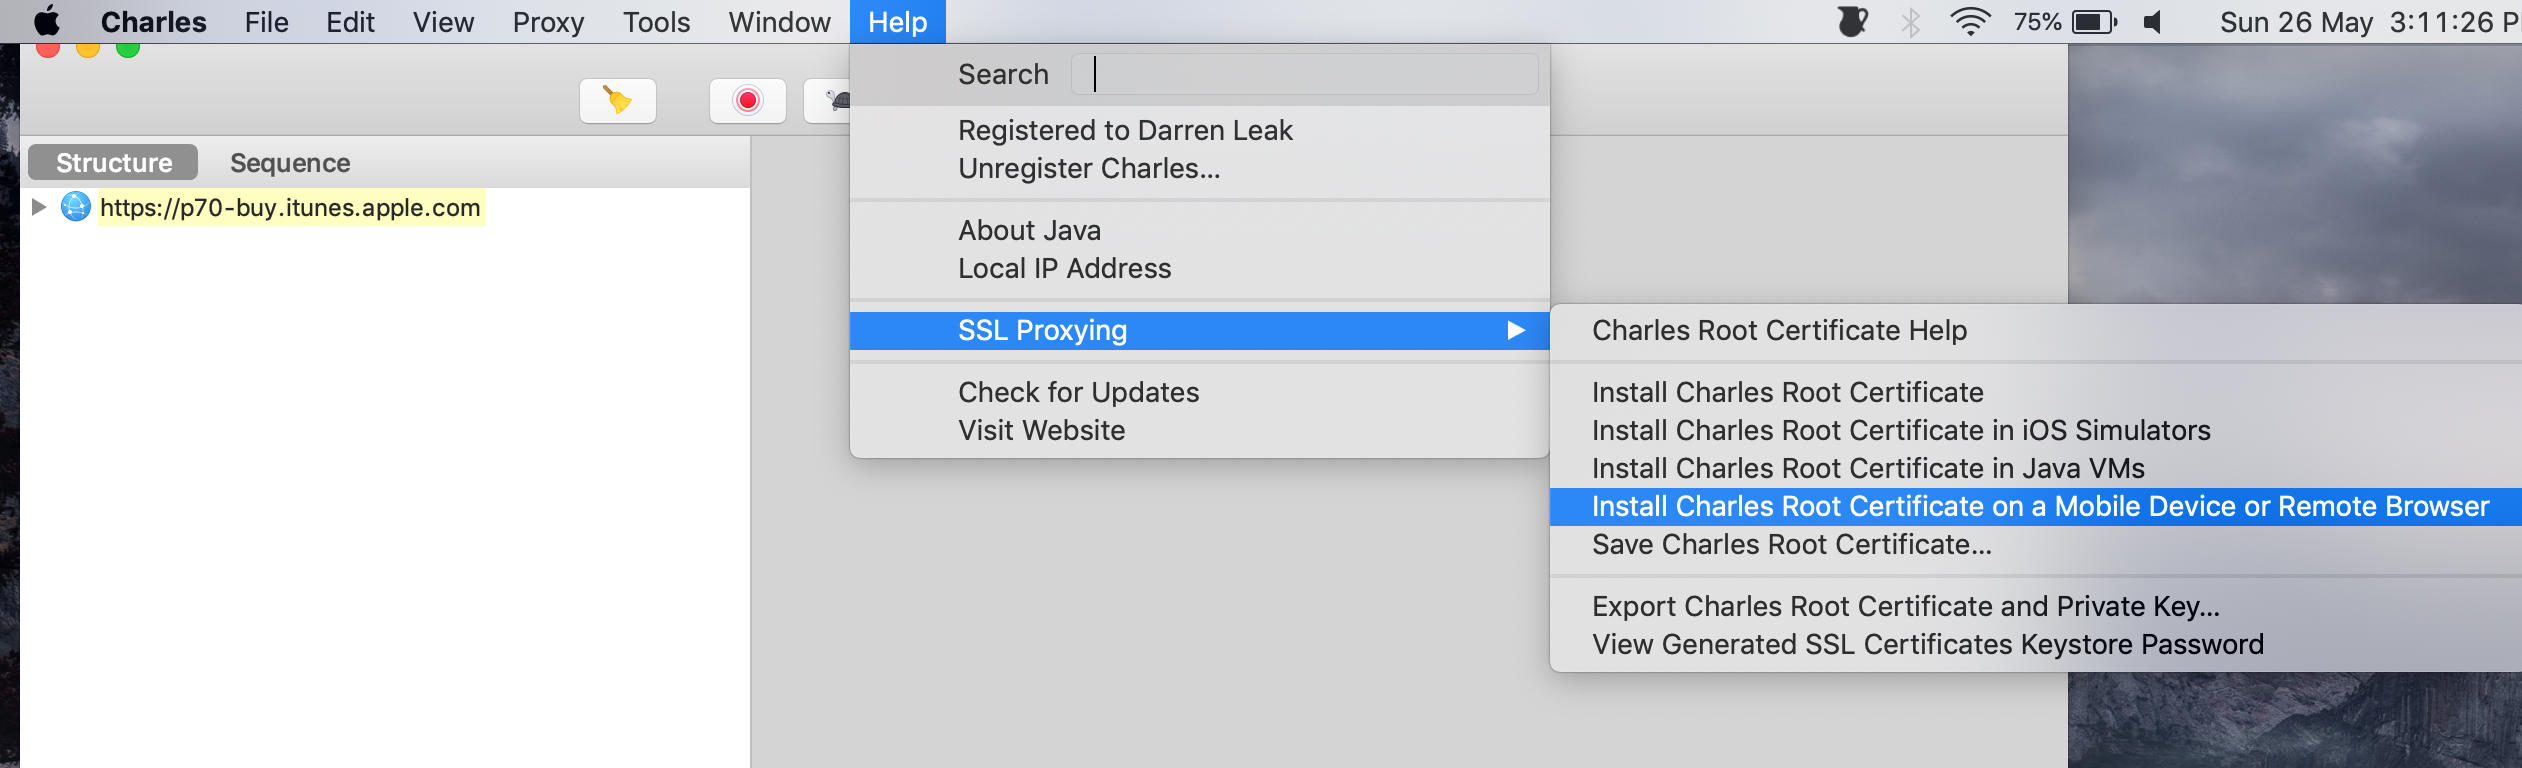
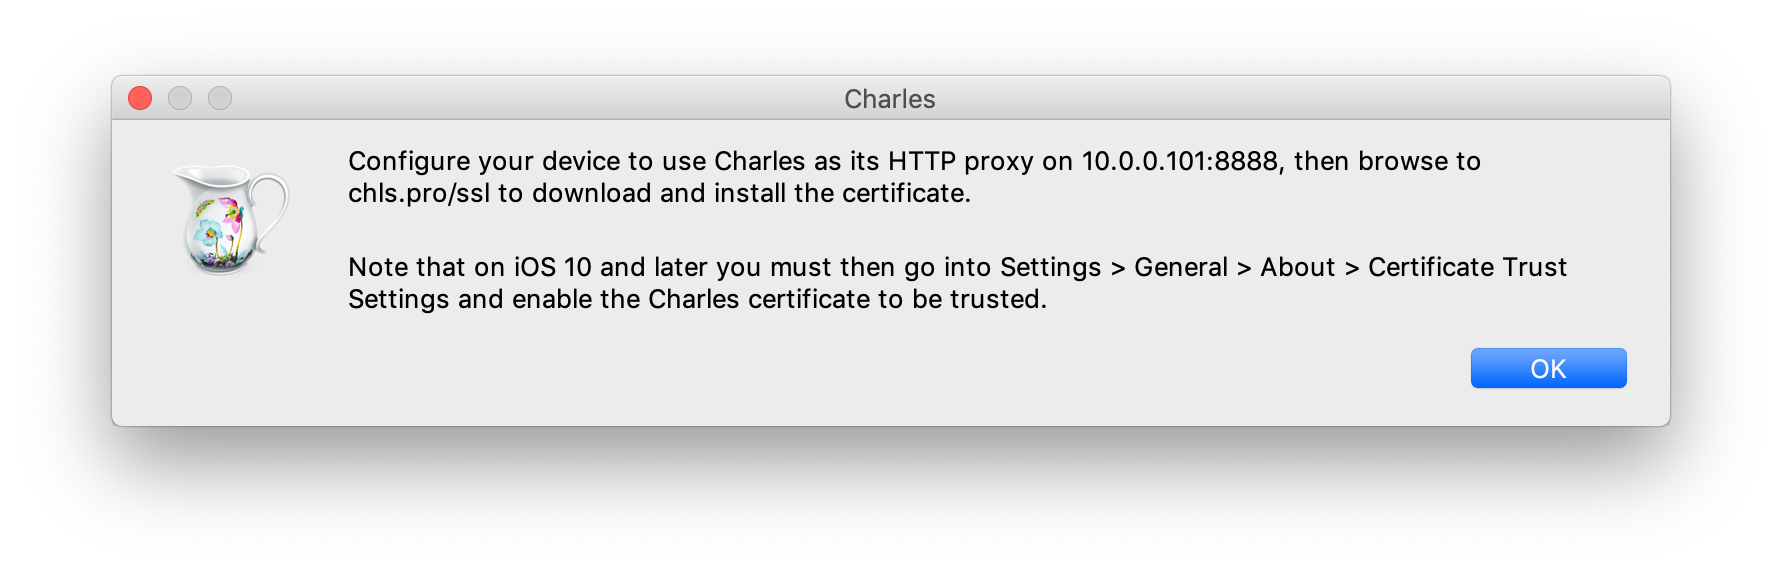
When you do that you should see a window similar to this:
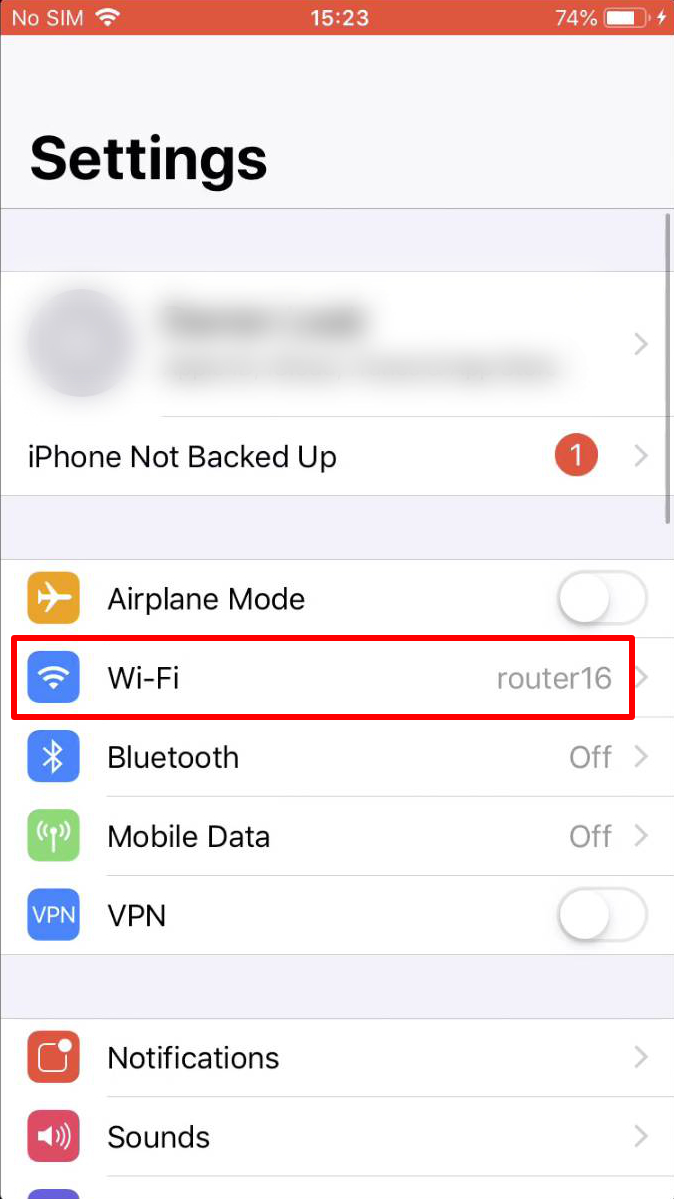
Step 2: Setting up your device
1. Go to Settings -> Wi-Fi:
2. Select your Wi-Fi connection:
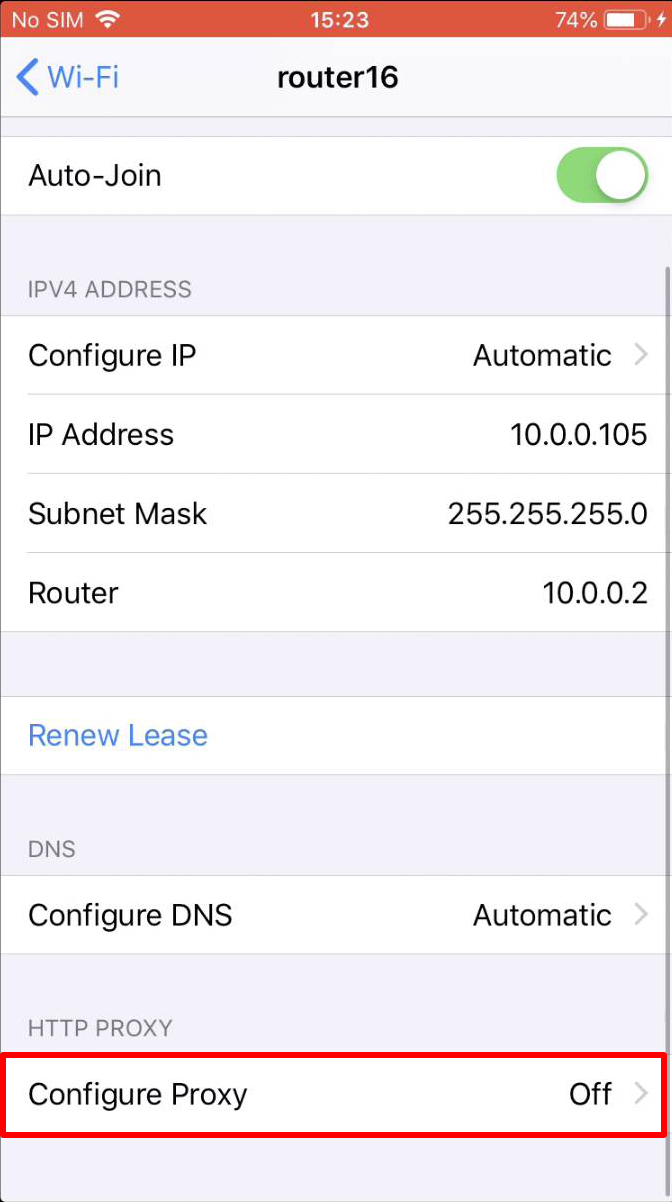
3. Scroll all the way to the bottom and click on Configure Proxy:
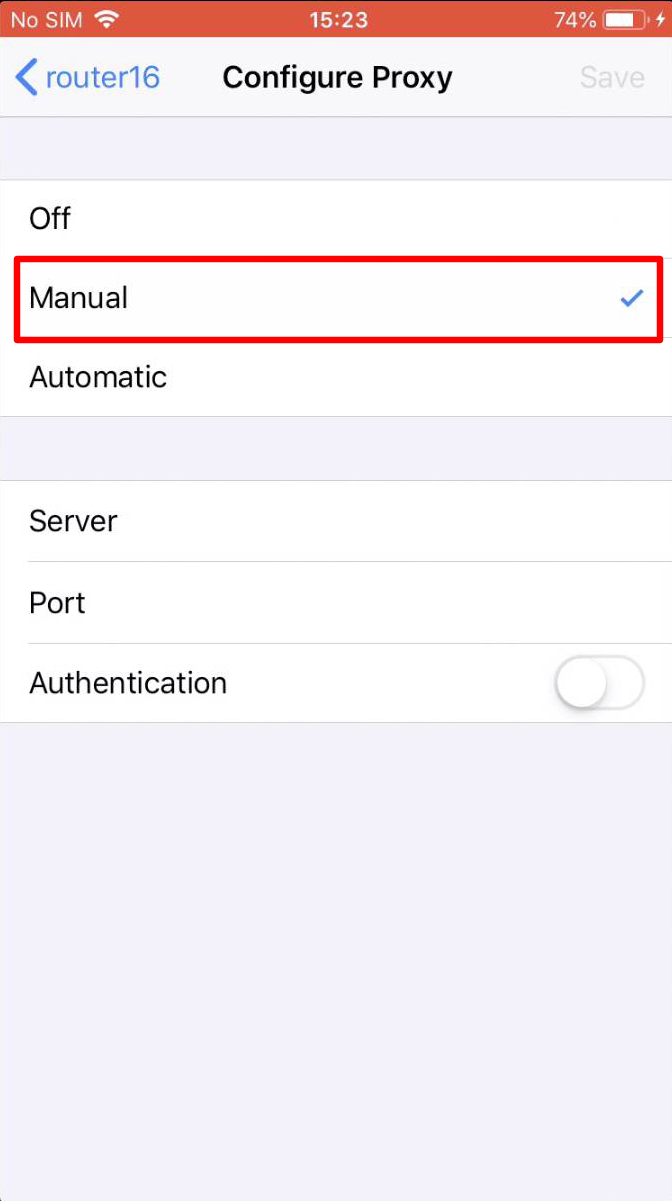
4. Select Manual from the list:
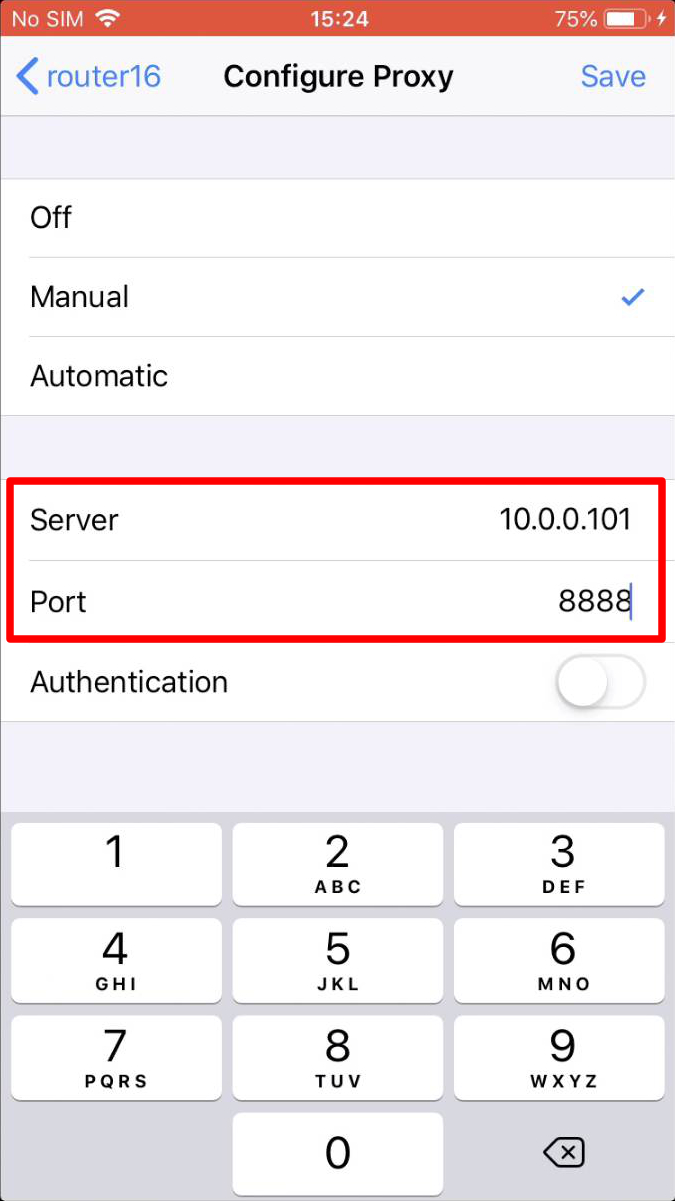
5. Enter the value that you got from Charles(From Step 1):
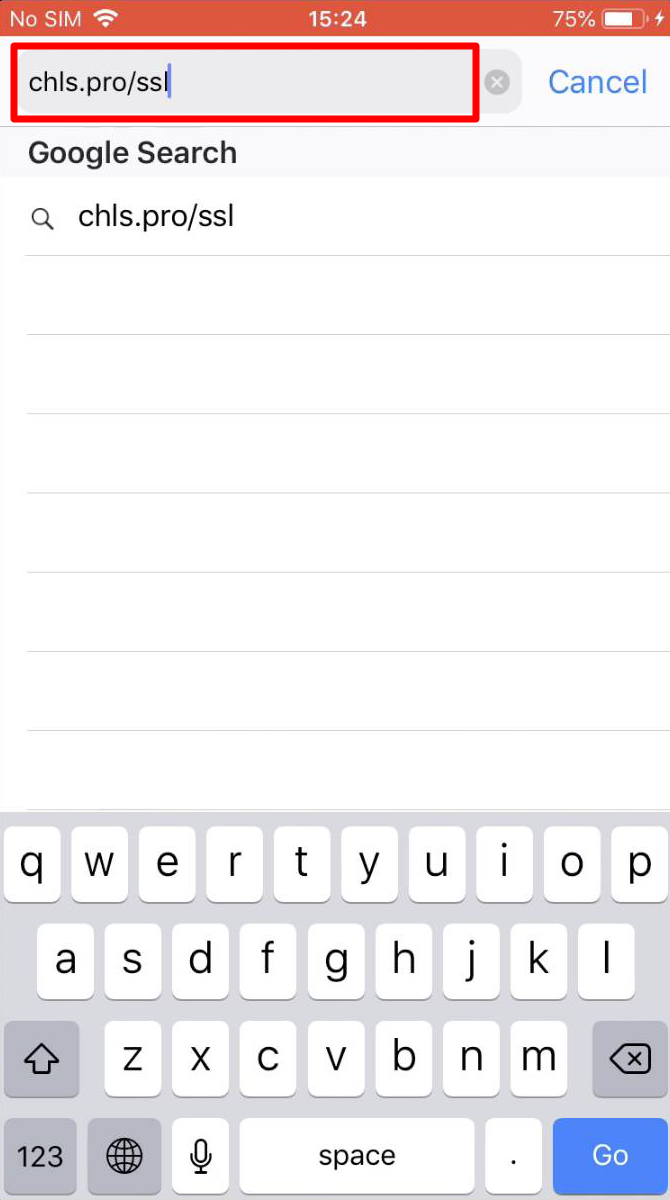
6. Navigate to chls.pro/ssl in Safari:
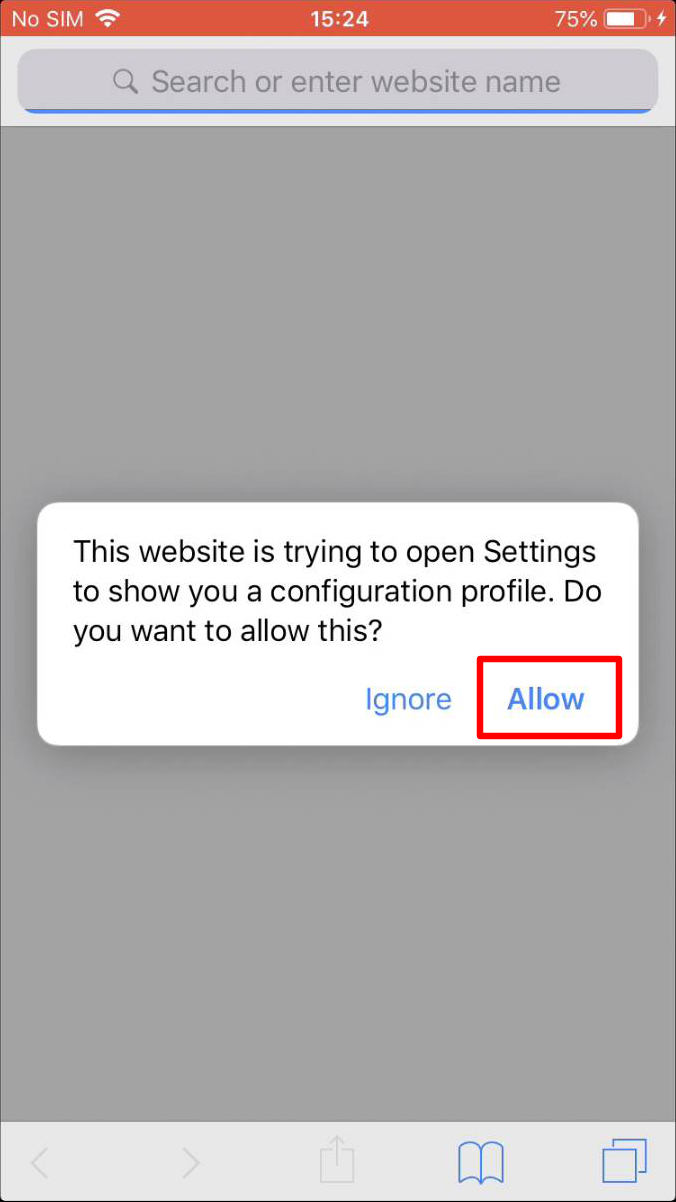
6. You will get prompted to accept the configuration profile. Accept the profile:
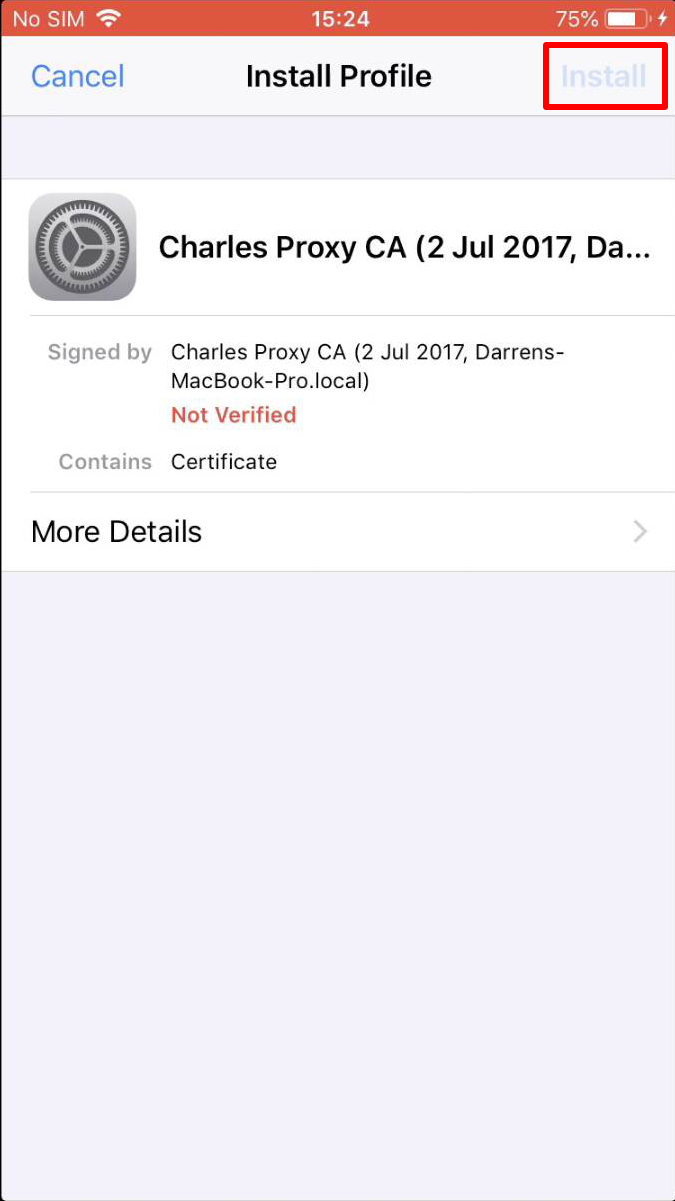
7. Click install in the top right on your screen:
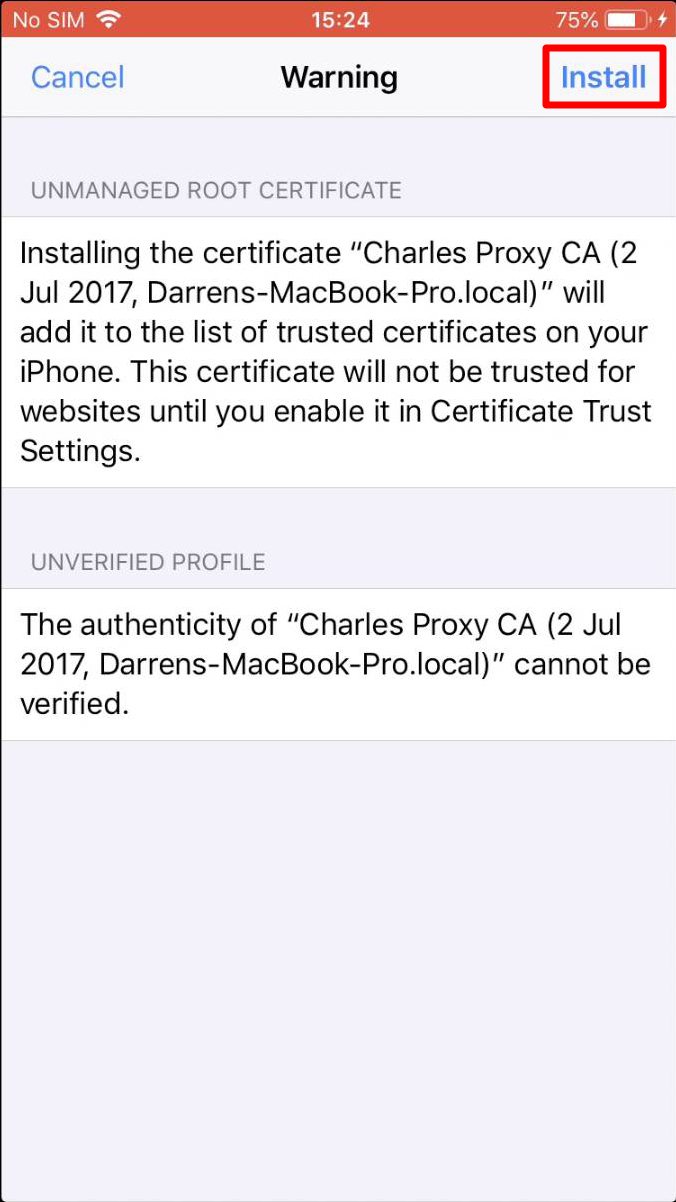
8. Click install again, also in the top right on your screen:
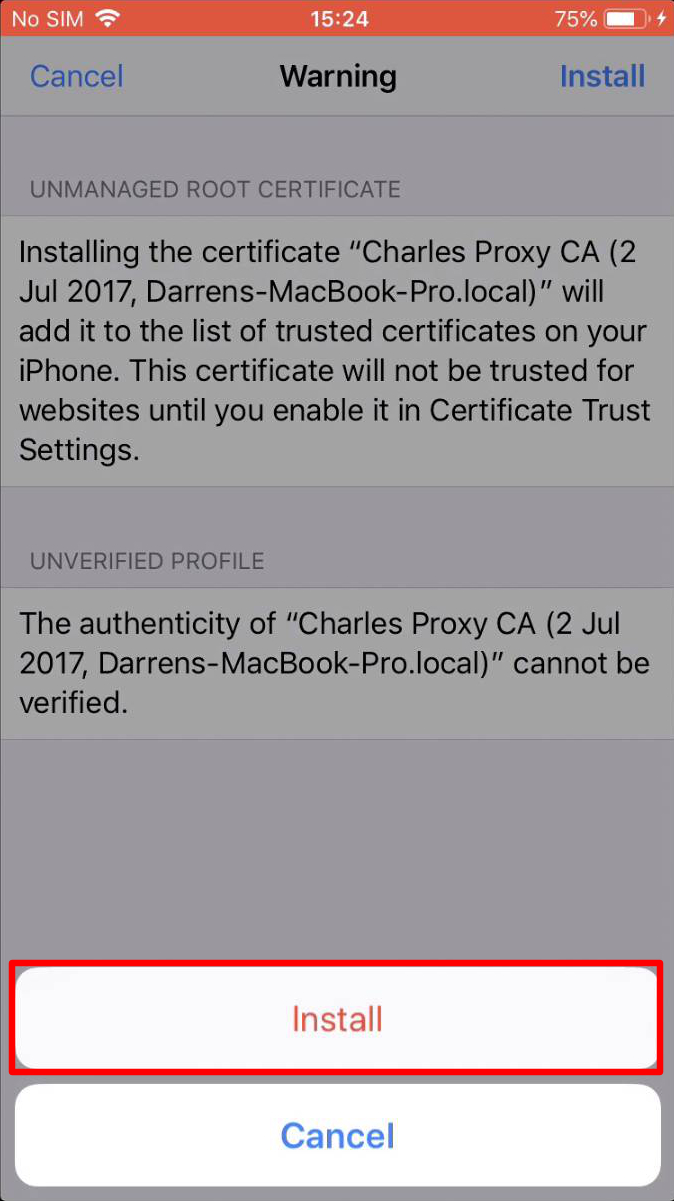
9. Click install again when prompted:
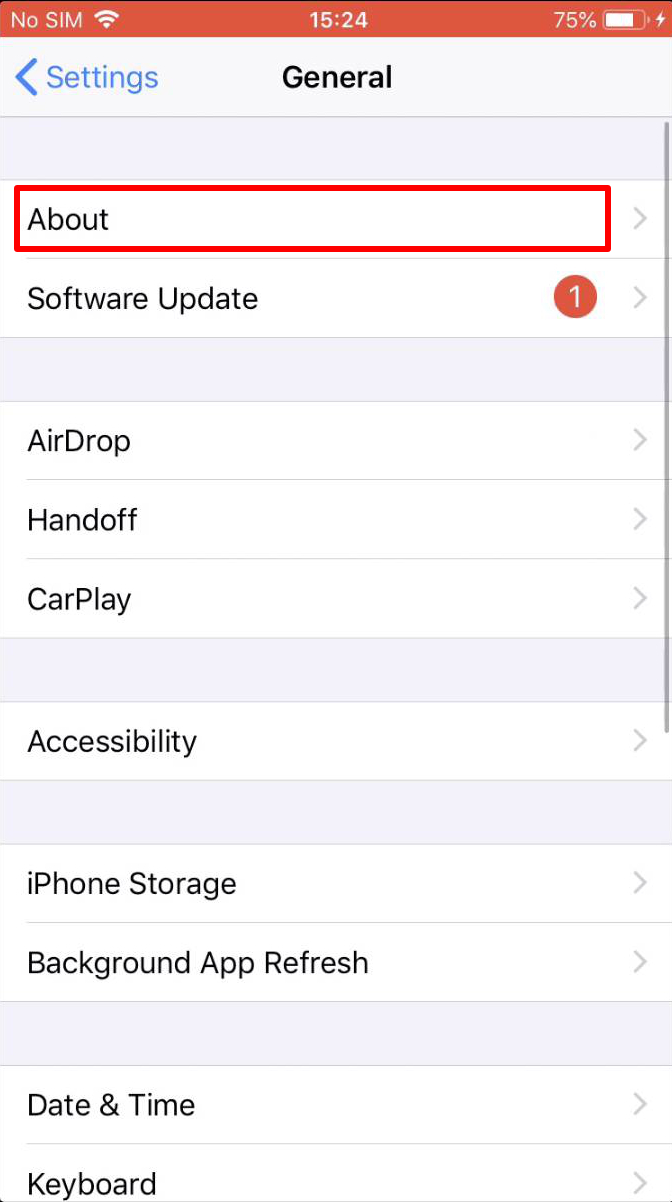
10. Navigate back to Settings -> General, and click on About:
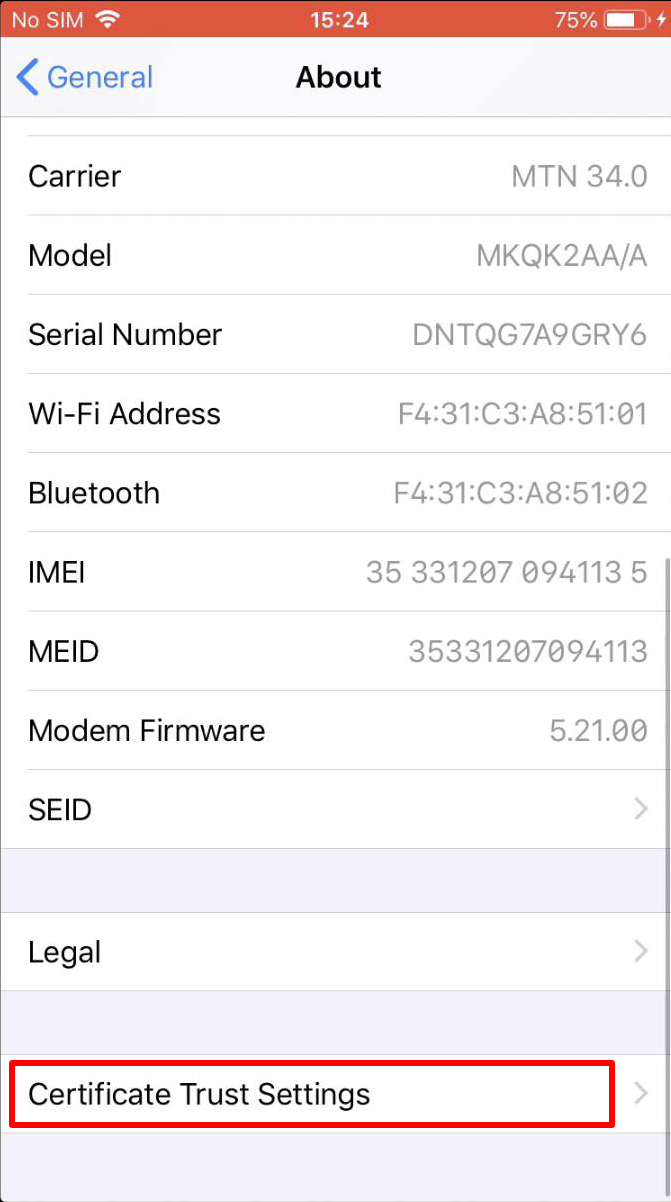
11. Scroll right to the bottom where you can see Certificate Trust Settings:
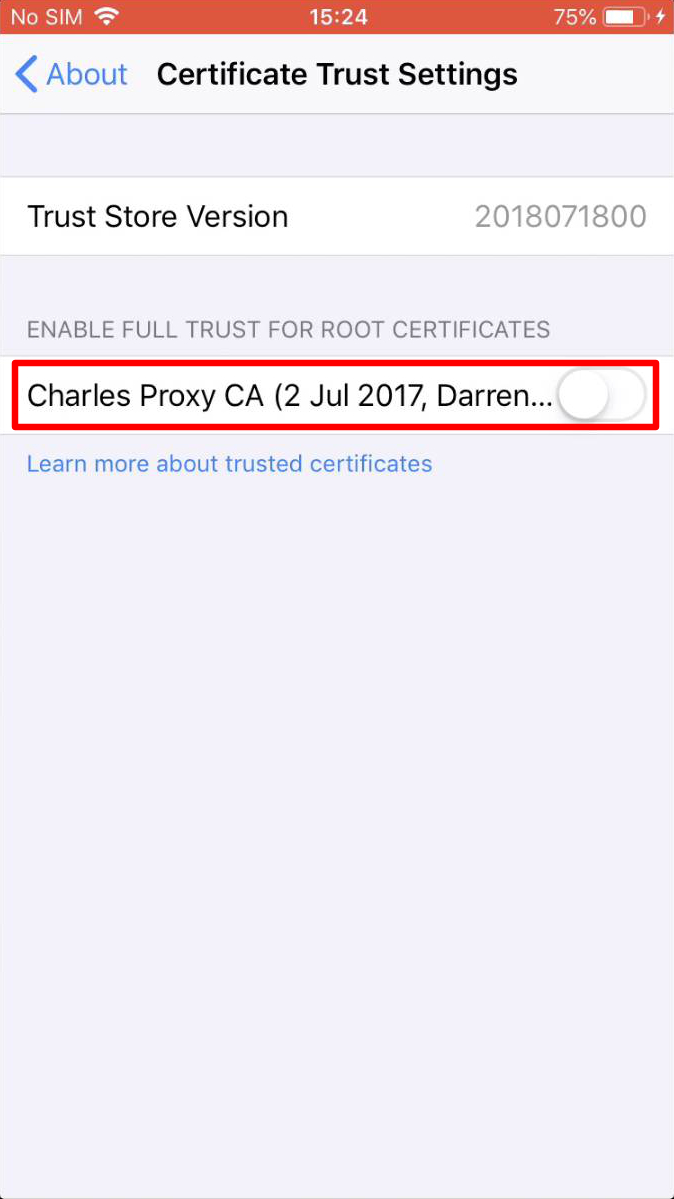
12. Click on the switch on the right of the Charles Proxy CA:
13. Click Continue on the popup:
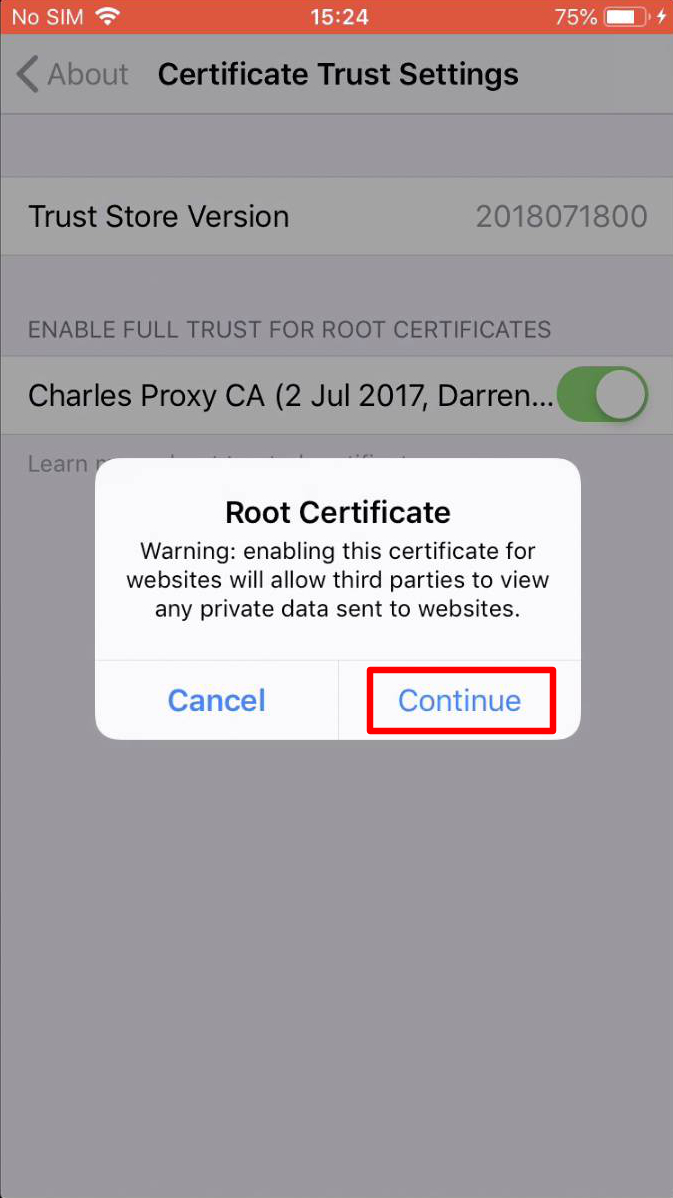
Conclusion
You should now be able to use Charles. If Charles asks you to allow the connection click on Allow. If you don’t allow the connection you will not be able to use the proxy until you allow it.