SwiftUI TextField Character Limit

I have written about how to add a character limit to UITextField so I thought that I might as well write a tutorial on how to add a character limit to a SwiftUI TextField.
There are few things that change when doing it for SwiftUI. These changes are mainly due to SwiftUI being declarative, so the state needs to do the processing of data rather than having a delegate method that will control the TextField.
Now that we know that we need to do the processing on the state side of things I can mention that this tutorial will be using combine, specifically Published, ObservableObject and ObservedObject. Luckily these can be very simple to use and for this tutorial they are.
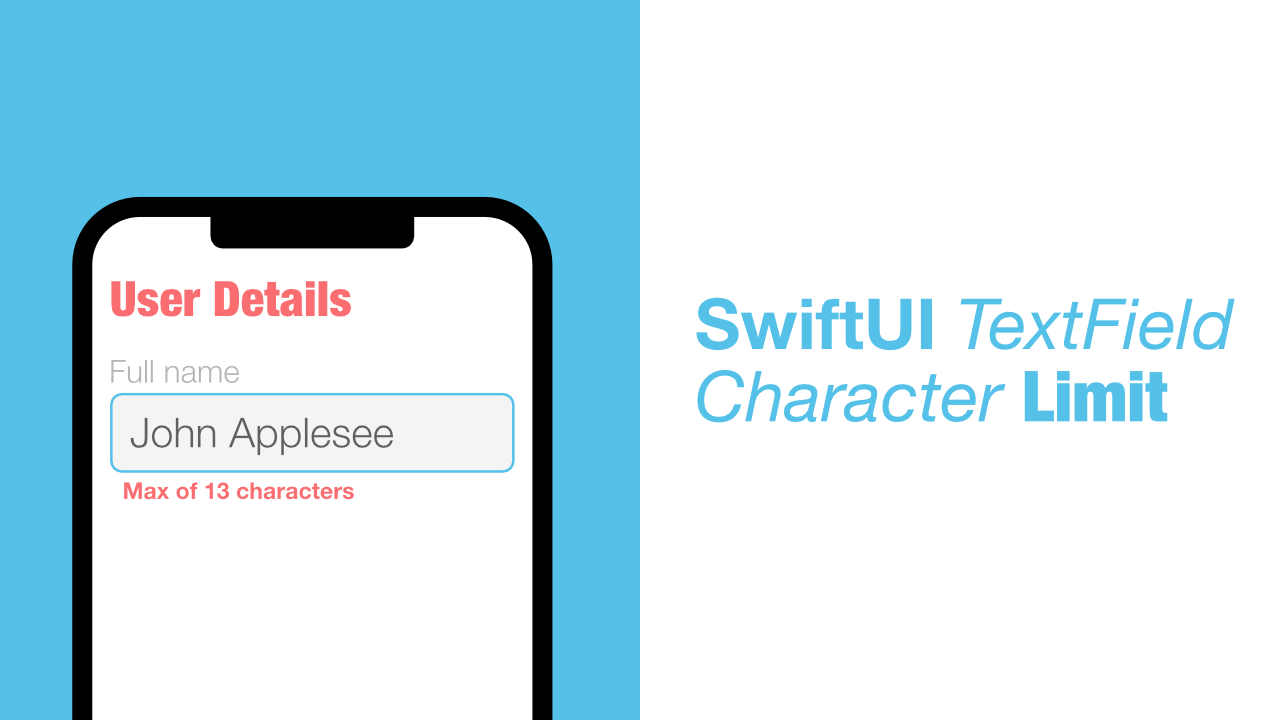
This is what we will be making:
Step 1: Create TextLimiter ObservableObject
The first step that we need to take is to create our TextLimiter class, this will be an ObservableObject which will allow us to Publish values. In particular we will be publishing the text value that will be in the TextField, but we will also publish an informational value so that we know when the limit has been reached.
Add the following class to your project, I have added this into my ContentView file, but you can put it anywhere:
class TextLimiter: ObservableObject {
    private let limit: Int

    init(limit: Int) {
        self.limit = limit
    }

    @Published var value = ""
    @Published var hasReachedLimit = false
}
What are we doing here? We have a limit property which will store the character limit when we initialise the TextLimiter. This limit will be used later on when we add the logic to prevent the string from being longer than the limit we provide.
We also have two variables that use the @Published property wrapper. The first is value, this will be the value that the TextField displays and hasReachedLimit is a boolean that will be changed when with the logic that I previously mentioned.
Now that we have the base of our class out of the way, we can implement the logic. Update @Publised var value = "" to this:
@Published var value = "" {
    didSet {
        if value.count > self.limit {
            value = String(value.prefix(self.limit))
            self.hasReachedLimit = true
        } else {
            self.hasReachedLimit = false
        }
    }
}
In the above code we are apply our limit to the value. To do this we use a Property Observer. In the above property observer we do a check to see if the count of value is greater than the limit that we provided. If it is, we will assign a prefix of value to value, that prefix will use the limit that we provided to only take the correct amount of characters from the start of the string.
Once we assign that prefix string to value we set hasReachedLimit to true.
Step 2: Use TextLimiter
In my ContentView struct I am going to add the following ObservedObject property:
@ObservedObject var input = TextLimiter(limit: 5)Here we will initialise the TextLimiter and set the limit to 5. After that I have a the following in the ContentView body:
TextField("Text Input",
          text: $input.value)
    .border(Color.red,
            width: $input.hasReachedLimit.wrappedValue ? 1 : 0 )
Here we can see how everything is being used. We bind the TextField text to $input.value, this will be the value property from TextLimiter. This is all that we need to in order to have the character limit applied, remember the logic for limiting the characters is not done on the view. So if you build and run you should not be able to enter more than 5 characters.
Lastly we use the $input.hasReachedLimit.wrappedValue. For this tutorial I have added a red border and I set the width based on whether the input has reached the limit or not. This is more just to show you how you can use the limit in a different way.
We could change some of the logic in our TextLimiter to allow for a min and max limit. This could let us validate whether a user has the correct number of characters, and if they are within range we can add a green border and if they are out of the range then we add a red border.
Conclusion
Adding a character limit in SwiftUI using TextField is much nicer than using UITextField and its delegate methods.
If you want to see the full source code for this tutorial, you can find it here.