UITableView With Static Cells
Learn how to easily create a static table view with custom table view cells.


Today I will show you how to create custom table view cells and use it in a static table view. A static table view can be useful when creating menu’s that do not change or app settings. Pretty much anything that can be listed that will have fixed values.
Custom cells for static table view are done in the exact same way as custom cells for dynamic table views. One needs to register the nib and then use the cellForRowAt method to use the custom cell.
The biggest difference when using a static table view is that you need to do it through Interface builder, and it needs to use a UITableViewController. You cannot add a normal UITableView in a UIViewController.
Now that we have the basics covered we can start implementing the static table view with custom cells.
Step 1: Use a UITableViewController
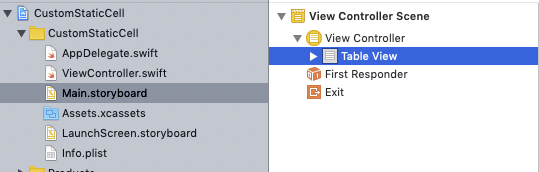
For this tutorial we are going to remove the default UIViewController and replace it with the UITableViewController. This will allow us to set the table view to be static and then we add or remove cells as we need.
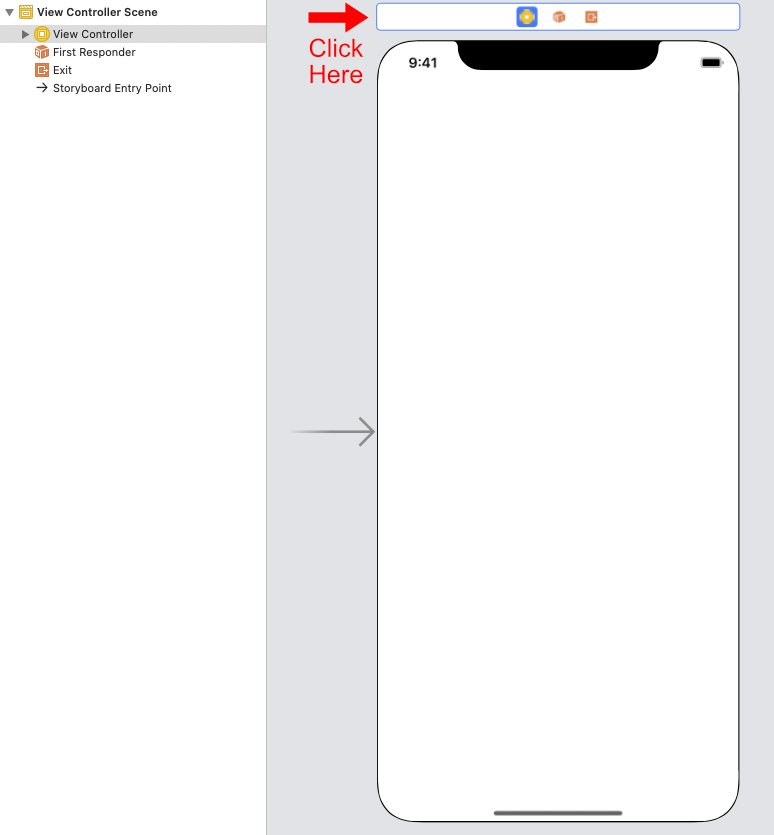
After you have selected the viewController as shown in the image above, delete the view controller. Next you will want to press cmd + shift + l and then type tableviewcontroller. Drag the table view controller into interface builder.
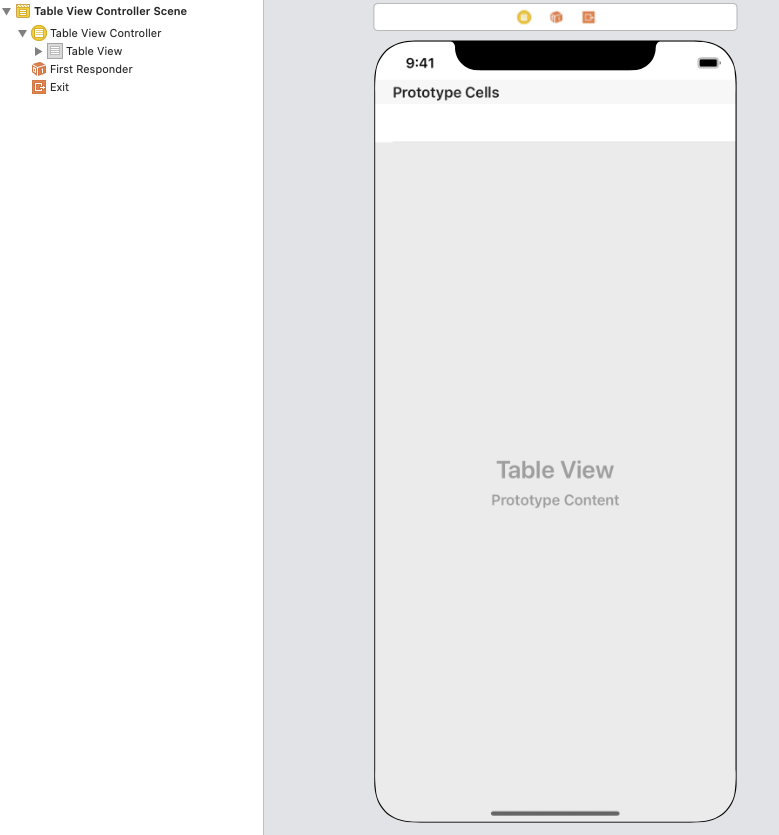
It should look like the below:
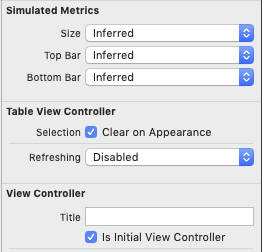
Step 2: Set initial view controller
We removed the original view controller and added the new table view controller. What we need to do now is update the Is initial view controller property for the new table view controller.
Step 3: Update ViewController.swift
Because we have removed the default view controller and we are now using the table view controller, we need update our ViewController.swift file to subclass UITableViewController instead of UIViewController.
// Change to be a subclass of UITableViewController
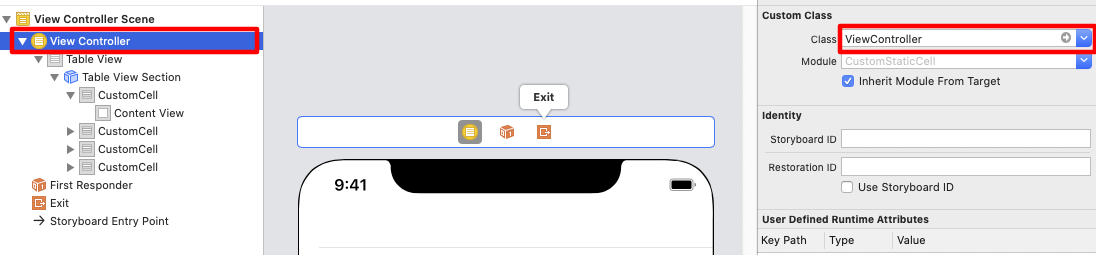
class ViewController: UITableViewControllerWe also need to change the class in Interface builder for the table view controller to be of type ViewController.
Step 4: Make table view static
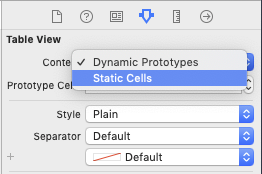
To do this go to Interface builder and click on the Table View.
Now you need to set the content type of the table view to Static Cells.
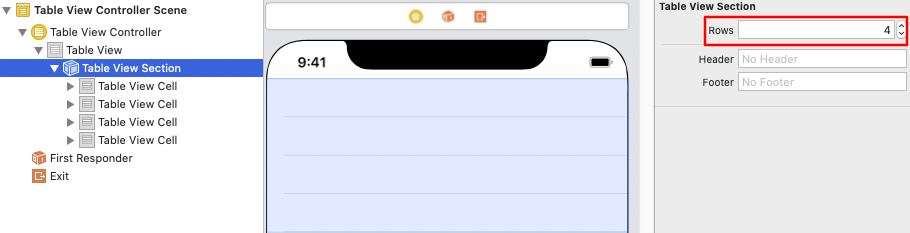
After setting it to static, you can increment the number of rows by clicking on Table View Section in the view hierarchy on the left(highlighted in blue) and then on the right you will see the option to increment the number of rows that the table view has.
Step 5: Add a new file for the custom cell
Now that we have the basic setup done we can start working on getting the cells to show up. Before we do that we need to create the new cell.
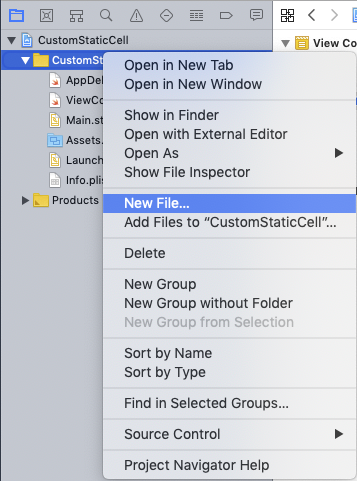
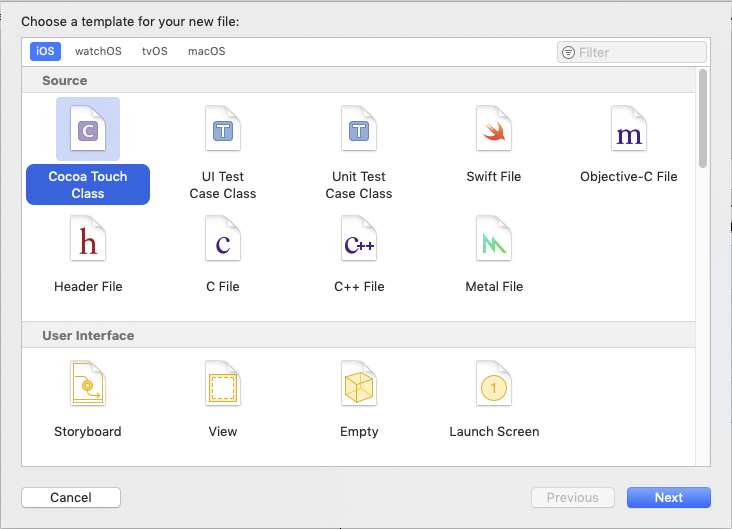
To do this add a new file to your project:
Next choose cocoa touch class:
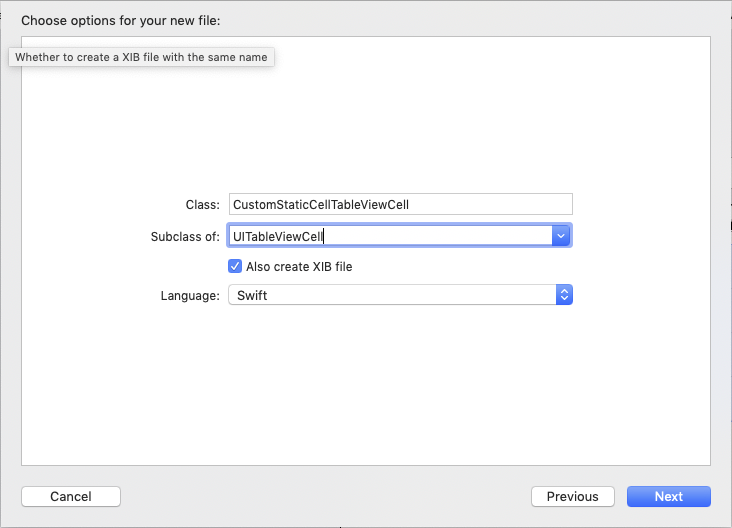
Give the new file a name and make sure to include Also create XIB file as well as to set the Subclass of to be of type UITableViewCell:
Step 6: Style the cell
Click on the CustomStaticCellTableViewCell.xib, click on the view and change the height of that view.

After we have set the height of the cell, we need to add a view and a label to the cell. It should look similar to the below:
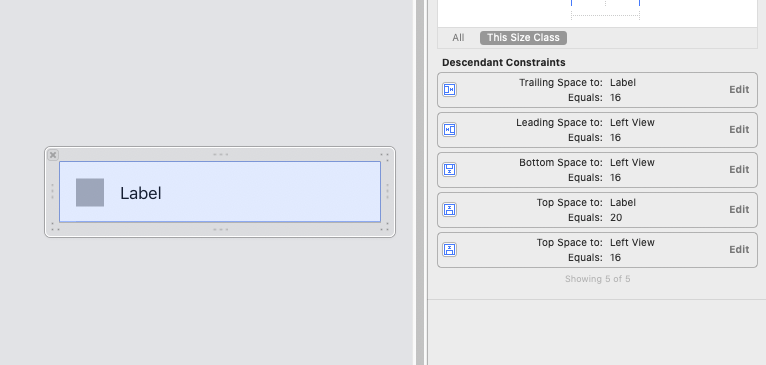
Make sure that once you have added the view and label that you create the outlets for them. We will be using the label outlet later on.
Step 7: Reuse Identifier
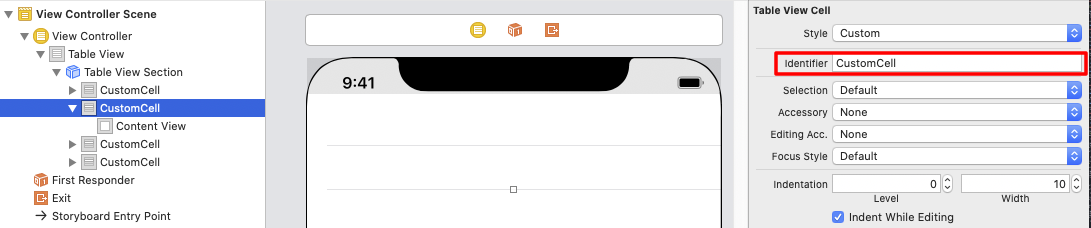
Go back to the Main.storyboard. For each cell you will need to change the Identifier to CustomCell, this can be anything you want, but for this tutorial I will just be using CustomCell. We will be using this later on, you can find the Identifier here:
Step 8: Code time
All the visual work is done now, so we can finally get started on the code. For this we need to open ViewController.swift. In this file we are going to add two methods. The first will be to register the custom cell that we created, and the other one will be the cellForRowAt table view method.
First things first, lets add the registerCell method:
private func registerCell() {
    let cell = UINib(nibName: "CustomStaticCellTableViewCell",
                        bundle: nil)
    self.tableView.register(cell,
                            forCellReuseIdentifier: "CustomCell")
}
In this method we register the custom cell nib with the table view, this is also one of the places where we use the Reuse identifier that we created earlier. If we do not do this then the app will crash if we try and use this cell.
The next thing to do is to implement the cellForRowAt method.
override func tableView(_ tableView: UITableView, cellForRowAt indexPath: IndexPath) -> UITableViewCell {
    guard let cell = tableView.dequeueReusableCell(withIdentifier: "CustomCell") as? CustomStaticCellTableViewCell else {
        return UITableViewCell()
    }

    cell.label.text = "Test \(indexPath.row)"

    return cell
}
This is the second time that we need to use the Reuse identifier that we created. In this method we try and cast the cell in the table view to be of type CustomStaticCellTableViewCell, if it can cast the cell then we set the label text. This is the label that we added earlier as an outlet.
The last thing that we need to do now is to call the registerCell method. To do this update the viewDidLoad method to look like this:
override func viewDidLoad() {
    super.viewDidLoad()
    self.registerCell()
}