Activity Indicator with Swift

With most apps the users will have to wait for some process to complete, whether that is downloading a video/image, fetching data from an api, processing images etc. If your app requires the user to wait for some amount of time for a task to complete it would be a good idea to show them an activity indicator.
In this tutorial we will learn how to add an activity indicator to an app using Swift.
Creating an activity indicator
To create a basic activity indicator all you need to is the following:
let activityIndicatorView = UIActivityIndicatorView(style: .medium)
self.view.addSubview(activityIndicatorView)
activityIndicatorView.startAnimating()
The above code is all the code that you need to add an activity indicator, but unless you have your positioning correct and sizes correct this probably will not work too well.
Let's create a function that will allow us to add some customisation to our activity indicator. This function will allow us to change the style, frame and center point.
Add the following to your code:
// 1
private func activityIndicator(style: UIActivityIndicatorView.Style = .medium,
                                   frame: CGRect? = nil,
                                   center: CGPoint? = nil) -> UIActivityIndicatorView {

    // 2
    let activityIndicatorView = UIActivityIndicatorView(style: style)

    // 3
    if let frame = frame {
        activityIndicatorView.frame = frame
    }

    // 4
    if let center = center {
        activityIndicatorView.center = center
    }

    // 5
    return activityIndicatorView
}- New private method called
activityIndicator. This method takes three parameters as mentioned earlier. All of the parameters have a default value for some flexibility.styleonly allows two options,.largeor.medium, I have defaulted this to use.medium. Theframewill allow us to set a frame is we choose to, and lastly we have acenterargument. This will allow us to pass a center point for our activity indicator. If you use thecenterandframetogether you will need to manually calculate the center point based on the size of the frame. - We initialise a
UIActivityIndicatorViewwith the style that gets passed as an argument. - If we have a frame we will set the
activityIndicatorViewframe. - If we have a center point we will set the
centerof ouractivityIndicatorView. - Return the activity indicator.
Now all we need to do is to call this function and then add the activity view as a subview. I am going to be doing this in my viewDidLoad method.
This is what my viewDidLoad looks like:
override func viewDidLoad() {
    super.viewDidLoad()

    // 1
    let indicatorView = self.activityIndicator(style: .medium,
                                               center: self.view.center)

    // 2
    self.view.addSubview(indicatorView)

    // 3
    indicatorView.startAnimating()
}- Call the
activityIndicatormethod we created earlier. - Add the
indicatorViewas a subview to the current view. - Call the
startAnimatingmethod on the activity indicator.
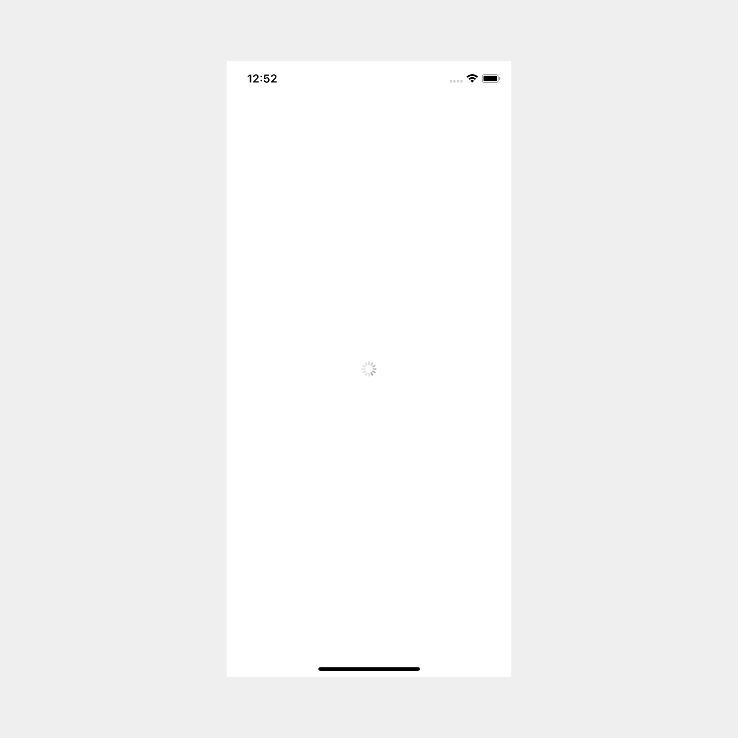
When I build and run I see the following:
Conclusion
Adding an activity indicator to your app is very easy and only requires a few lines of code.
If you are trying to do this with SwiftUI I have a tutorial that you can find here.
If you want the full source code for this tutorial, you can find that here.