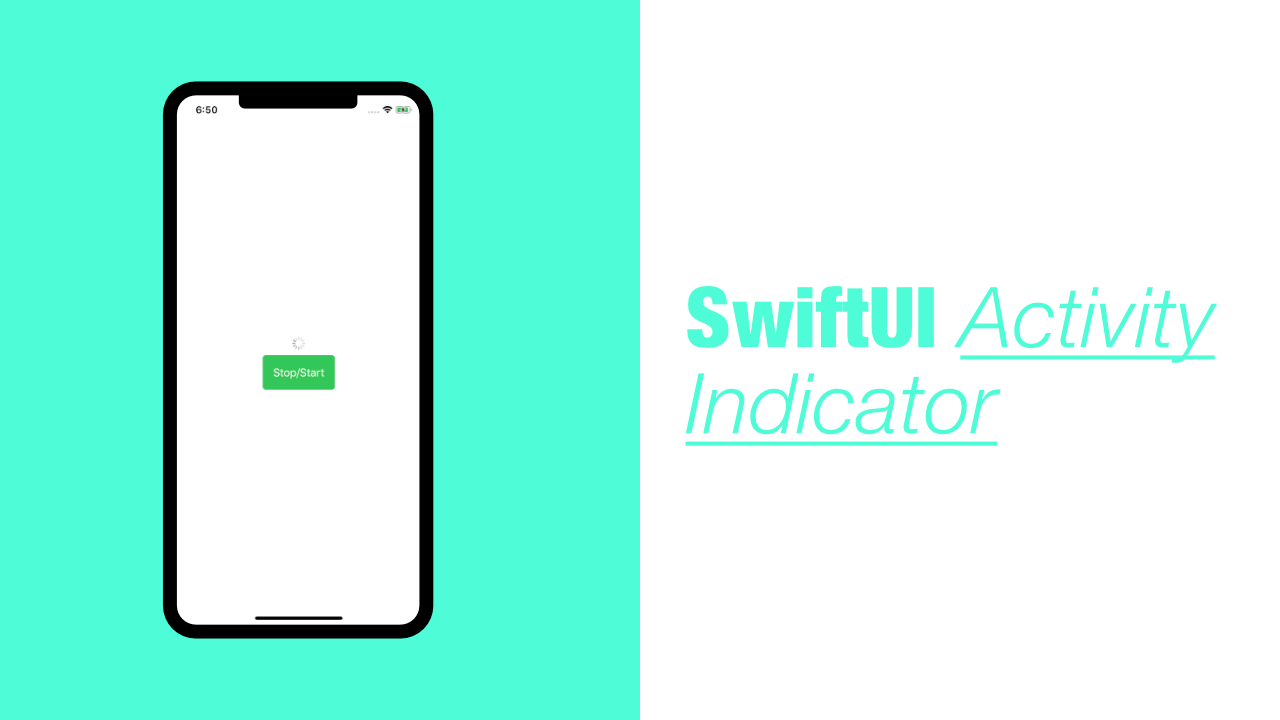
SwiftUI Activity Indicator

In this tutorial we will learn how to use an activity indicator in SwiftUI. This is a simple task but unfortunately SwiftUI does not have an activity indicator built in, so we need to use the UIActivityIndicatorView which is part of UIKit.
This is what we will be building:
If you want to know how to add an activity indicator using UIKit, I have a tutorial here
Step 1: Create the ActivityIndicator view
We will be using the default UIActivityIndicatorView that comes with UIKit. But to do this we need to create a new struct that conforms to UIViewRepresentable.
In this tutorial we will be implementing two of the methods from UIViewRepresentable. They are, makeUIView and updateUIView, theses are super simple to implement, so let's get started.
Create a new struct called ActivityIndicator :
struct ActivityIndicator: UIViewRepresentable {
    // Code will go here
}
Just creating a struct like this will give you an error, so let's make ActivityIndicator conform to UIViewRepresentable.
Add the following code inside ActivityIndicator:
func makeUIView(context: Context) -> UIActivityIndicatorView {
    // Create UIActivityIndicatorView
}

func updateUIView(_ uiView: UIActivityIndicatorView,
                  context: Context) {
    // Start and stop UIActivityIndicatorView animation
}
Ok, we now have our base conformance to UIViewRepresentable. But the code still won't compile. To make it compile we need return an instance of UIActivityIndicatorView from the makeUIView method.
Adding the indicator view is straight forward, add the following code to the makeUIView method:
return UIActivityIndicatorView()You should now be able to compile. But we need to be able to tell the UIActivityIndicatorView to start and stop animating.
Step 2: Start and Stop UIActivityIndicatorView animation
In order to control whether the UIActivityIndicatorView is animating or not, we need to allow our ActivityIndicator to bind to some outside state.
To do this we will add a new property called shouldAnimate, add the following code above the makeUIView method:
@Binding var shouldAnimate: BoolAlright, now that we have our state we can use this to stop or start the UIActivityIndicatorView animation.
To stop and start the animation, we need to update our updateUIView method. This method will be called when the value that we have bound to changes.
Add the following code to the updateUIView method:
if self.shouldAnimate {
    uiView.startAnimating()
} else {
    uiView.stopAnimating()
}
And that is it. We have an ActivityIndicator that should be functional. Now it is time for us to test it out.
Step 3: Use ActivityIndicator
To test this, I am going to update my ContentView. I need to add some state to the ContentView to keep track of whether or not the ActivityIndicator should animate or not. I will also add a button that will toggle the state to be true or false.
Add the following line to your ContentView:
@State private var shouldAnimate = falseWe can now start using our ActivityIndicator. To do that we need to replace the body with the following code:
var body: some View {
    // 1
    VStack {
        // 2
        ActivityIndicator(shouldAnimate: self.$shouldAnimate)

        // 3
        Button(action: {
            // 4
            self.shouldAnimate = !self.shouldAnimate
        }, label: {
            Text("Stop/Start")
                .foregroundColor(Color.white)
                .padding()
        })
            .background(Color.green)
            .cornerRadius(5)
    }
}- We need to wrap everything in a
VStackso that we can put theActivityIndicatorabove theButton. - We add our new
ActivityIndicatorview. Because theActivityIndicatorview takes aBindingargument, we need to use the$sign when passing ourshouldAnimatestate property. - Add a normal
Button, which will be used to toggleshouldAnimatebetweentrueandfalse. - Toggle
shouldAnimatebetweentrueorfalsedepending on the current value.
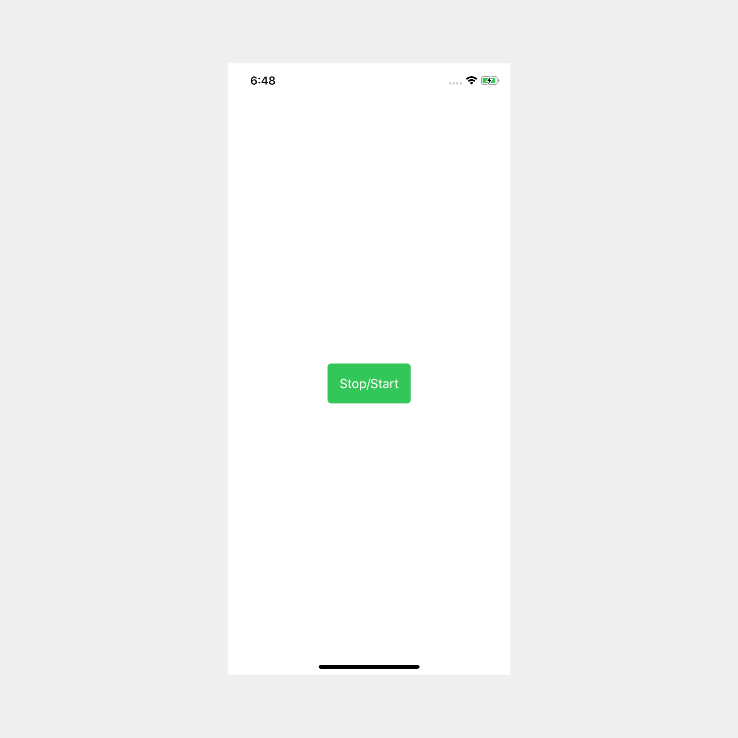
If you build and run you will see the following:
If you tap on Stop/Start you will see that the UIActivityIndicatorView is visible:
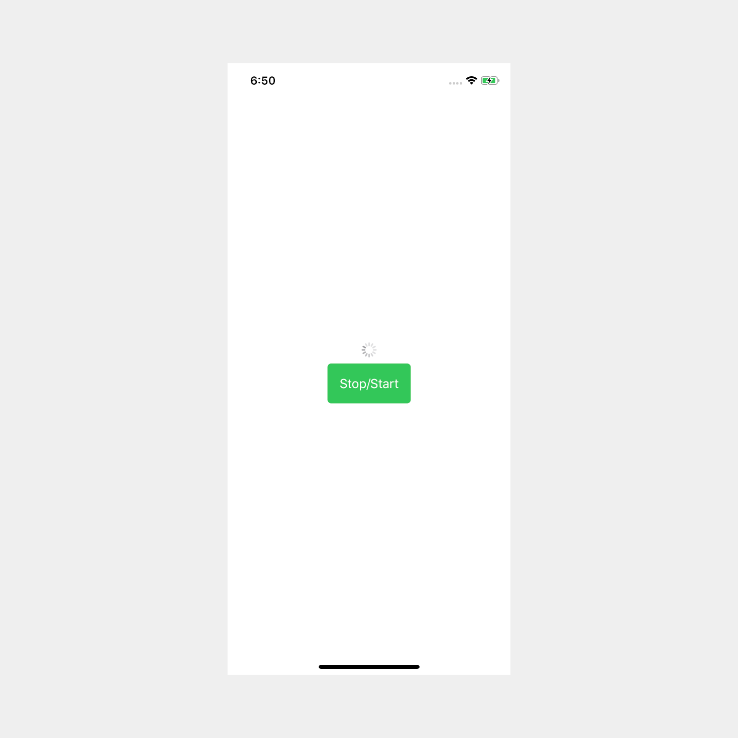
If you tap the button again it will stop animating.
Conclusion:
Using an activity indicator with SwiftUI is nice and easy, once you have it setup it works as any other SwiftUI view.
If you want to build your own progress bar/indicator with SwiftUI you can take a look at this tutorial - SwiftUI Progress bar/indicator.
To see the full source code click here - GitHub