Get keyboard height in SwiftUI

I have written about getting the height of the keyboard before, you can find that article here. In this article I am going to be changing it up bit, we will be looking at how to use @Published, ObservableObject and @ObservedObject which can make it a little bit easier for us, that way anytime we need to know the height of the keyboard, we can use our helper that we are going to make in this tutorial!
Note: I have created a new SwiftUI project for this tutorial, so everything that I am doing will be based on a new project structure.
Step 1: Create our keyboard height helper class
This class is going to need two things, the first is that it is going to need to adopt ObservableObject, the second thing that it will need is a variable that will use the @Published property wrapper.
Create a new file called KeyboardHeightHelper and add the following code to it:
import UIKit
import Foundation

class KeyboardHeightHelper: ObservableObject {
    @Published var keyboardHeight: CGFloat = 0
}
As you can see, we have one variable called keyboardHeight which uses the @Published property wrapper. This will allow us to observe this value later on.
Before we can observe this value we first need to update this value whenever the keyboard appears and disappears.
Step 2: Listen to keyboard did show and did hide
We have the base of our class with the above code, so we should now be able to add in our code in order to listen for the keyboard notifications.
To do that, add the following method below the keyboardHeight variable:
private func listenForKeyboardNotifications() {
    NotificationCenter.default.addObserver(forName: UIResponder.keyboardDidShowNotification,
                                           object: nil,
                                           queue: .main) { (notification) in
                                            guard let userInfo = notification.userInfo,
                                                let keyboardRect = userInfo[UIResponder.keyboardFrameEndUserInfoKey] as? CGRect else { return }

                                            self.keyboardHeight = keyboardRect.height
    }

    NotificationCenter.default.addObserver(forName: UIResponder.keyboardDidHideNotification,
                                           object: nil,
                                           queue: .main) { (notification) in
                                            self.keyboardHeight = 0
    }
}
In both observers that we have added above, we are using the addObserver method that allows us to handle the notification using a closure, this can make our lives a bit easier since we do not need to remove the observers if we do it this way.
The first observer that we add in the above method is for the keyboardDidShowNotification. In the closure to handle the notification we get the keyboard height from the notification. The notification will send the keyboard height in the userInfo which makes it easy for us to access. Once we have that information we assign it to self.keyboardHeight.
The second observer listens for keyboardDidHideNotification. When this happens, all we need to do in our closure is set the keyboardHeight to 0 since we know that the keyboard has closed.
This is not going to work yet because we have not called listenForKeyboardNotifications. To call this method, add the following init below keyboardHeight:
init() {
    self.listenForKeyboardNotifications()
}
Step 3: Use the keyboardHeight value
I have updated my ContentView to have the following code:
@ObservedObject var keyboardHeightHelper = KeyboardHeightHelper()
@State var textFieldText = ""

var body: some View {
    VStack {
        Spacer()
        TextField("Text field",
                  text: $textFieldText)
            .offset(y: -self.keyboardHeightHelper.keyboardHeight)
    }
}
This first variable, keyboardHeightHelper, uses the @ObservedObject. This will allow us to use the keyboardHeight property from our KeyboardHeightHelper class.
The second variable is a simple string that uses the @State property wrapper. This will be used for the text field as it needs to bind to a value. We won't be using it other than for this purpose.
For my views I have a Spacer and a TextField inside a VStack. The Spacer pushes the TextField to the bottom of the screen. I am also using the offset view modifier in order to offset my TextField when the keyboard is showing.
The offset view modifier is where will will use the keyboardHeight property from the KeyboardHeightHelper. As you can see when need to make the value negative because the TextField needs to move up not down.
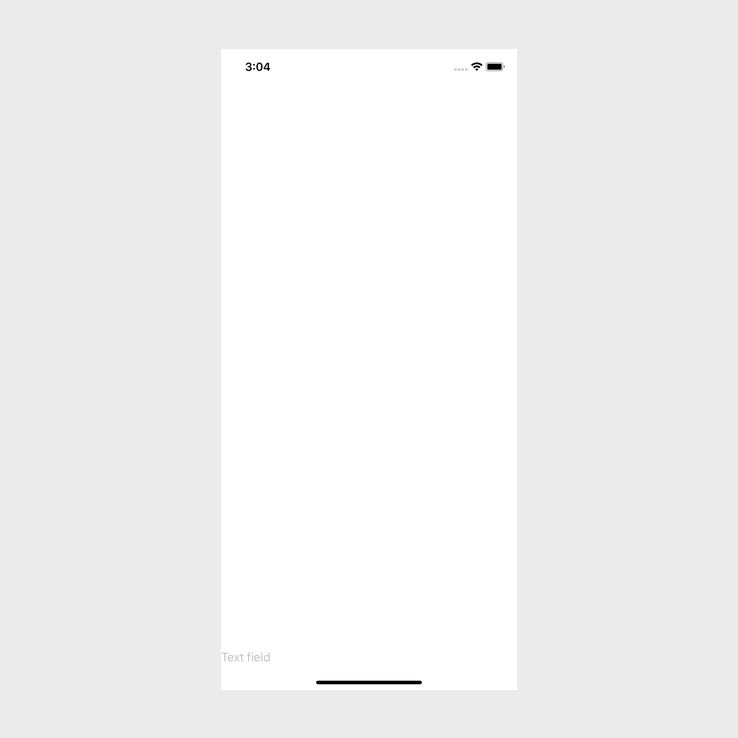
If you build and run the app you should see something like this:

As you can, at the bottom we have our TextField. If I tap on the TextField now, we can see that the keyboard shows and that the TextField lifts up:

Conclusion
If we use the new @Published, ObservableObject and @ObservedObject it can make it so much easier to get the keyboard height when the keyboard shows or hides, and we can use it anywhere with a few lines of code.
If you want to see the full source code, you can find it here.
